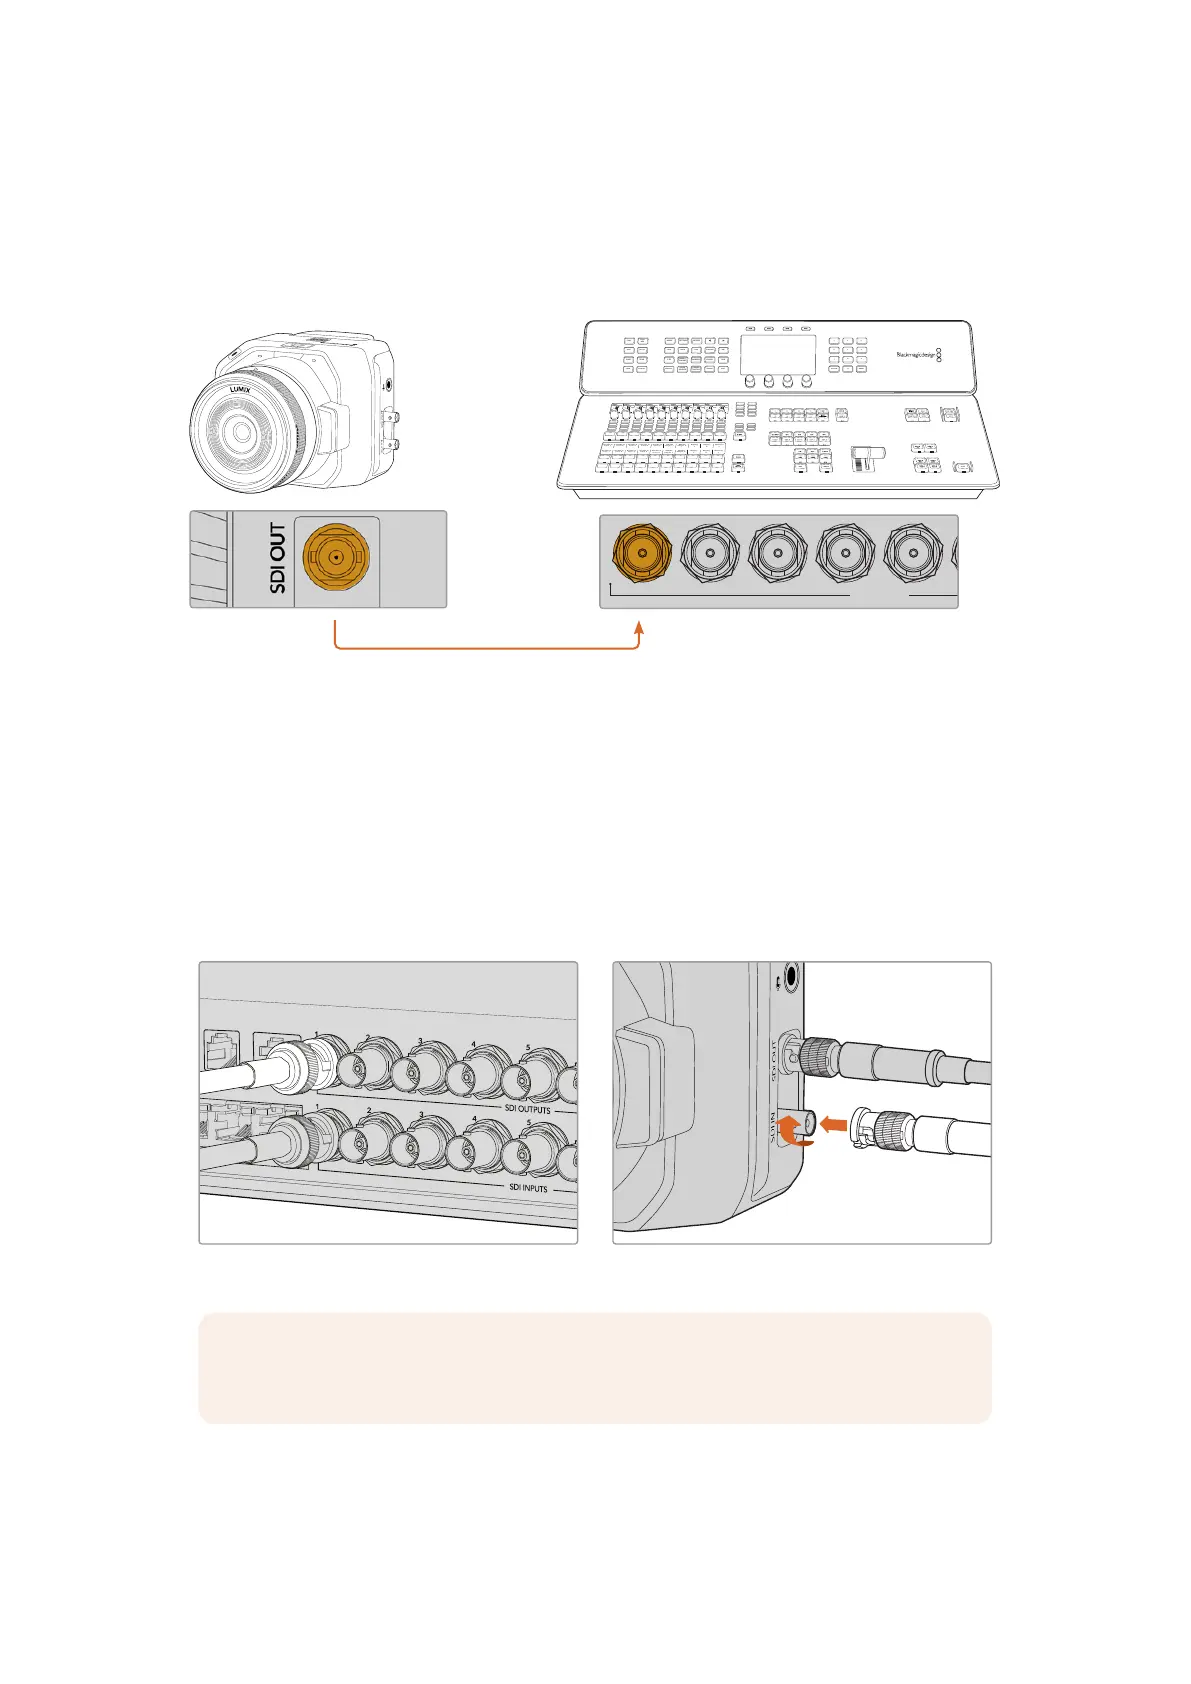
Connecting via SDI
Plug your Blackmagic Micro Studio Camera 4K G2’s SDI output into the corresponding SDI input
on the ATEM switcher, for example ATEM Television Studio HD8 ISO.
FTB
ON AIR
OFF
REC
STOP
GRAB
STILL
SWITCH
DSK 1
TIE
DSK 2
TIE
DSK 1
CUT
DSK 2
CUT
DSK 1
AUTO
DSK 2
AUTO
AUX 1
AUX 2
M/V
PVW
PGM
8
4
7
3
6
2
5
1
ON
KEY 4
KEY 3
ON
KEY 2
ON
STING
ARM
WIPE
DVE
MIX
AUTO
CUT
DIP
KEY 1
ON
BKGD
MACRO
SHIFT
SHIFT
PREV
TRANS
ATEM Television Studio HD8 ISO
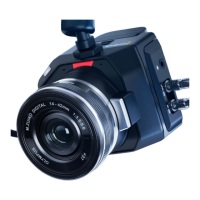
Blackmagic
Micro Studio Camera 4K G2
CH 1 CH 2
PUSH
PUSH
USE ONLY WITH A 250V FUSE
USB
REMOTE TALKBACK
B
USB
A
12-30V 6A
REF OUT TIMECODE OUT
1 2 3 4 5 6 7 8
1 2 3 4 5 6 7 8
REF IN TIMECODE IN
MADI OUT
MADI IN
AUX 1 PROGRAM
AUX 2 MULTIVIEW MULTIVIEW CONTROL OUT STUDIO OUT STEREO INETHERNET SDI INPUTS ANALOG AUDIO IN TALKBACK
SDI OUTPUTS
L L
R R R
L
PUSH
When connected via SDI, the tally and camera control data is sent back to your camera using a
separate SDI return feed.
Connecting the SDI Return Feed
The SDI return contains tally, camera control data, plus timecode and reference signals.
To connect the SDI return feed, connect any of the ATEM switcher’s SDI outputs to your
camera’s SDI input. If there is not enough program outputs, you can use any of the auxiliary
outputs. Some ATEM switchers have extra program outputs to help ensure you have enough
outputs for multiple cameras. On ATEM Constellation switchers, program return can be set to
any of the switcher’s outputs.
Connect the switcher’s SDI output to your camera’s SDI input
NOTE All outputs carry camera control data except for the multiview and any down
converted outputs.
8Getting Started
 Loading...