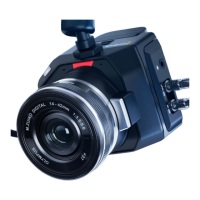
1 Loosen the latch by unscrewing the latch knob in a counterclockwise motion. This will
release the ’T’ shaped latch.
2 With the latch open, place the bracket onto the tripod arm and clamp the bracket shut by
closing the latch into its fastening slot. Rotate the bracket to your preferred position on the
tripod arm.
3 Tighten the latch knob to secure the bracket to the tripod arm.
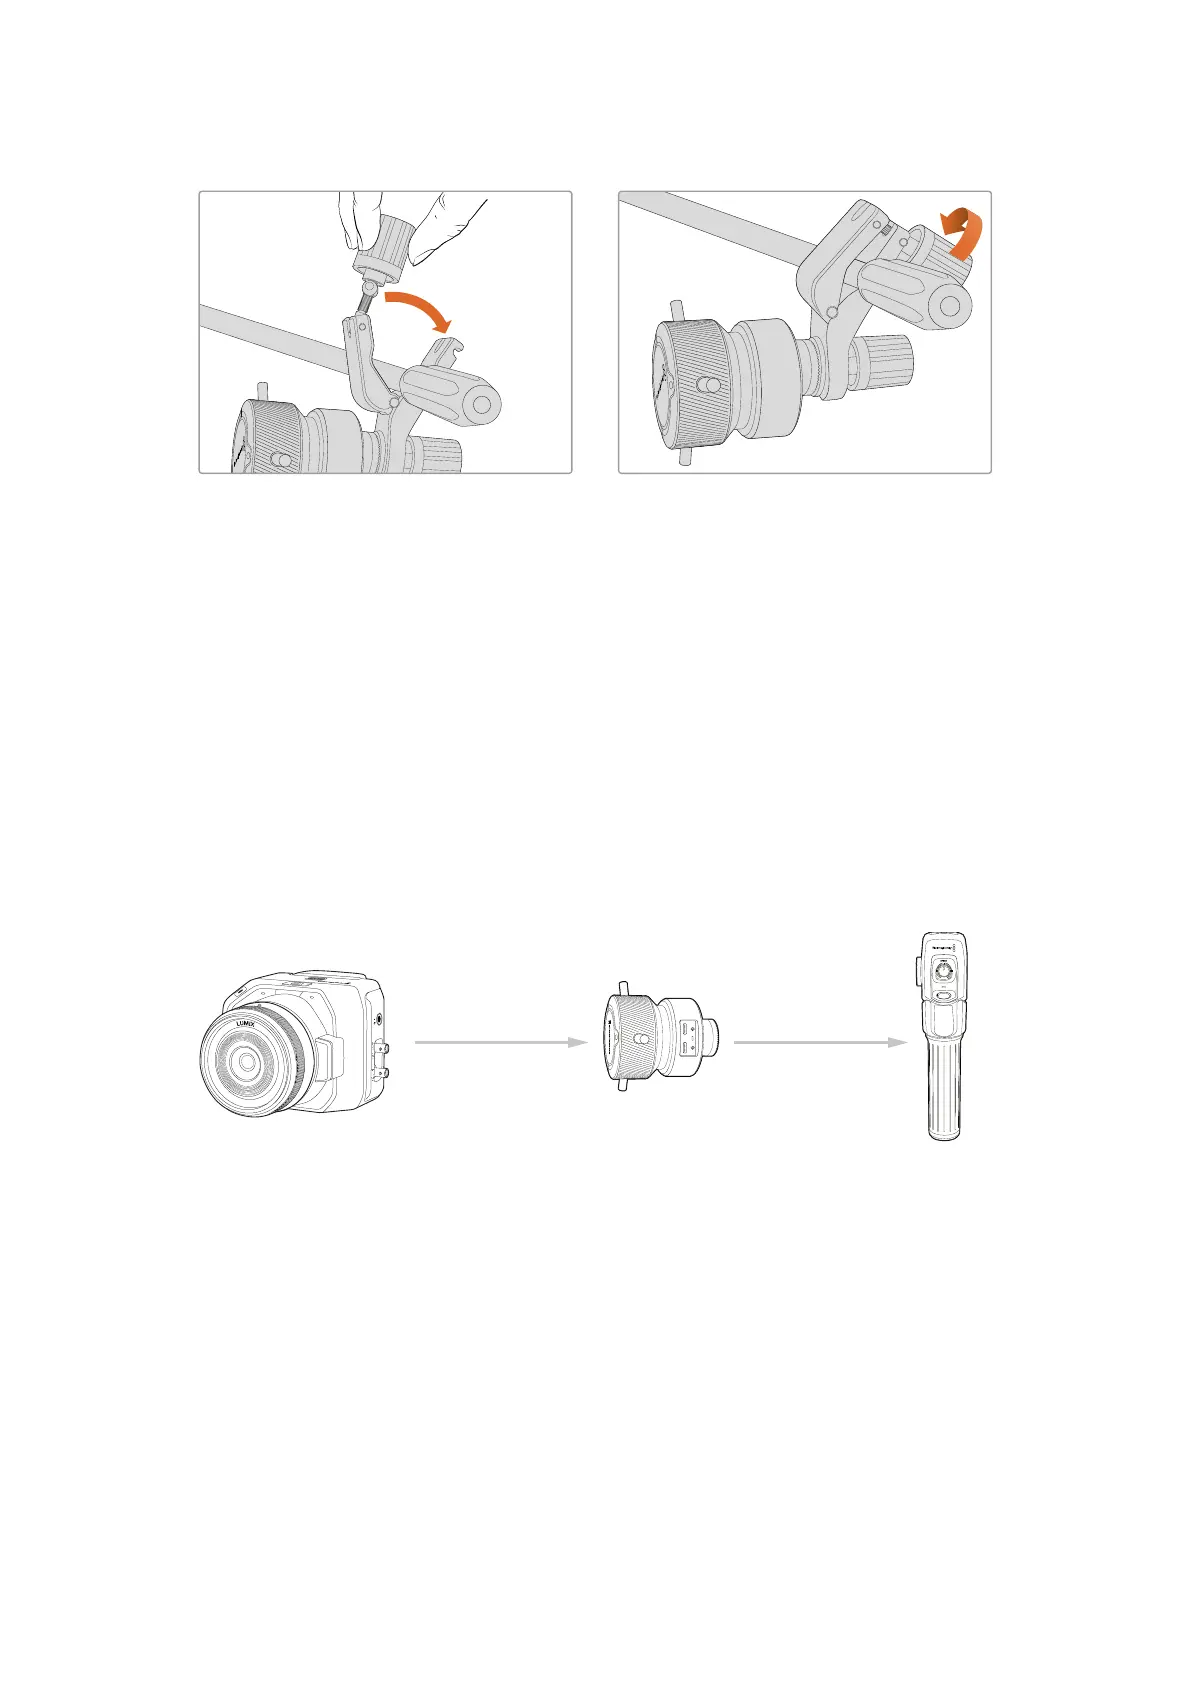
Connecting to Your Camera
Blackmagic Focus and Zoom Demands have two USB-C ports. This lets you use one unit
individually, or both units together.
Each unit is supplied with a 1 meter long USB-C cable which is connected directly from either of
your camera’s USB-C expansion ports to the demand unit’s ‘cam’ port.
If you are using both demand units, daisy chain them together by connecting the first unit to the
second unit via USB-C.
Blackmagic
Blackmagic
Blackmagic
Micro Studio Camera 4K G2
USB-C USB-C
CAM
USB-C
LOOP
USB-C
CAM
USB-CCAM LOOP
Daisy chaining allows for both units to be controlled using your camera’s USB-C port. For
example, connect a USB-C cable into your camera’s expansion port and connect the other end
of the cable into the focus demands ‘cam’ port. With a second cable, plug the focus demand’s
‘loop’ port into the zoom demand’s ‘cam’ port.
The USB-C cable has locking screws on each end to secure the connectors to each unit,
preventing accidental disconnection. You don’t have to use the locking screws, but they are
helpful for studio setups where the units are always connected to your camera.
70Blackmagic Zoom and Focus Demands
 Loading...