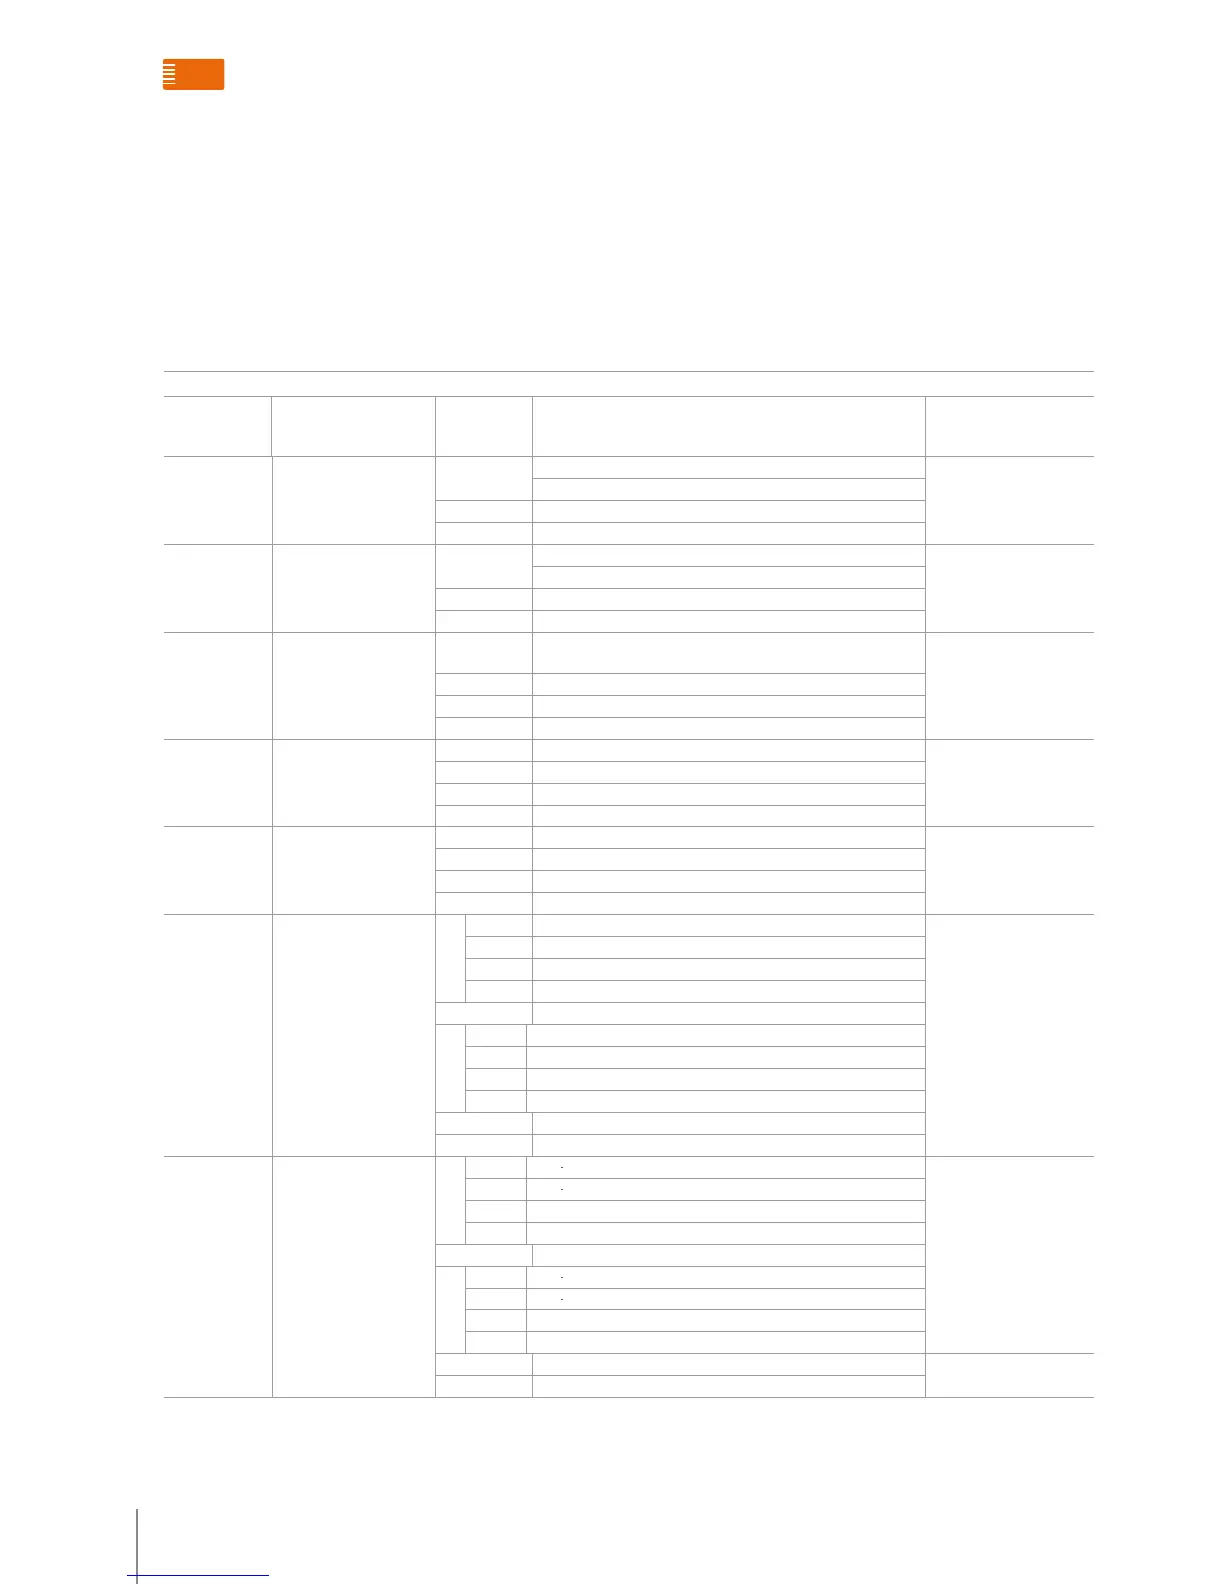
INSTALLATION SETTING OPERATION LIST TABLE
SETUP OPERATION CODE AND
LIGHT STATUS
NEXT
OPERATION
MEANING AND INFORMATION FOR THE OPERATION REMARK
Set room number for
handset
11#
8 alarm lights and message light o
“FFII#” correct parameter input: 1 long tone
Default room number: 101
wrong parameter input: 3 short tones
* return to main menu of installation setup, 1 short tone
other unsuccessful operation: 3 short tone
Set apartment
quantity per oor
12#
8 alarm lights and message light o
“II#” or “I#” correct parameter input: 1 long tone Range:1-99
Default:4; it can be set only when
there is no setting for hardware
wrong parameter input: 3 short tones
* return to main menu of installation setup, 1 short tone
other unsuccessful operation: 3 short tones
Set external SOS
to be always on or
always o
15#
message light will indicate status of
this setting item
1 SOS external switch or pushbutton always
open (NO): message light on, 1 long tone
Default: always
open
0 SOS external switch or pushbutton always close (NC): message light o, 1 long tone
* return to main menu of installation setup, 1 short tone
other unsuccessful operation: 3 short tones
Enable and disable
function of monitoring
Small EP
17#
message light will indicate status of
this setting item
1 enable: handset can monitor Small EP: message light on, 1 long tone Default: cannot monitor Small EP.
This function is available only when
the function is set as Small EP
function.
0 Shielded: handset can not monitor Small EP: message light o, 1 long tone
* return to main menu of installation setting, 1 short tone
other unsuccessful operation: 3 short tones
Return all the
parameters to default
value
19#
message light will indicate status of
this setting item
1 Get all the default parameters: message light on, 1 long tone
0 Do not get all the default parameters: message light o, 1 long tone
* return to main menu of installation setup, 1 short tone
other unsuccessful operation: 3 short tones
Enable and disable
sensors
21#
Message light is o. 8 alarm lights
will indicate status of each alarm
zone
1# 1 1 alarm zone with sensor: LED 1 on, a long tone. Default: (all) without sensor
0 1 alarm zone without sensor: LED 1 o, a long tone.
* return to previous menu, 1 short tone
other Ineective operation: 3 short tones
… …
8# 1 8 alarm zone with sensor: LED 8 on, a long tone.
0 8 alarm zone without sensor: LED 8 o, a long tone.
* return to previous menu, 1 short tone
other unsuccessful operation: 3 short tones
* return to main menu of installation setting, 1 short tone
other unsuccessful operation: 3 short tones
Set NO and NC type of
sensors
22#
8 alarm lights will indicate status of
each alarm zone.
1# 1 always
open (NO) sensor for alarm area 1: LED 1 on, 1 long tone Default: sensors for 8 alarm zones are
always open (NO).
0 always
close (NC) sensor for alarm area 1: LED 1 o, 1 long tone
* return to previous menu, 1 short tone
other unsuccessful operation: 3 short tones
… …
8# 1 always
open (NO) sensor for alarm area 8: LED 8 on, 1 long tone
0 always
close (NC) sensor for alarm area 8: LED 8 o, 1 long tone
* return to previous menu, 1 short tone
other unsuccessful operation: 3 short tones
* return to main menu of installation setup, 1 short tone
other unsuccessful operation: 3 short tones
When the handset is in standby and all zone alarms are disabled,
press “#”, then enter the fixed installer password 686868, and
press “#” to confirm. If the wrong password is entered, 3 short
beeps will be heard; if the password is correct, an extended
beep will be heard, and the unit will switch to installation setup
status. The 8 alarm lights and the message light will be off
installation setup
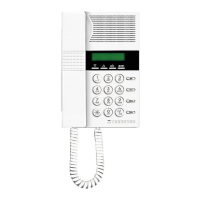
Indoor handset functions overview
 Loading...