meaning oF conFiguration
Address codes are the numbers/letters used by residents,
visitors and Switchboard operators to identify the
apartments or villas in the installation. The D45 system let
you use this codes to make calls within the system. The
composition of address codes follows the rules below:
Each handset (apartment or villa) of the installation must
have one addressing code in order to be called by visitors
and the Switchboard. The address code of each apartment
depends on the position within the installation.
Inside the unit/riser each apartment can be addressed
with a 4 digit code: FFII
The first two digits refer to the number of the floor. (F F).
The second two digits refer to the internal number inside
the floor: (I I).
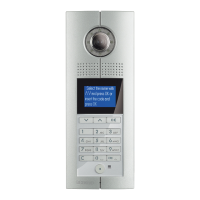
The visitor calling the resident from the unit/riser entrance
panel has to type these codes (push the button with the
code printed on).
Outside the unit/riser each apartment can be addressed
with a code consisting of 8 digits maximum: DDDD FFII.
The first four digits can be used in a flexible way to identify
the unit/riser inside the installation: DDDD may refer to
district/building address or building/unit address according
to specific installation needs. In smaller installation less
digits can be used (from 1 to 4).
The other four digits are the same of the addressing inside
the unit/riser (F F I I).
The visitor calling the resident from the wall entry panel or
the main Switchboard has to type all the codes (minimum
5 - maximum 8).
Each digit can be a number from 0 to 9 or a letter from A to
J (no mix of the two in the same digit).
The DDDD address can also be replaced by meaningful
words (flowers, etc.): in this case the visitor / user of the
Switchboard must find the right name in the directory.
(Only possible if the building main entrance panel and the
Switchboard are configured from the PC).
system conFiguration
In order to allow:
n Visitors / Switchboards to issue the calls to the right
handset (example using addressing codes);
n Residents to issue the call to the intended Switchboard;
n Right management of SOS push buttons, alarms pick up;
(Identify the apartment that issued the alarm, send the
alarm to the right Switchboard);
n Self-powering of the right building main EP or secondary
EP from apartment and Switchboard;
n Some devices of the system must be congured.
The configuration consists of two activities:
n Decide the right numbers to obtain the intended function
(a design/project activity).
n Teach to the physical device its proper conguration (an
installation activity)
Both of these activities can be made easier by using a PC
software– none of them needs it. As the complexity of the
systems grows (in terms of topology and/or user function
required) the advantage of using a PC to perform these
activities also grows.
conFiguration Design
The configuration of the system is as close as possible to the
address codes, not worrying installers with unusual rules.
The configuration method is flexible, and offer two different
configuration procedures: each configuration procedure
can be applied to different types of installations (changing
their limits/systems possibilities):
Simplified configuration:
n Avoid using the PC;
n Can only be used if units/riser have a number of oors and
handsets for each oor set by us during specication of
the “D45”.
Flexible configuration:
n A PC can be used (but not mandatory) to simplify the
installation project (not needed during the installation);
n Can be used if units/risers have a number of oors and
handsets that don’t dier much from one another. (A
table can explain when an installation can be congured
in this way).
simpliFieD conFiguration
It is compulsory to configure:
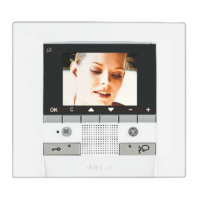
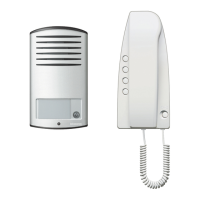
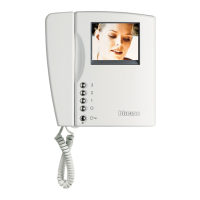
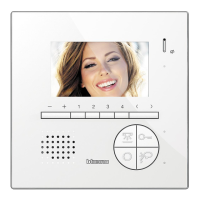
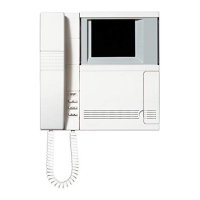
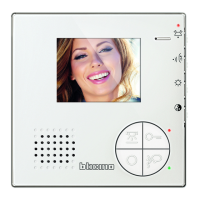
1. Audio/video doorphone handsets. For each handset, its
F F I I address code must be configured, starting from flat
number 1 and from floor number 1.
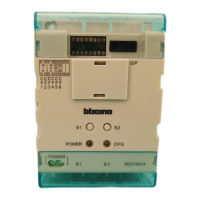
2. (riser shunt). Each riser shunt must be configured in a
progressive way staring from 1.
If in the entrance panel or Switchboard the progressive riser
shunt address is used as the lowest two digits of DDDD, no
configuration of the apartment/villa to call is needed in the
Wall entrance panel or Switchboard. If the customer wants
a complete DDDD address to call the apartment/villa, an
association must be performed on the wall entrance panel
and on the Switchboard between the riser shunt progressive
address and the DDDD requested by the user.
General configuration concept
 Loading...