Borderless Printing at Actual Size (Windows)
Borderless Printing at Actual Size (Windows)
This topic describes how to print borderlessly at actual size based on the following example.
•
Document: Any type
•
Page size: 10×12 inches (254.0×304.8 mm)
•
Paper: Roll
•
Paper type: Heavyweight Coated Paper
•
Roll paper width: 10 inches (254.0 mm)
1
Create the original in the source application 3 mm (0.12 in) larger on each side than 254.0×304.8 mm (10 × 12
in) —that is, 260.0×310.8 mm (10.2 × 12.2 in)
Note
• If you can specify the margin, as in Microsoft Word, set the margin at 0 mm. For instructions on specifying the mar-
gin, refer to the software documentation.
• The extra 3 mm (0.12 in) on each side will not be printed. Create the original so that it fits inside the paper area to be
printed on.
2
Choose
Print in the application menu.
3
Select the printer in the dialog box, and then display the printer driver dialog box.(See "Accessing the Printer
Driver Dialog Box from Applications(Windows) →P.183 ")
4
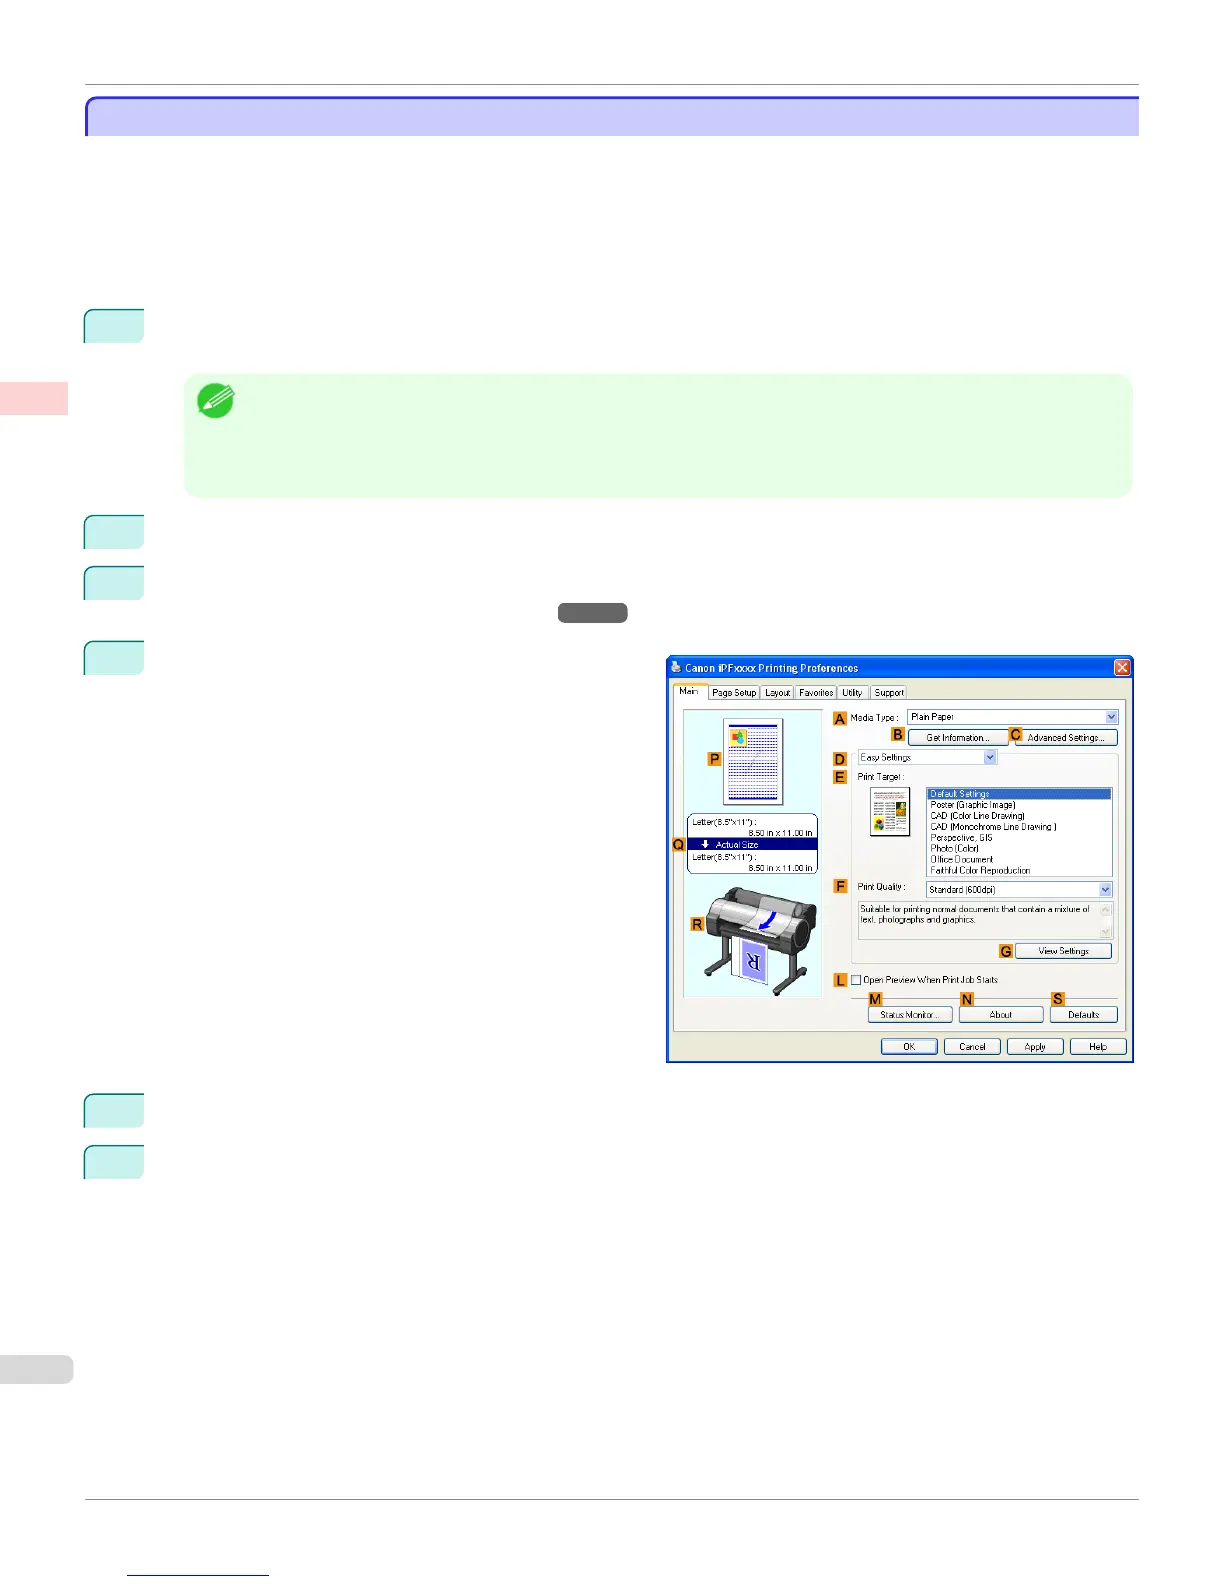
Make sure the Main sheet is displayed.
5
In the A Media Type list, select the type of paper that is loaded. In this case, click Heavyweight Coated Paper.
6
Select the print target in the E Print Target list.
Borderless Printing at Actual Size (Windows)
iPF765
User's Guide
Enhanced Printing Options Printing at full size
92
 Loading...