10-3
Cisco Wireless LAN Controller Configuration Guide
OL-17037-01
Chapter 10 Managing User Accounts
Creating Guest User Accounts
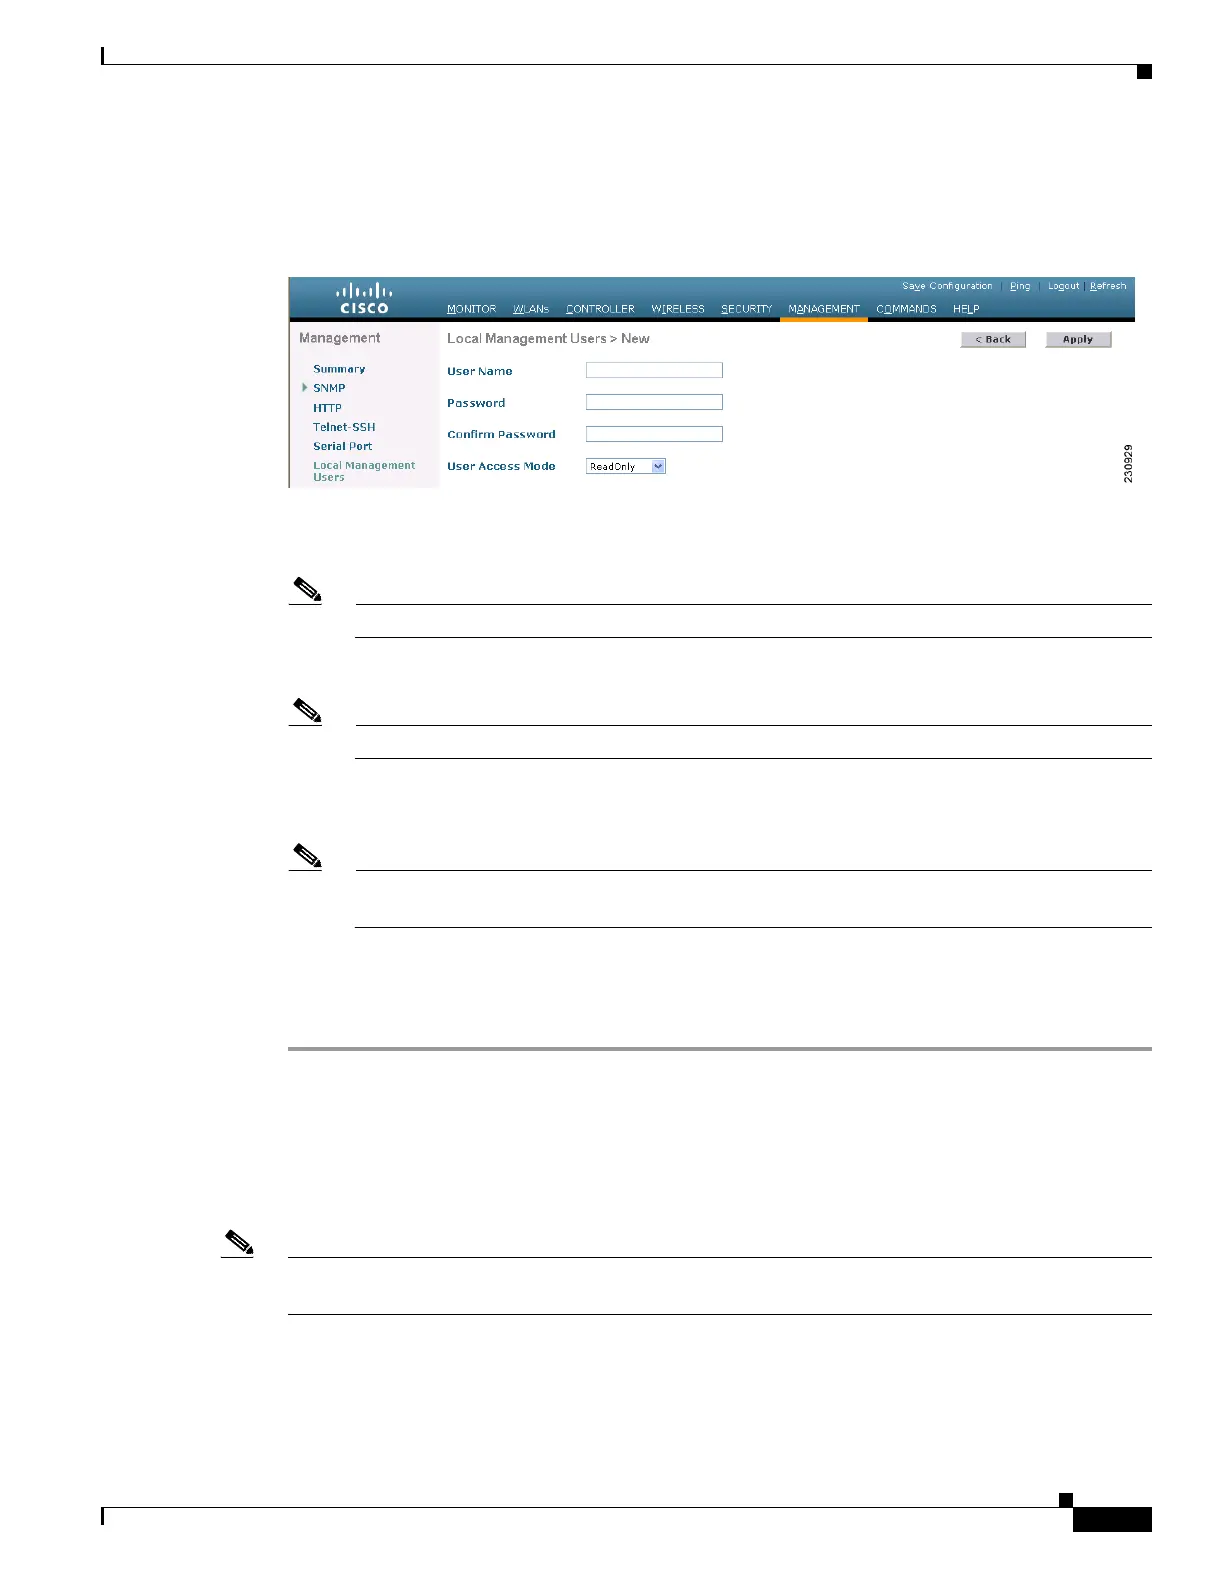
Step 2 To create a lobby ambassador account, click New. The Local Management Users > New page appears
(see Figure 10-2).
Figure 10-2 Local Management Users > New Page
Step 3 In the User Name field, enter a username for the lobby ambassador account.
Note Management usernames must be unique because they are stored in a single database.
Step 4 In the Password and Confirm Password fields, enter a password for the lobby ambassador account.
Note Passwords are case sensitive.
Step 5 Choose LobbyAdmin from the User Access Mode drop-down box. This option enables the lobby
ambassador to create guest user accounts.
Note The ReadOnly option creates an account with read-only privileges, and the ReadWrite option
creates an administrative account with both read and write privileges.
Step 6 Click Apply to commit your changes. The new lobby ambassador account appears in the list of local
management users.
Step 7 Click Save Configuration to save your changes.
Using the CLI to Create a Lobby Ambassador Account
Enter this command to create a lobby ambassador account using the controller CLI:
config mgmtuser add lobbyadmin_username lobbyadmin_pwd lobby-admin
Note Replacing lobby-admin with read-only creates an account with read-only privileges. Replacing
lobby-admin with read-write creates an administrative account with both read and write privileges.

 Loading...