6-16 Minitower Removal and Replacement
6.10 Expansion Board Cage Components
6.10.1 Disconnecting and Raising the Expansion Board Cage
1. Prepare the computer for disassembly (Section 6.3).
CAUTION:
When the computer is plugged into an AC power source, there is always voltage applied to the
system board. You must disconnect the power cord from the power source before opening the computer
to prevent system board or component damage.
2. Remove the access panel (Section 6.6).
✎
The riser board is firmly attached to the expansion board cage. Raising the cage
electrically disconnects the riser board from the system board; lowering the cage
electrically connects the riser board to the system board.
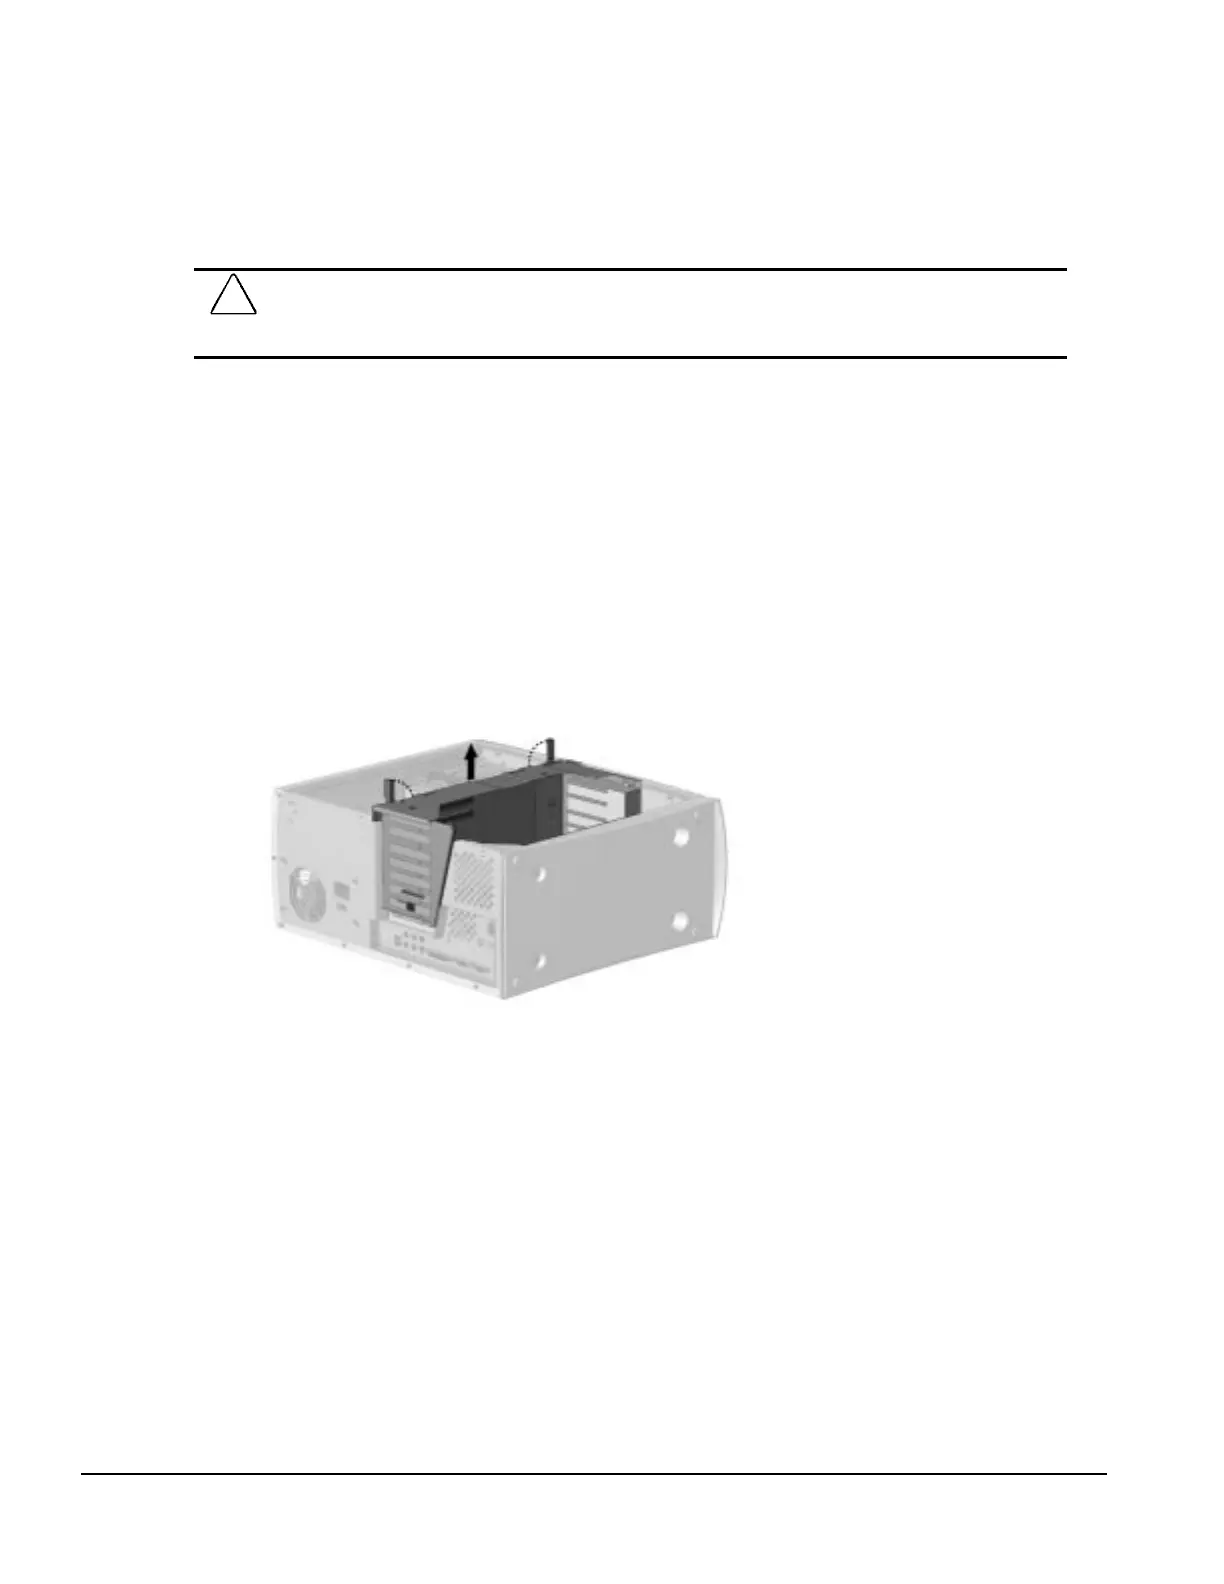
3. Lift the two green levers on the top of the expansion board cage to their upright position to
electrically disconnect it from the system board. This is service position 1.
4. Raise the expansion board cage to engage the built-in catch that holds the cage up and away
from the system board. This secures the cage and prevents it from damaging components on the
system board. This is service position 2.
Disconnecting and Raising the Expansion Board Cage
✎
It is not necessary to disconnect any cables for this operation.
To reconnect the riser board that is mounted on the expansion board cage to the system board,
slightly lift the expansion board cage and release the built-in catch to lower it into service position
1; then, rotate the levers to their original positions to lock the assembly in place.
Before reseating the assembly, ensure that the system board tray is completely pushed into the
chassis .

 Loading...