Annual Inspection Procedure
Operator's Manual 9-5
Note:
The air intakes on the side of oximeter and the fan should be inspected and vacuumed if dust or debris is
present.
9.7.2 Electrical Inspection Points
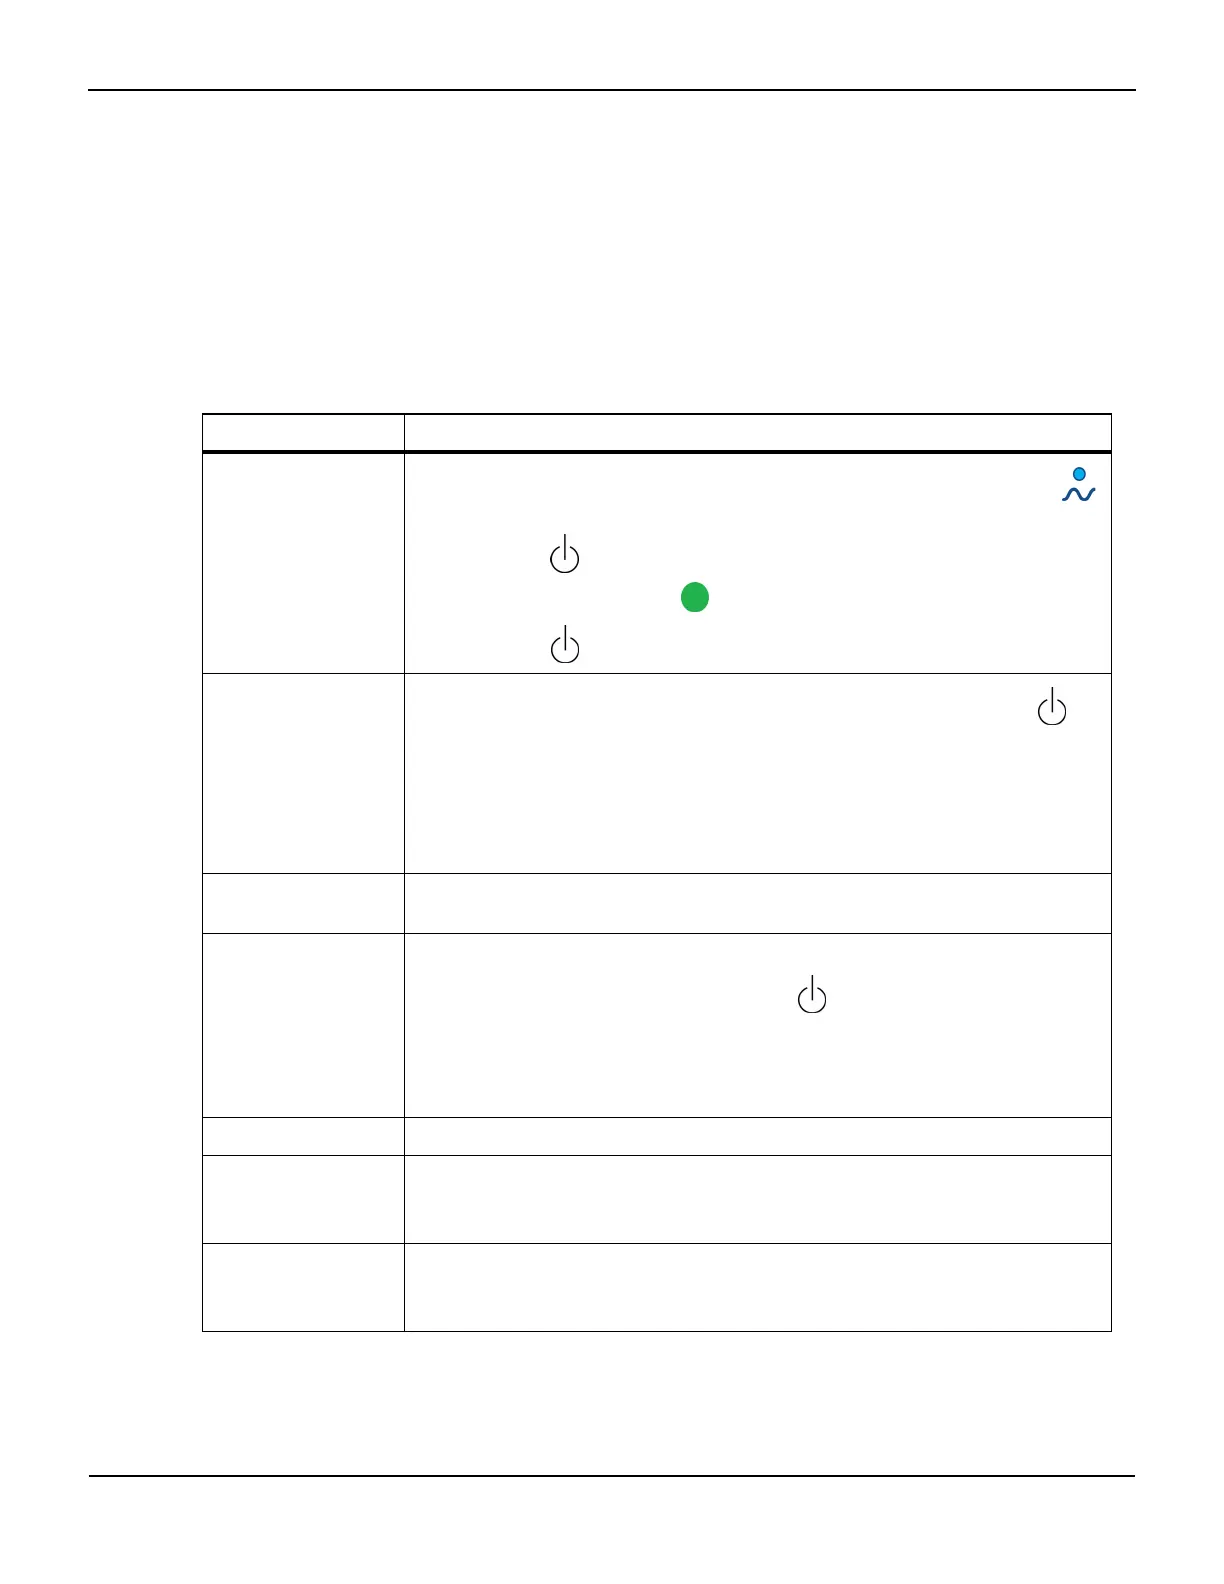
Table9-2.Electrical Inspection Points
Inspection point Method
Power up/power down
Place the monitor on a sturdy, flat surface and plug it in to a power source. Verify the blue
LED on the key panel is illuminated.
Press the ON/OFF key to display the Start screen, and observe the monitor for proper func-
tioning and display. Verify the green LED on the key panel is illuminated.
Press the ON/OFF key again. Verify the monitor turns off correctly.
Battery backup
With mains (AC power) switch OFF, turn the INVOS™ system on by pressing the ON/OFF key
to display the Start screen. Select NEW PATIENT or PREVIOUS PATIENT and observe the battery
capacity indicator on the Main screen. Turn the mains power switch ON and fully charge the bat-
tery.
Unplug the line cord (AC power) and observe that the monitor continues to run and that the
battery capacity indicator on the screen shows a full charge. The monitor should operate for
about 20 minutes on a fully charged battery.
Unit self diagnostics Observe that the INVOS™ system monitor boots up to the Start screen following power up and
Welcome screen.
Sensor operation Connect preamplifier, sensor cable, and sensor.
Turn the INVOS™ system on by pressing the ON/OFF key to display the Start screen. Select
NEW PATIENT or PREVIOUS PATIENT and observe the light emitting diodes (LED) functioning on
the sensor.
Perform the functional test with optional field test device (see section 9.7.3 Functional Test with
Optional Field Test Device).
Video output port Connect an external VGA monitor. Observe the INVOS™ screen on the external device.
Data output port Connect an external device to the data output port.
Follow the procedure described in section 7.4 Using the Digital Output Port. Verify that the data is
correctly transmitted.
USB port Connect a Covidien USB flash drive to the USB port.
Follow the procedure described in section 7.3 Using the USB Port. Verify that the monitor can write
data on the USB flash drive.