Initial Setup
Operator's Manual 4-3
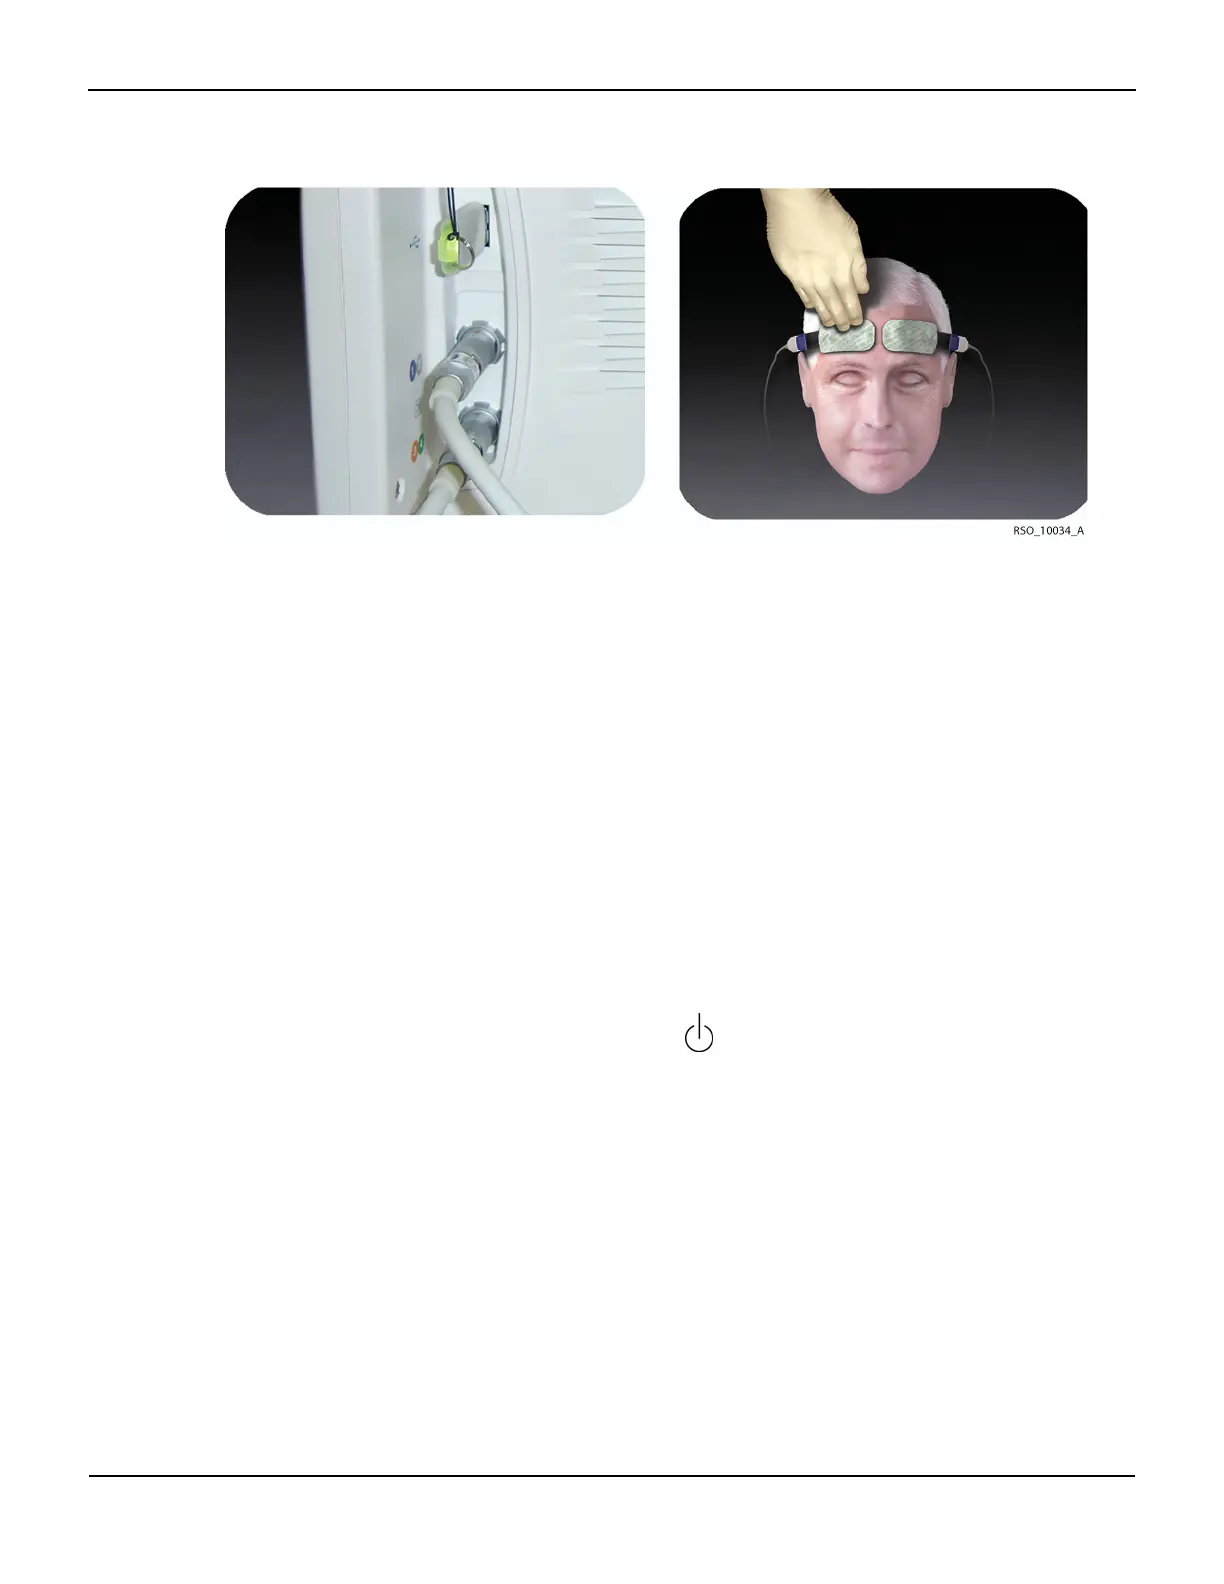
Figure4-4.Connecting Optional Accessories
Note:
The USB flash drive should be inserted when the case begins to capture real-time data to the USB. Keep
the USB flash drive inserted for the full duration of the case. If removed, there will be gaps in the case
data collected. Regardless of USB flash drive usage, the INVOS™ system will monitor and store data to
its internal memory, so entire cases can be downloaded in the “case history” format (see section 7.3
Using the USB Port).
As a reminder to insert the USB, the blinking message “USB flash drive not connected” will appear on the
Start screen when the system is turned on. USB flash drives not supplied by Covidien may not meet
system requirements. Additional drives may be ordered from Covidien (see section 3.12 Accessories).
6. Check the location of all cables connected to the INVOS™ system. Make sure that the patient is not
lying on any cables or connectors. To prevent entanglement and prolonged contact with patient skin,
you can secure the reusable sensor cables with the strain-relief clips attached to the cables. Do not
place the reusable sensor cables, preamplifiers, or cables connecting the preamplifiers to the monitor
in contact with the patient.
7. Turn the power on by selecting the green ON/OFF key.
8. After displaying the Welcome screen, the INVOS™ system performs a 10-second self-test, stopping at
the Start screen, and shows the software version, date and time.
9. If necessary, set the DATE/TIME by following the options menus. The date and time may only be
changed from the Start screen.
10. Press NEW PATIENT. Monitoring begins.
Note:
Avoid contact with the digital output port while operating the INVOS™ system. For the location of the
digital output port, see Figure3-1.