REPAIR
27080 Issue 1 Sept 98 8--31
Peltier Assembly Replacement
Notes (1) This is an option and may not be fitted.
(2) Tools required: 2.5mm ball driver (see step (4)).
Lint free tissue to catch any escaping ink.
Protective clothing (especially safety glasses).
(1) Remove power from the printer.
(2) Remove both cartridges and pull the ink system from the cabinet.
(3) Disconnect the Peltier electrical connector at the ink system
interface PCB.
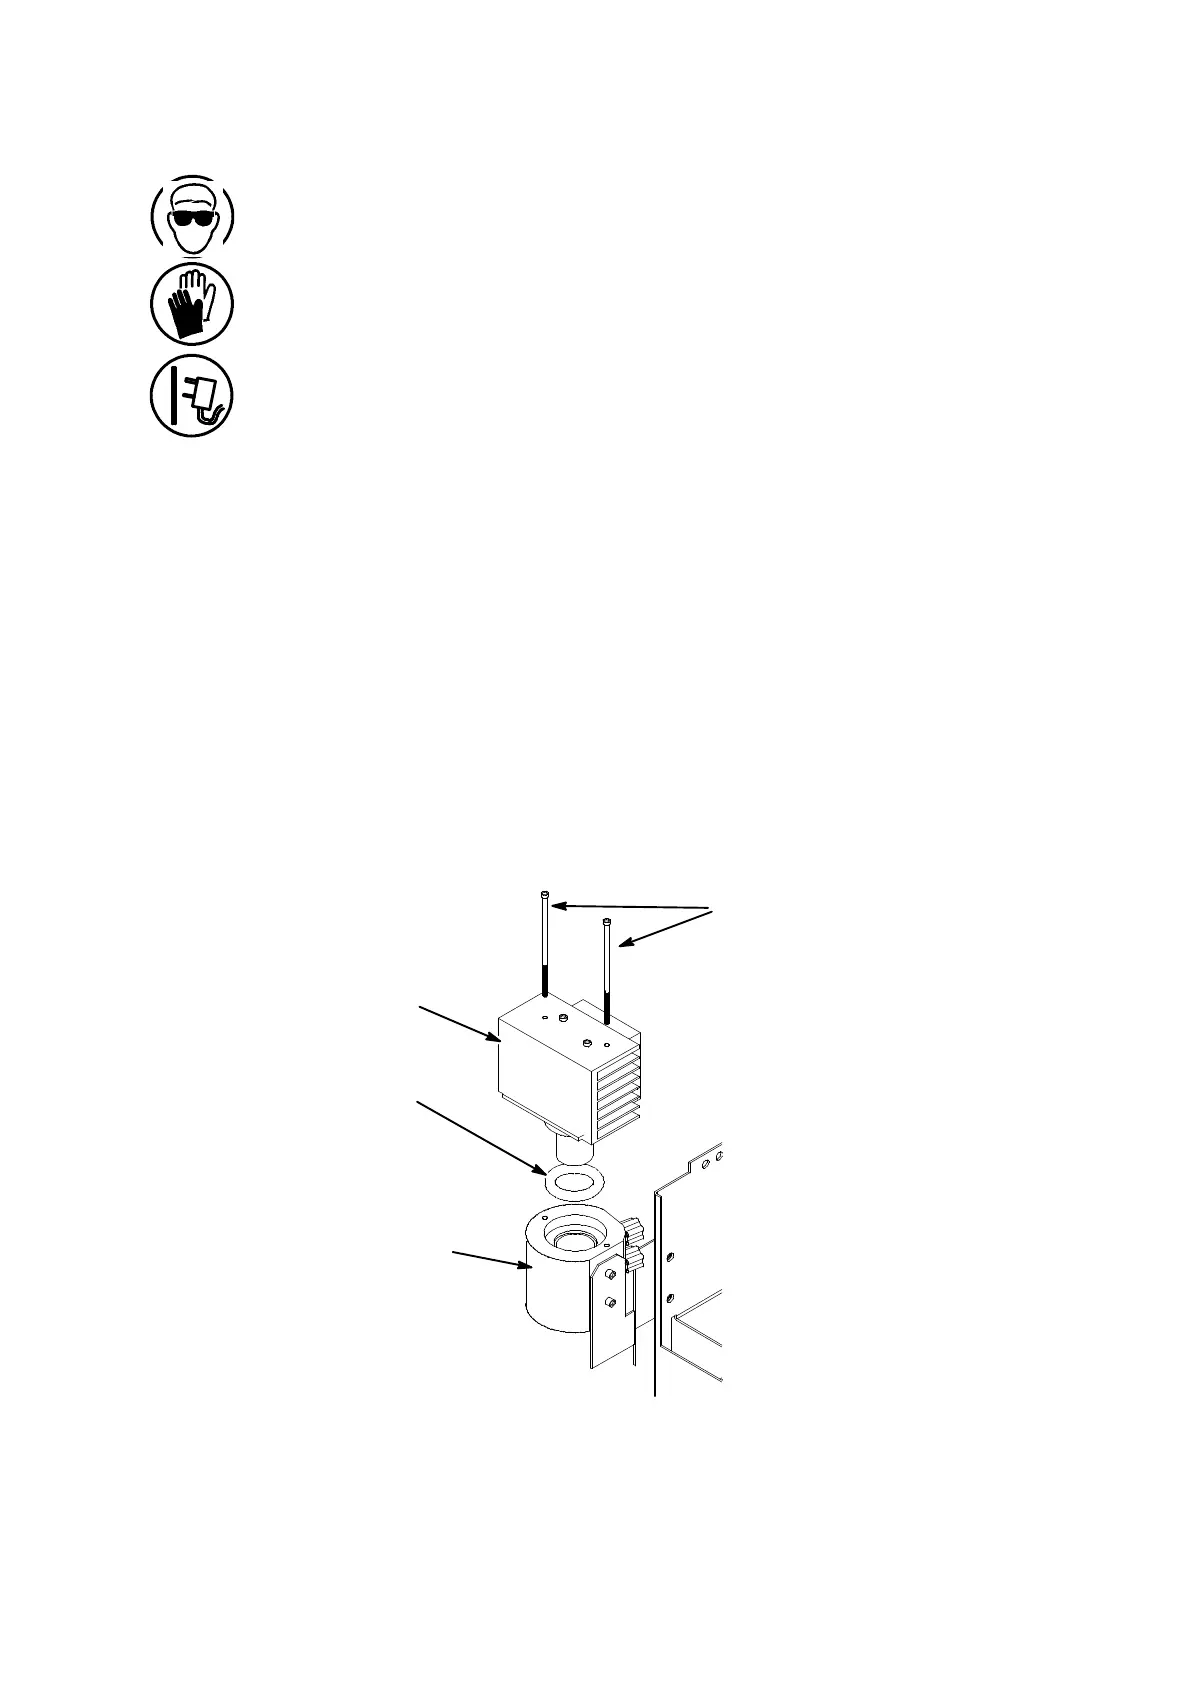
(4) Unscrewthetwofixingscrewssecuringthe Peltierassemblytothe
condenser(thetwoouterscrews).Removetheassemblyandits’O’
ring.
(5) Clean the face of the condenser, and fit the new ’O’ ring into the
condenser.
(6) Fit and secure the Peltier assembly to the condenser.
(7) Fit the Peltier electrical connector into the ink system interface
PCB.
(8) Return the ink system to the cabinet, and replace the cartridges.
Peltier Replacement
Peltier
’O’ Ring
Condenser
Fixing Screws
MG024_1

 Loading...

