REPAIR
27080 Issue 1 Sept 98 8--13
Charge Electrode Replacement
The printer must be shut down and the print head removed from its
holster.
(1) Remove the cover over the upper part of the head by:
(a) removing the four screws in the sides,
(b) removing the two screws at the top,
(c) carefully pulling the sides away from the chassis and
removing the cover.
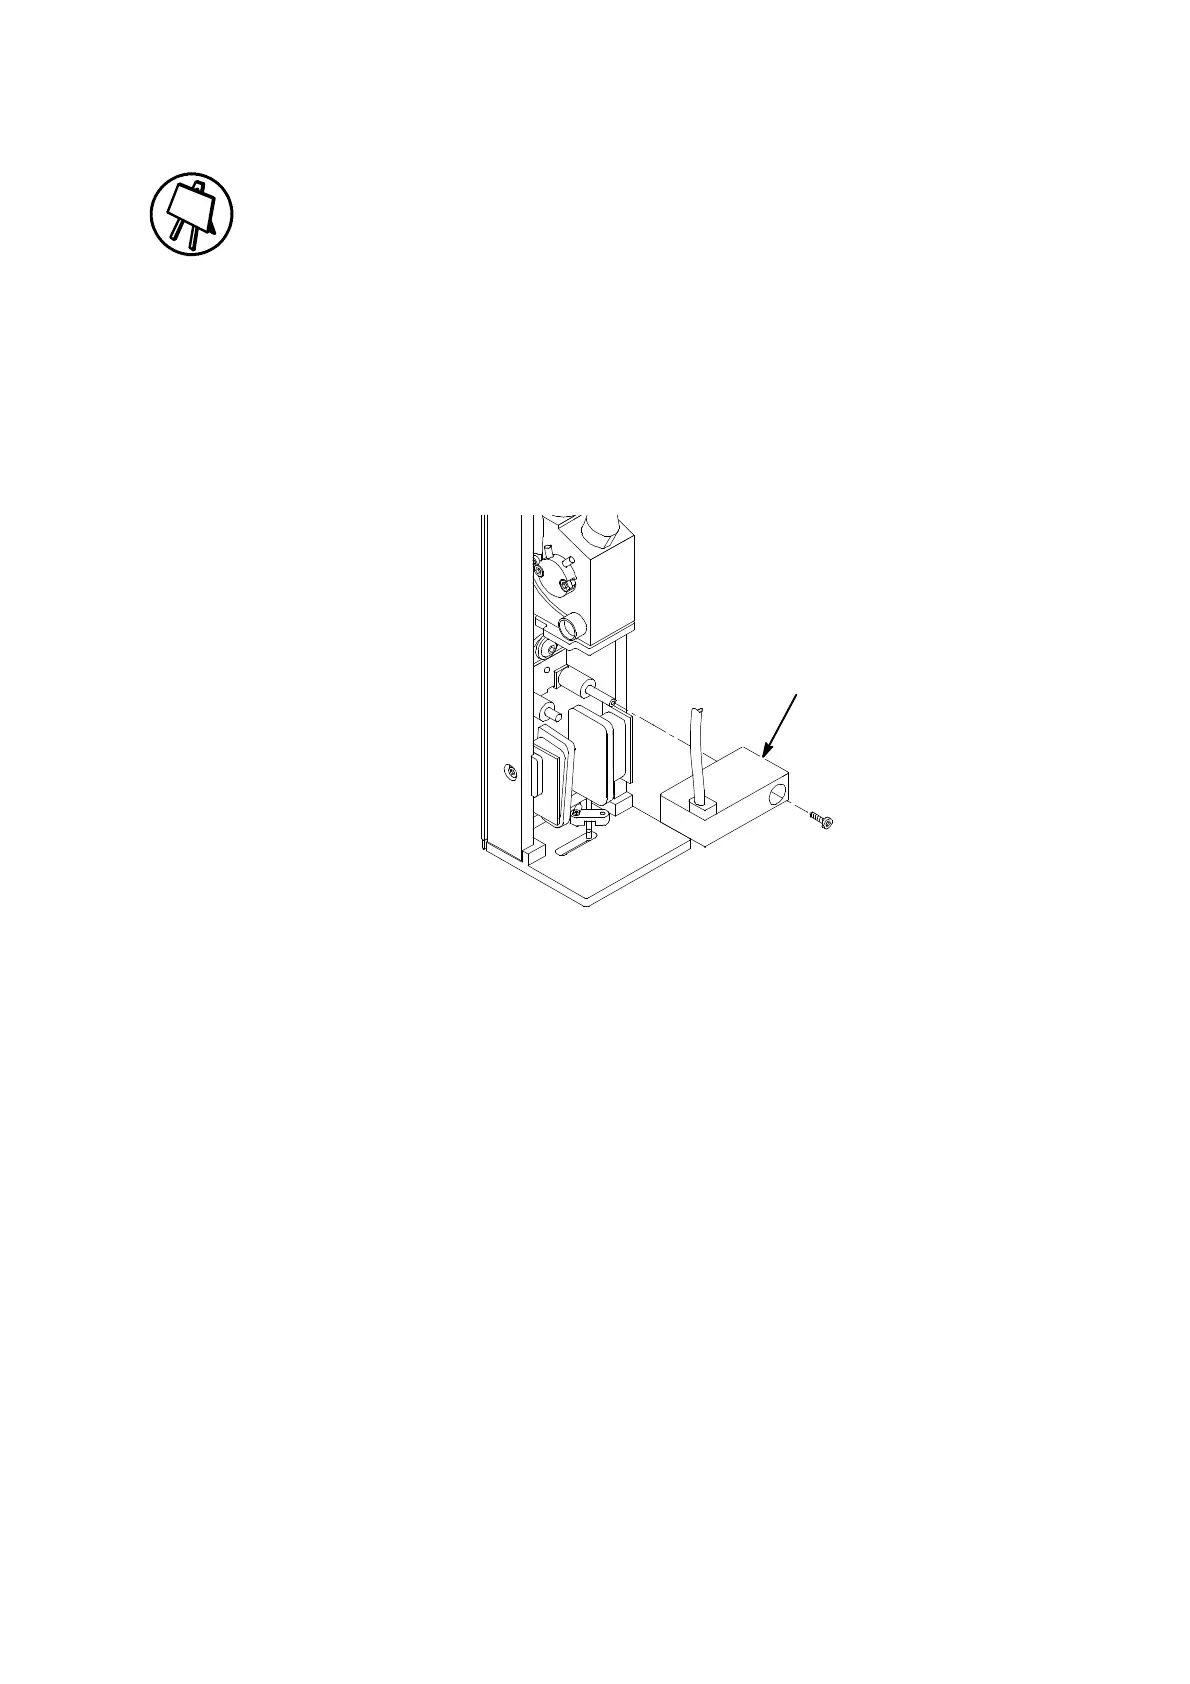
Charge Electrode
Removing the Charge Electrode
MG061--2
(2) Tracethewiresfromthechargeelectrodetotheirconnectionsatthe
conduit wiring in the upper part of the head (see pg. 8--5).
(3) Cuttheheatshrinksleevingaroundtheconnectionsanddisconnect
the electrode wires.
CAUTION During the following steps, do not touch the charge
electrode mounting plate screws at the rear of the
chassis, behind the charge electrode. These screws
hold the plate in a preset position.
(4) Tracethe wirestotheircableglandinthebulkheadseal. Carefully
pushthecableglandoutofthebulkheadsealinthedirectionofthe
charge electrode.
(5) Remove the single screw in the charge electrode and pull off the
charge electrode.

 Loading...

