APPENDIX A : INSTALLATION
27080 Issue 1 Sept 98 A--7
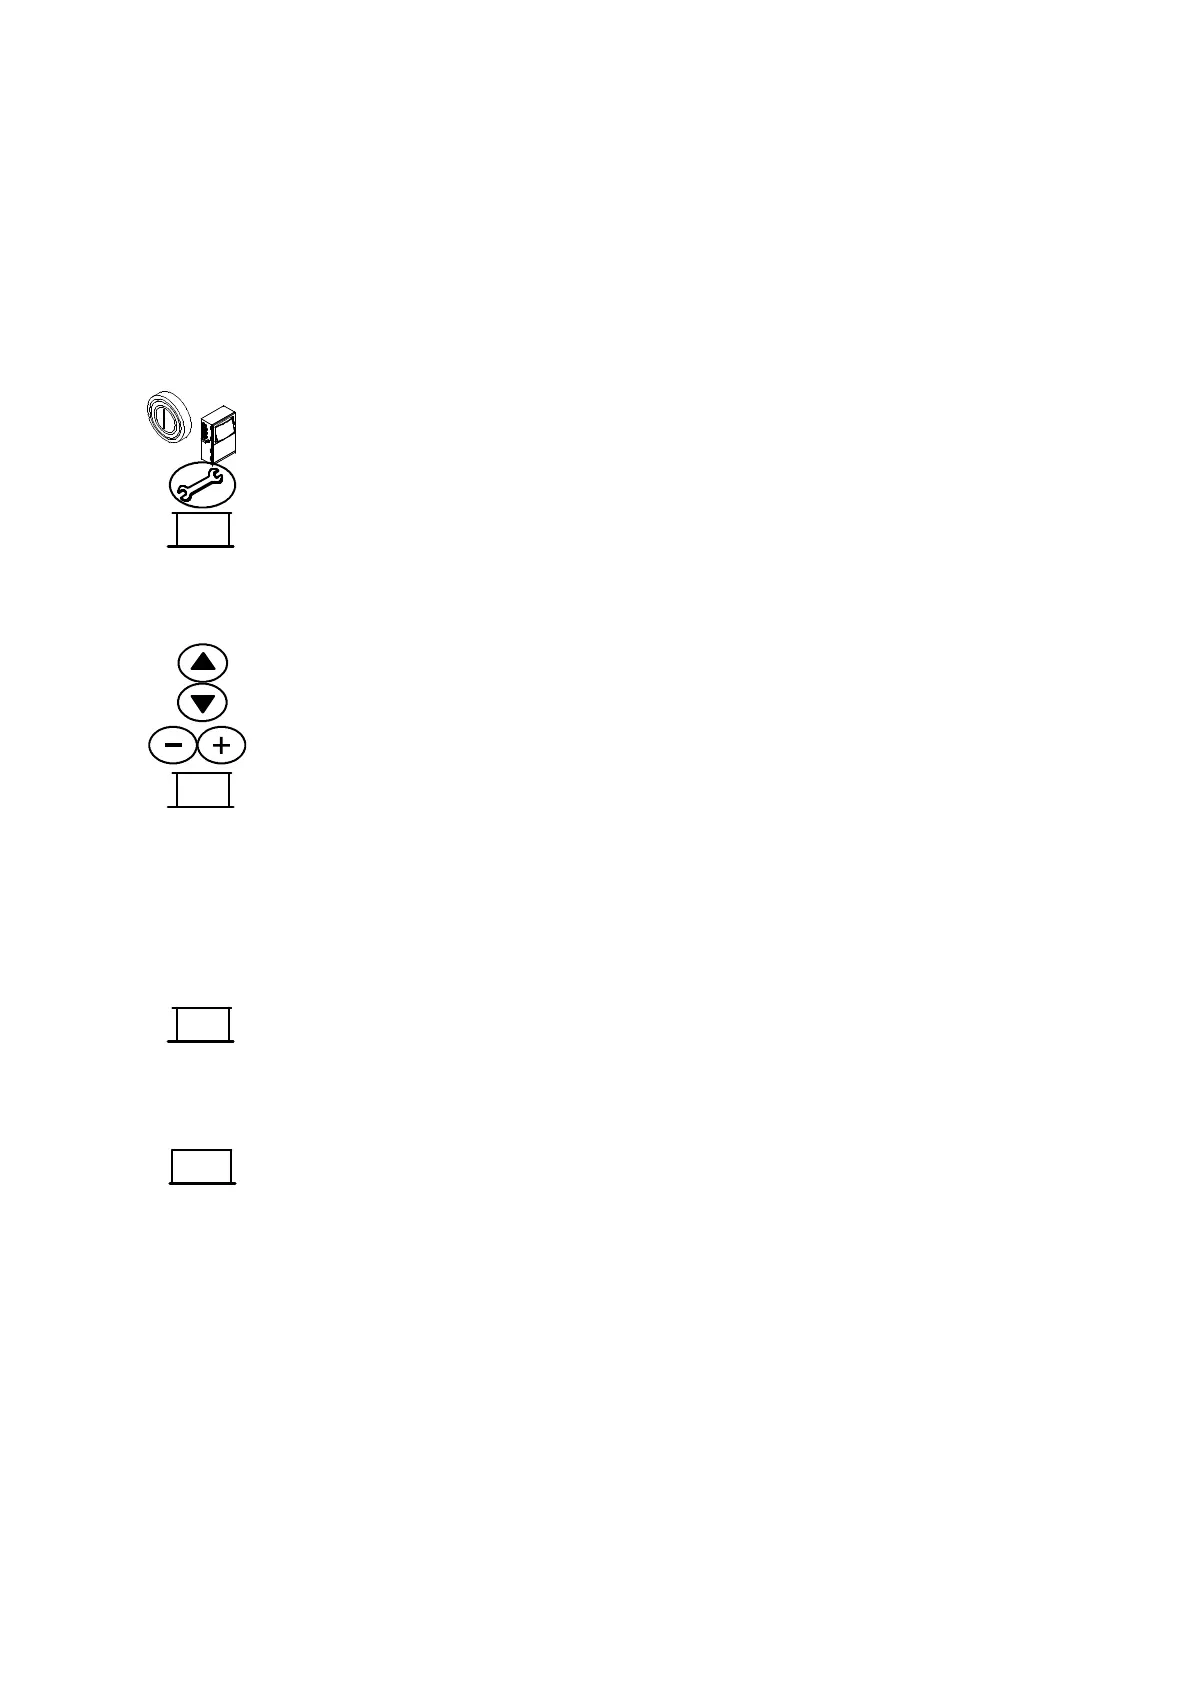
(7) At the print head, releasethe securingscrew andremove theprint
head from its holster and fit into a wash station.
Note: For details of the print head see pg. 6--3.
(8) Remove the silicone tube cap over the gutter. Check that the print
head is clean and dry.
The ink system will now need bleeding at low pressure as follows:
(9) Press the switch on the left sideofthe cabinet. Waitfor the printer
to start up as in step (3) of start--up procedure on previous page.
(10)Press the Service key. If necessary, enter the password.
(11) Select Ink System from the key options along the bottom of the
screen.
(12)The screendetailsincludeTargetPressure. Notethetargetpressure
value.
(13)If necessary, move the highlight bar to mark the target pressure
using the cursor keys.
(14)Set the target pressure to 1000mbar using the increment keys.
(15)Select SequencetoStandbyfromthekeyoptionsalongthebottomof
the screen, then allow the printer to run for 3--5 minutes while
checking for leaks, the message ’Abnormal Ink Pressure’ may
appear.
(16)Change the target pressure back to the original value recorded in
step (12).
The printer is now ready for the jet to be switched on.
(17)Select Sequence to Jet Run fromthekeyoptions along the bottom of
the screen.
(18)Check the jet alignment is correct accordingto the diagram on pg.
A--8.
(19)Select Sequence On from the key options along the bottom of the
screen.
(20)Check that approximately 40 seconds after pressing the Sequence
On key, the Status bar message changes to Ready to Print and the
green status lamp stops flashing and shows steadily.
Ink
System
Seq to
Standby
Seq to
Jet Run
Sequence
On

 Loading...

