APPENDIX B : COMPRESSOR DRIVEN AIRDRYER
20950 Issue 1 April 98 B--35
Testing the PRV Pressure
CAUTION Ensure the vent is clear.
(1) With the mains isolator off and the door open, set switch SW1 to
TEST.
(2) Turn the needle valve fully clockwise (closed).
(3) Switch the isolator to ON.
(4) Turn the regulator clockwise, until the pressure reading on the
gauge no longer increases.
(5) Note the pressure on the gauge. This should be 4bar ¦0.2bar.
(6) To release the pressure from the system, turn the needle valve
anti--clockwise by one turn.
(7) With the mains isolator switched OFF, set switch SW1 to
NORMAL.
(8) If the pressure was found to be within limits, reset the airdryer
pressure and airflow , as detailed in the airdryer test kit
(9) If thepressureisfoundtobeoutofspecification, adjustthe PRV as
detailed below.
Adjusting the PRV
Note: Thread Sealant (Loctite 542 with Activator 7491) will be
required when re--assembling the connectors -- see step (3).
(1) WiththemainsisolatorsettoOffandthedooropen,setswitchSW1
to TEST.
(2) Turn the needle valve fully clockwise (closed).
(3) Cut the cable tie securing the PRV body.
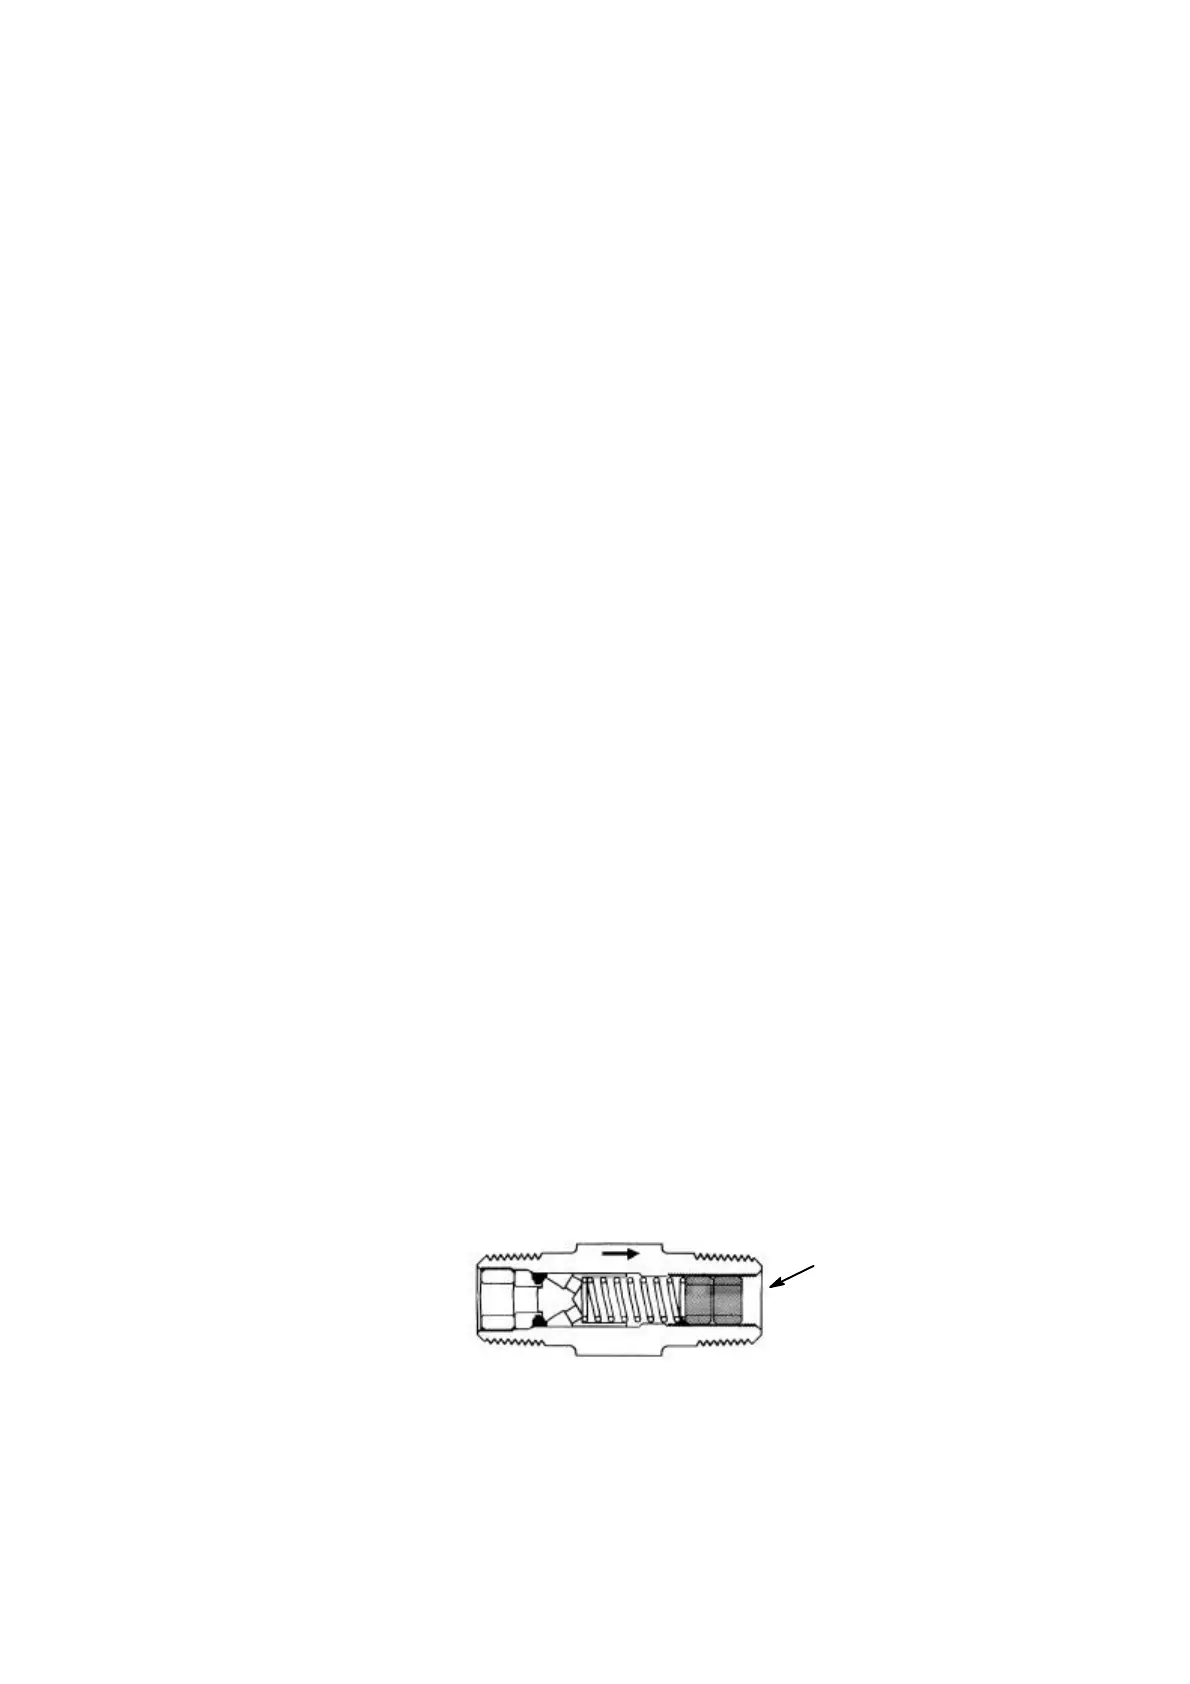
(4) Identify the PRV adjustment end (see diagram), an arrow on the
body of the PRV points to this end.
OUTLET
INLET
Adjustment end
TP7804_1
(5) At the adjustment end of the PRV, undo the nut on the elbow, and
remove the elbow from the PRV.

 Loading...

