OPERATION
25257 Issue 3 November 2013 3-25
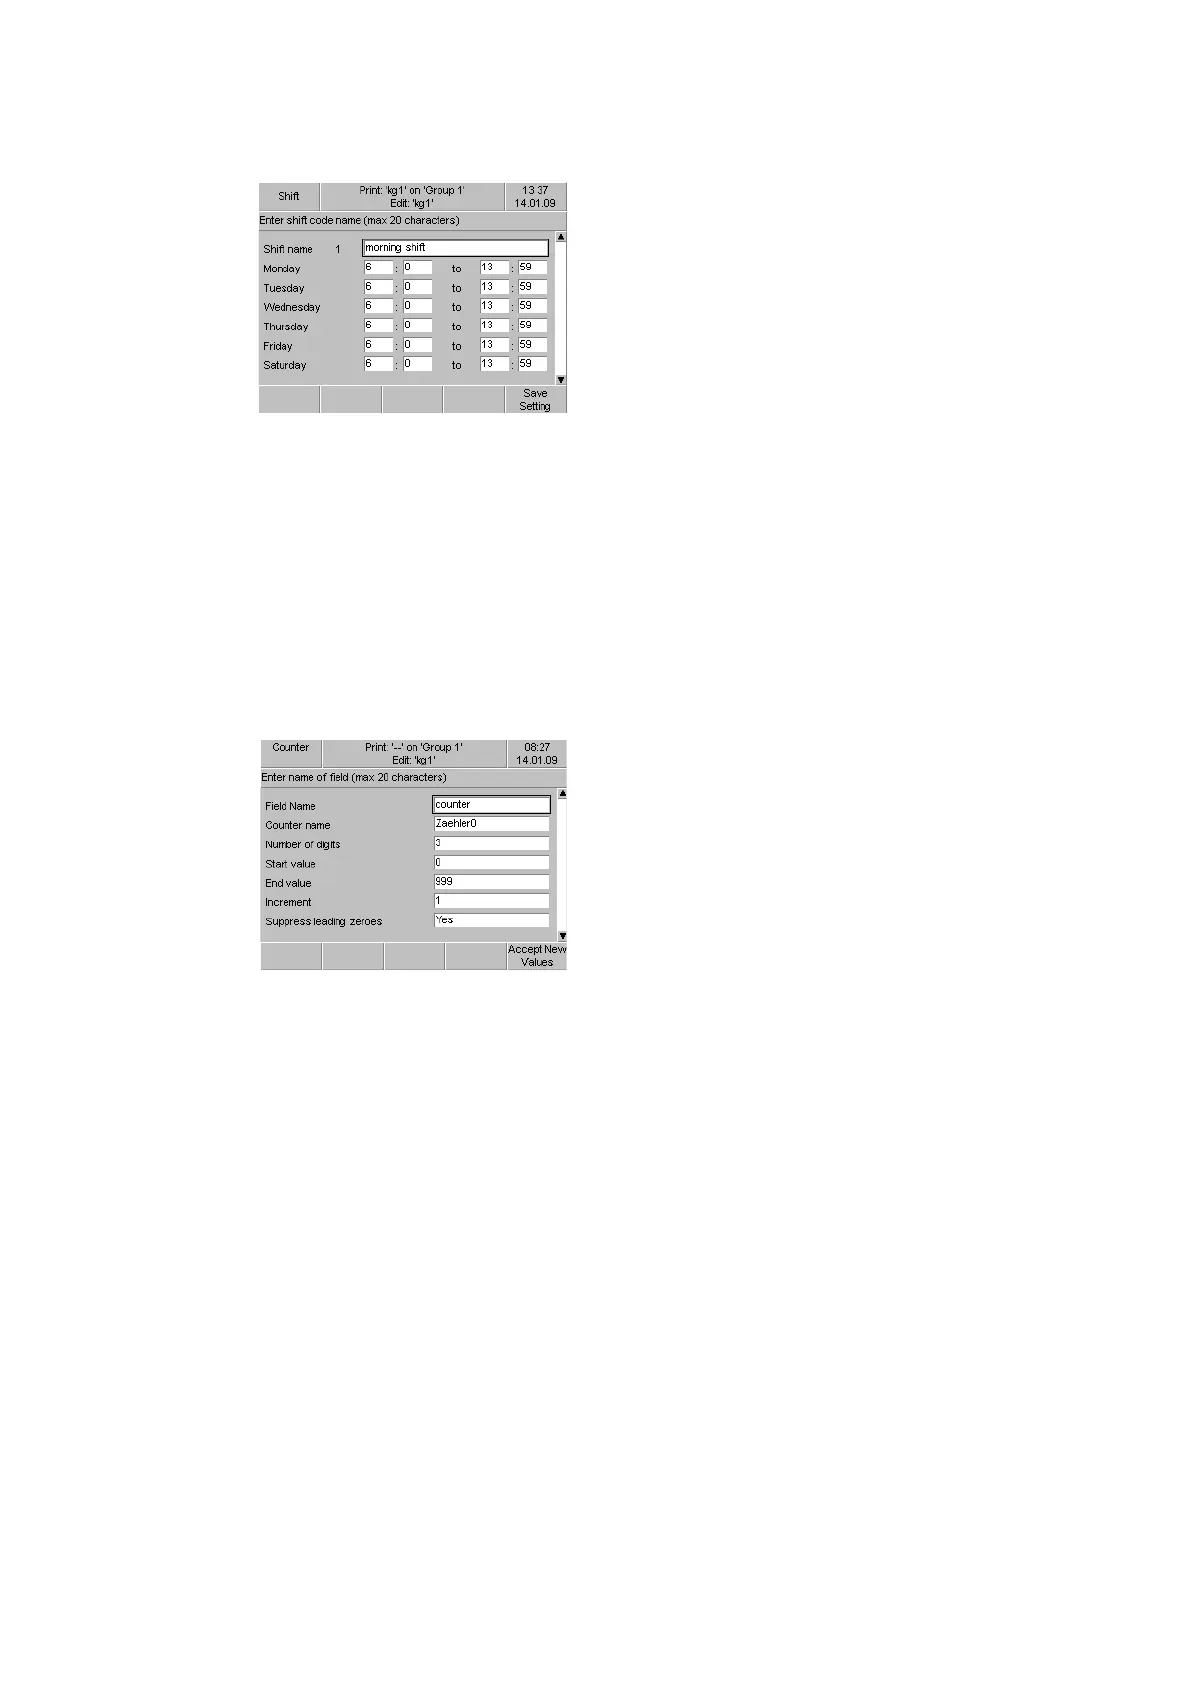
(7) Enter a name for shift 1 (this name will appear in the message).
(8) Enter the start and end time for each day of the week of shift 1.
(9) Repeat steps 7, 8 and 9 for shift 2, shift 3, etc.
(10)Select Save Setting.
(11)Return to the Message menu and select >> and Save or Save As the
message.
(12)Reboot the printer.
Counter
Note: Before adding a counter to a message, counters must have been initially
configured in the Service >Config>Counters menu. Refer to “Counter
Configuration” on page 3-45.
Field Name: Enter the name of the field, if required.
Note: This is referred to when linking fields.
Counter name: Select a counter from the counter list.
Number of digits: Size of the counter in digits.
Start and End value: The minimum and maximum value of the counter.
These can be negative values.
Increment: The value the counter should increment for each product
detection.
Suppress Leading zeroes: To remove the first zero(s) of the counter (e.g.
000102 becomes 102).
 Loading...