9. Clean the area around the filling port and the oil dipstick.
10. Remove the cap and fill with fresh engine oil.
11. Close the cap.
12. After a short test run, check the oil level on the oil dipstick; if
necessary, top up to the “MAX” mark.
13. Check the oil filter cartridge and drain plug for leaks.
14. Dispose of the oil and filters in line with environmental regula-
tions.
8.8.2 Checking, tensioning the V-belt
8.8.2.1 Checking the V-belt
Protective equipment:
n
Working clothes
n
Protective gloves
1.
Park the machine in secured condition
Ä
Chapter 6.5
„Parking the machine in secured condition“ on page 90.
2. Allow the engine to cool down.
3. Check the entire circumference of the V-belt for damage and
cracks.
4.
Replace a damaged or cracked V-belt
Ä
Chapter 8.9.1
„Replacing the V-belt“ on page 127.
5. Check with thumb pressure whether the V-belt can be
depressed more than 7 to 9 mm (0.28 – 0.35 inch) between
the V-belt pulleys, retighten if necessary.
8.8.2.2 Tightening the V-belt
Protective equipment:
n
Working clothes
n
Protective gloves
1. Loosen the tensioning screw (1) and the screw (2) on the
generator.
2. Press the generator towards the outside using a lever, until
the correct V-belt tension is reached.
3. Retighten clamping screw (1) and screw (2).
Fig. 139
Fig. 140
Fig. 141
Maintenance – Every 250 operating hours/annually
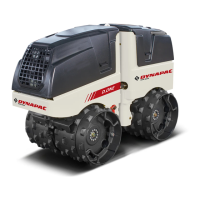
D.ONE
117