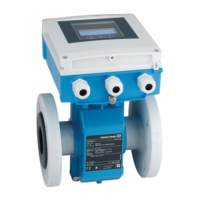
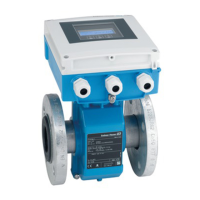
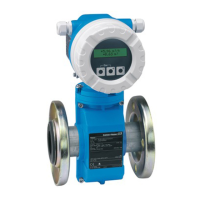
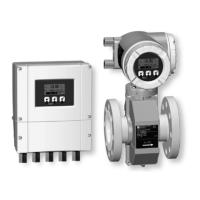
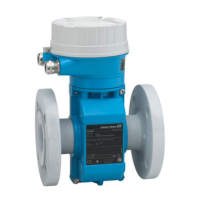
Proline Promag W 400 EtherNet/IP Installation
Endress+Hauser 33
PUSH TO
REMOVE
TX 20
4 x
7.
PUSH TO
REMOVE
8.
A0021604
A0021605
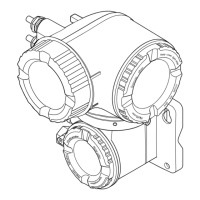
1. Loosen the fixing screws of the housing cover (when reassembling, pay attention to
the tightening torque → 34).
2. Open the housing cover.
3. Unlock the display module.
4. Remove the display module.
5. Loosen the fixing screws of the smart sensor electronics module (when reassembling,
pay attention to the tightening torque → 34).
6. Remove the smart sensor electronics module (when reassembling, pay attention to
the coding of the plug → 33).
7. Loosen the fixing screws of the main electronics module (when reassembling, pay
attention to the tightening torque → 34).
8. Remove the main electronics module.
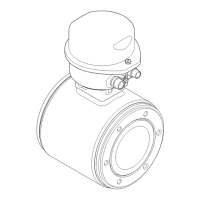
9. Loosen the fixing screws of the transmitter housing (when reassembling, pay
attention to the tightening torque → 34).
10. Lift the transmitter housing.
11. Turn the housing to the desired position in increments of 90°.
Reassembling the transmitter housing
L
WARNING
Excessive tightening torque applied to the fixing screws!
Damage to the transmitter.
‣
When reassembling, tighten the fixing screws as per the tightening torque:

 Loading...
