Connecting to the Fabric Card USB Port
3-32 Chassis Setup
Removing a Pluggable Transceiver
Toremoveapluggabletransceiverfromaport:
1. PutontheantistaticwriststrapandplugthecablefromtheantistaticwriststrapintotheESD
groundingreceptacleattheupperrightcornerofthechassisbeforeremovingthepluggable
transceiverfromtheanti‐staticpackaging.Refertotheinstructionsin
theanti‐staticwrist
strappackage.
2. Removethecablesconnectedtothepluggabletransceiver.
3. Releasethepluggabletransceiverfromtheport.
4. Graspthesidesofthepluggabletransceiverandpullitstraightoutoftheport.
Ifstoringorshippingthepluggabletransceiver,insertitsdustprotectortoprotectitsfiber‐optic
ports.
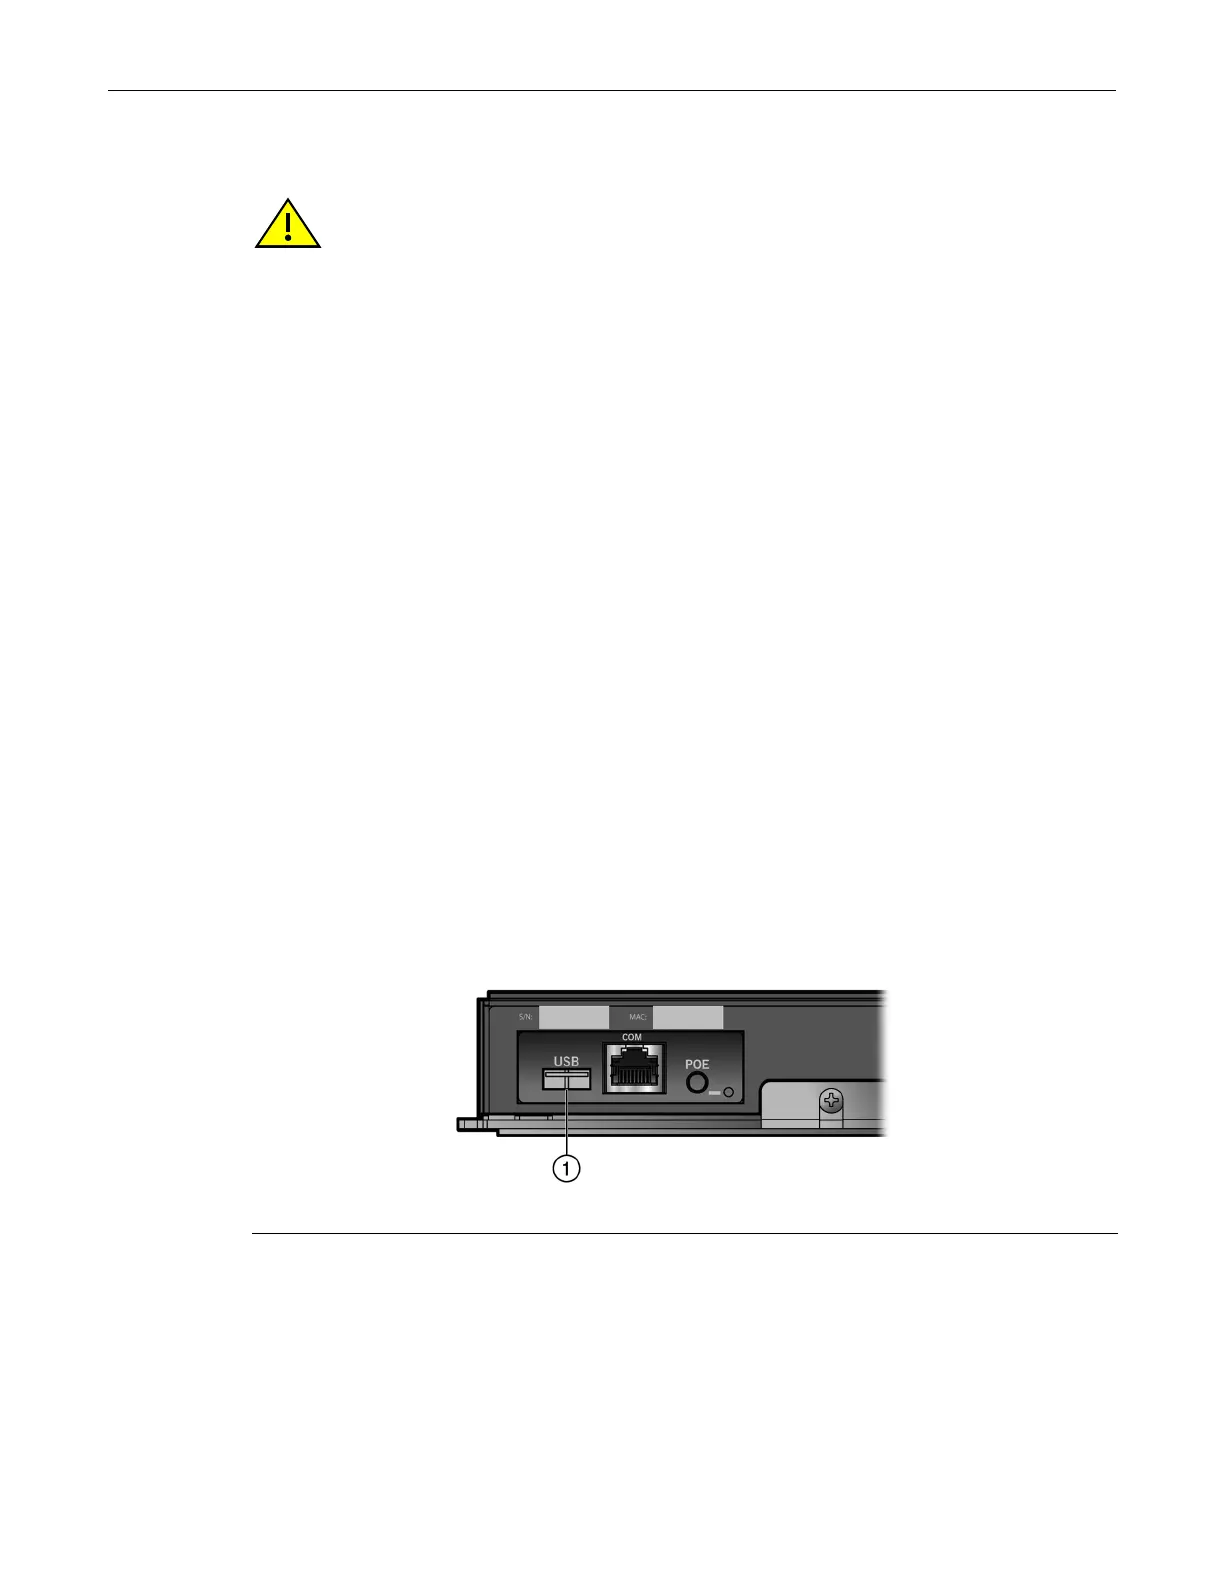
Connecting to the Fabric Card USB Port
ThefabriccardhasoneUSBport.SeeFigure 3‐29.TheUSBportallowsyoutouseaUSBdriveto
upgradethechassisanduploadanddownloadfiles,suchas configurationfilesandfirmware
images.
Figure 3-29 Fabric Card USB Port
Caution: Do NOT remove an SFP or SFP+ from a slot without releasing the locking tab located
under the front bottom end of the SFP or SFP+
. This can damage the SFP or SFP+.
The SFP, SFP+, and module are sensitive to static discharges. Use an antistatic wrist strap and
observe all static precautions during this procedure. Failure to do so could result in damage to the
SFP, SFP+, and module. Always leave the SFP or SFP+ in the antistatic bag or an equivalent
antistatic container when not installed.
Precaución: NO quite el SFP o SFP+ de la ranura sin antes abrir la traba ubicada en la parte
frontal del el SFP o SFP+.
Utilice la pulsera antiestática y tome todas las precauciones necesarias durante este
procedimiento. Si no lo hace, podría dañar el SFP, SFP+ o el módulo. Mientras no esté instalado,
mantenga el SFP o SFP+ en su bolsa antiestática o en cualquier otro recipiente antiestático.
1 USB port