Maintenance 6. Maintenance Parts Replacement Procedures
144 RC180 Rev.17
Mount a new fan filter in
When an Option Unit is mounted, no fan filter is necessary.
two fan cable connectors to the CPU board.
Maintenance 3.2 Diagram of Cable Connections
- Cable Layout Drawing
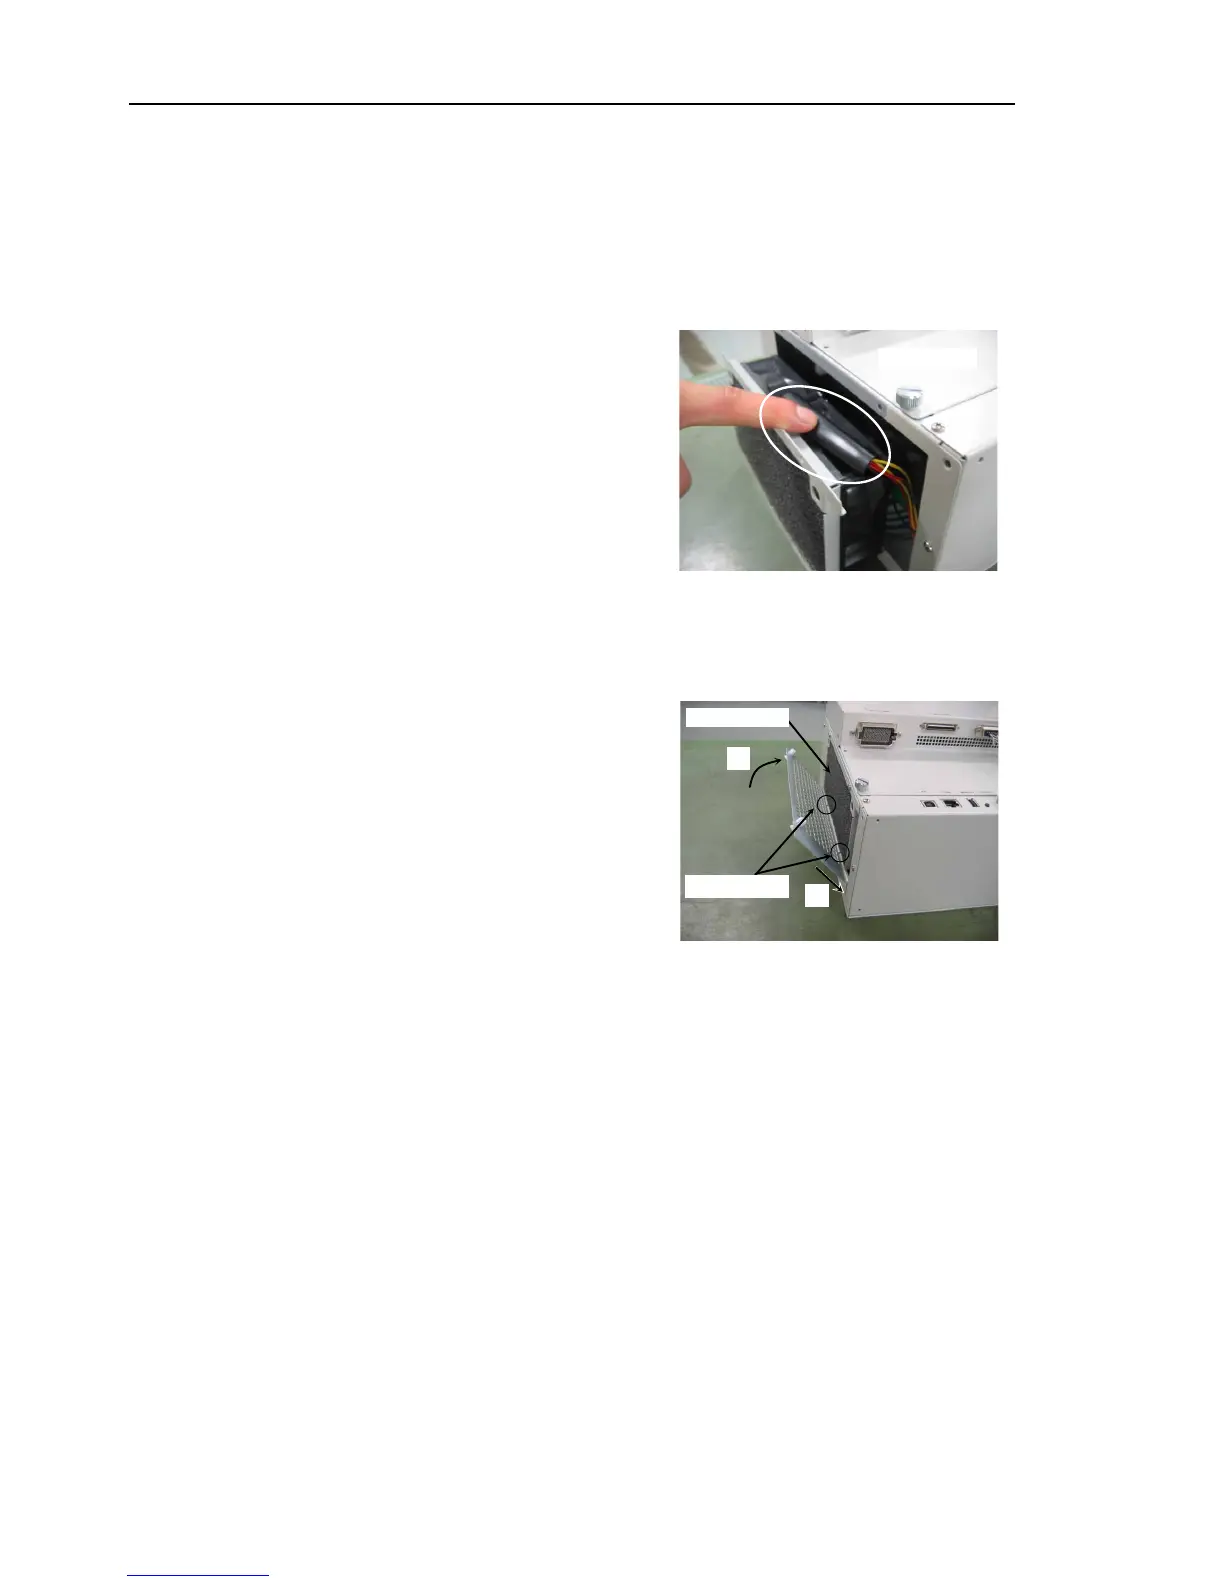
Hold down the fan cable protection tube
as shown in the photo and install the fan
unit to the Controller.
Be sure to keep the Controller cable
from being trapped between the DPB
and the fan.
the main chassis with four screws.
Mount the Option units if they were mounted
Maintenance 6.7.2 Mount Option Unit 1.
Insert the two flared parts of the inlet
plate into
the opening of the Controller
in the direction shown by arrow (a).
Push in the two plastic fasteners in the
direction shown by arrow (b) until they
make a clicking sound to mount
that the plate is mounted
the power connector. Turn ON the Controller and make sure that the
Controller starts properly without any vibration or abnormal noise.