EasyManuals Logo

Epson RC180 User Manual

Epson RC180
264 pages
To Next Page IconTo Next Page
To Previous Page IconTo Previous Page
Page #171 background imageLoading...
Page #171 background image
Maintenance 6. Maintenance Parts Replacement Procedures
RC180 Rev.17 159
6.6 Fuse
The fuse is not used for RC180-UL.
Fuse
Remove
(1)
Turn OFF the Controller and unplug the power connector.
(2)
Remove
the Option Unit when it is mounted.
Refer :
Maintenance 6.7.2 Remove Option Unit 1
Maintenance 6.7.5 Remove Option Unit 1, 2
(3)
Remove
the fan unit
Refer :
Maintenance 6.1.2 Replacing Fan Unit
(4)
Remove
the Motor Drive Module.
Refer :
Maintenance 6.3.2 Replacing Motor Driver (Axis 1 to4)
(5)
Remove four screws on
the intermediate
plate as shown.
Intermediate
Plate
(6)
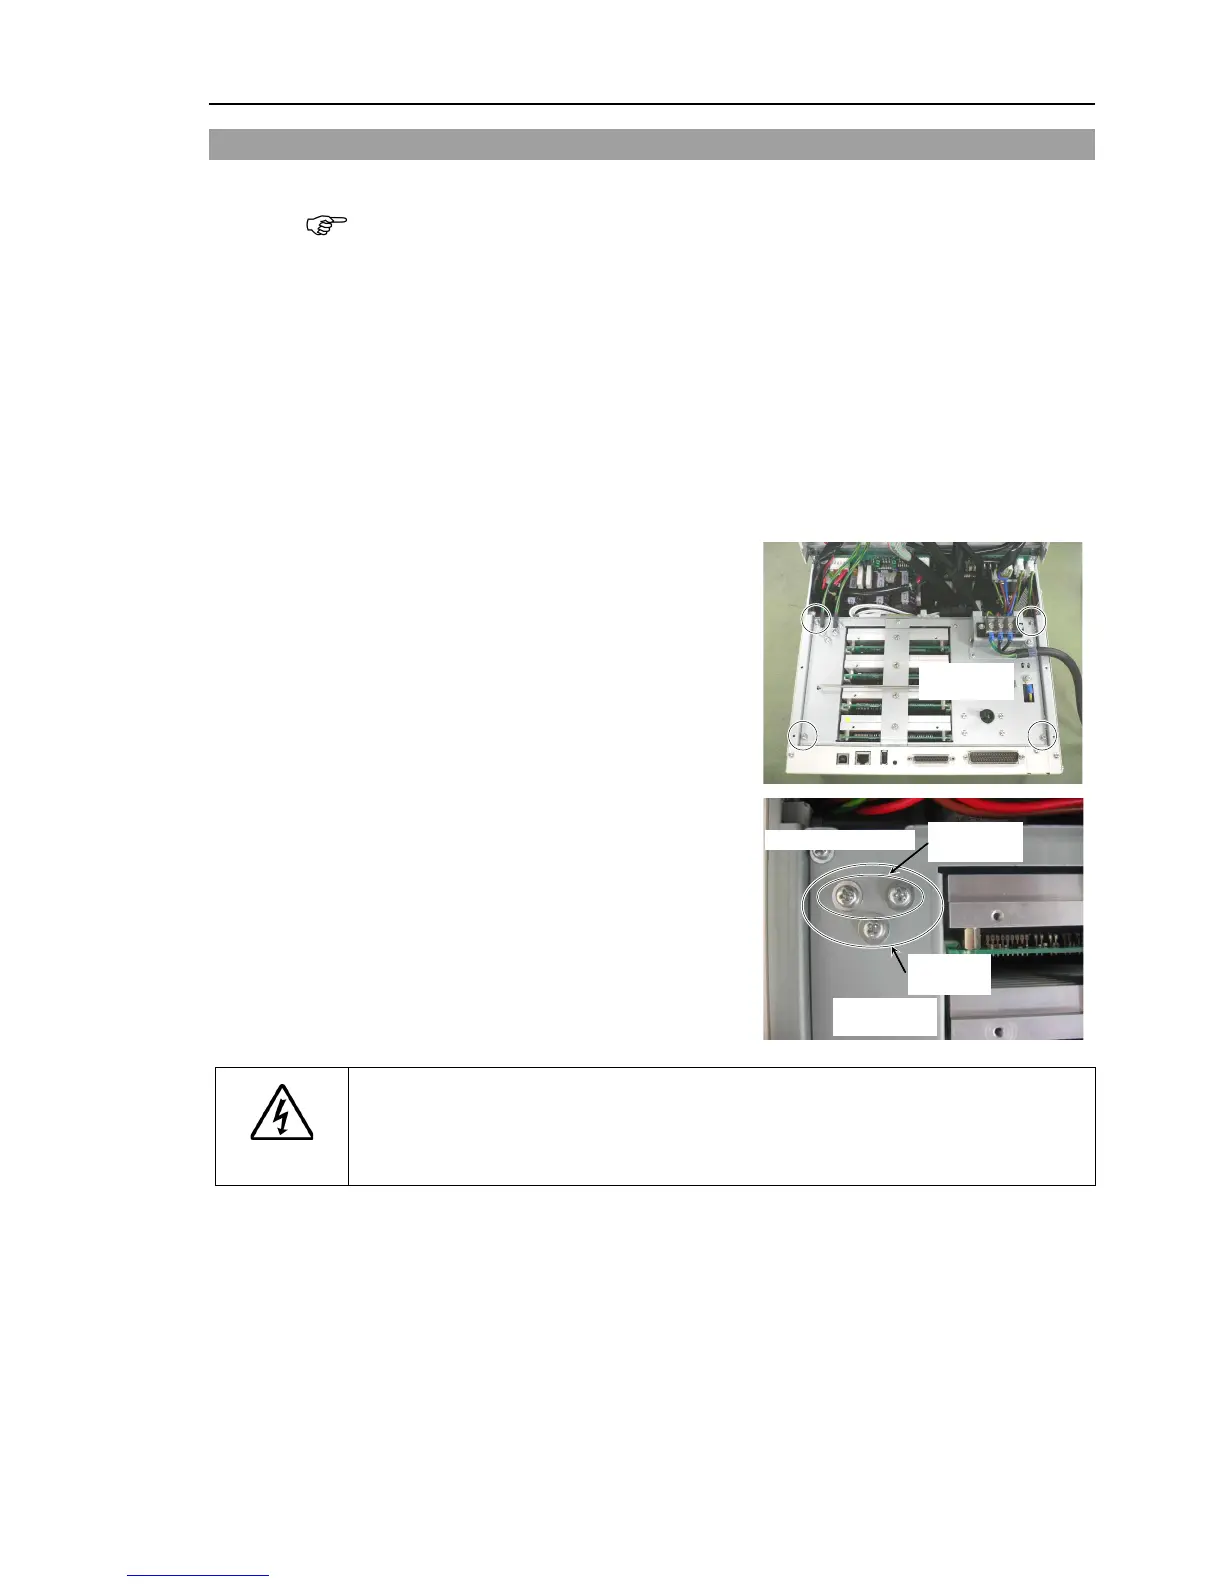
Remove the FG mounting screws
(G
, RS: 2 screws/ C3, S5: 3 screws)
and remove
the plate.
Be sure to remove the intermediate plate
slowly.
The cables are connected to the main
chassis.
Intermediate
Plate
C3, S5
(3 screws)
FG Mounting Screw
G, RS
(2 screws)
WARNING
B
efore disconnecting the DPB cable connector, always make sure that the power
supply of the Controller
is unplugged.
Performing this procedure while the
power supply is
connected
is extremely hazardous and may result in electric
shock and/or cause serious safety problems.
NOTE
NOTE

Table of Contents

Other manuals for Epson RC180

Questions and Answers:

Question and Answer IconNeed help?

Do you have a question about the Epson RC180 and is the answer not in the manual?

Epson RC180 Specifications

General IconGeneral
BrandEpson
ModelRC180
CategoryController
LanguageEnglish

Related product manuals