Maintenance 6. Maintenance Parts Replacement Procedures
154 RC180 Rev.17
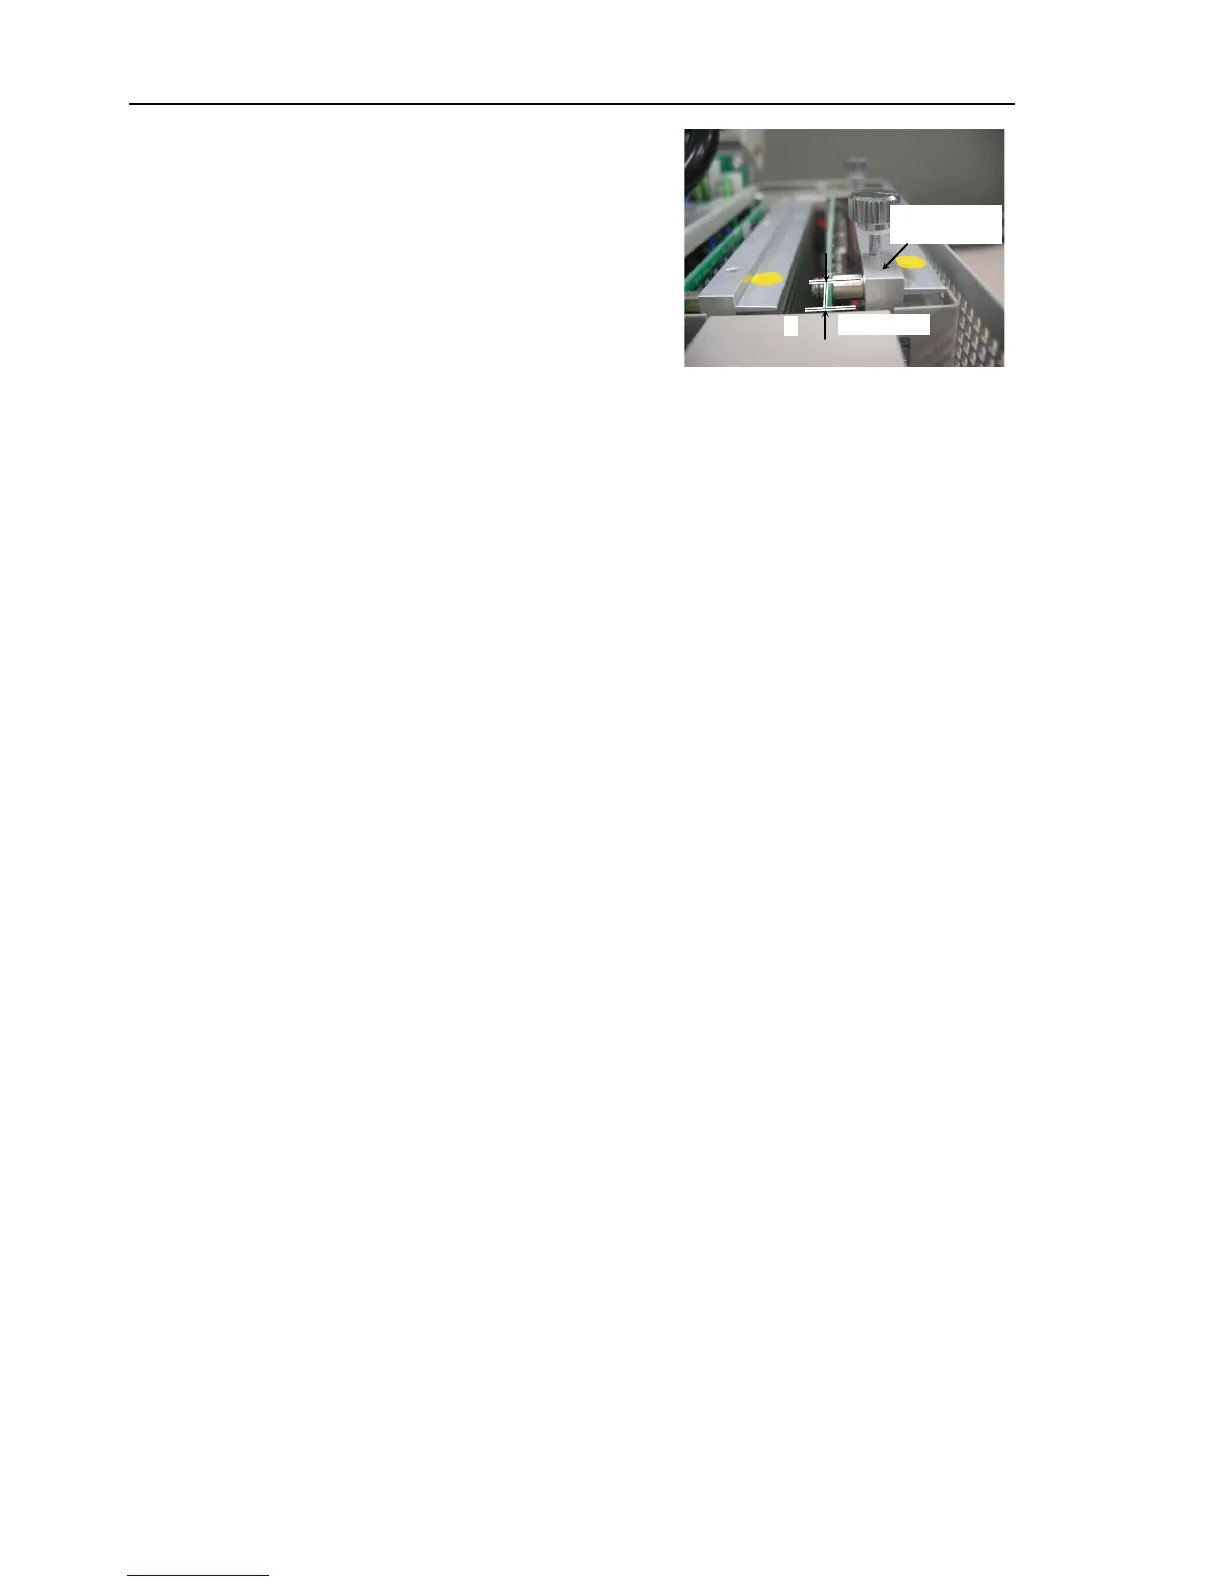
the Motor Driver along the guide
the surface height differences
the Motor Driver comes to 5 mm or
Top Surface of
Motor Drive
Push the Motor Driver securely into the
two Motor Driver connectors.
the Motor Driver mounting bracket with two screws.
the ProSix Driver Unit with four screws.
Maintenance 6.3.2 Replacing Motor Driver (Axis 1 to 4)
Mounting procedure from (5) to (9)
the power connector. Turn ON the Controller and make sure that
the
Controller starts properly without any vibration or abnormal noise.