SC-F2000 Revision C
DISASSEMBLY & ASSEMBLY Disassembly and Assembly Procedure 139
Confidential
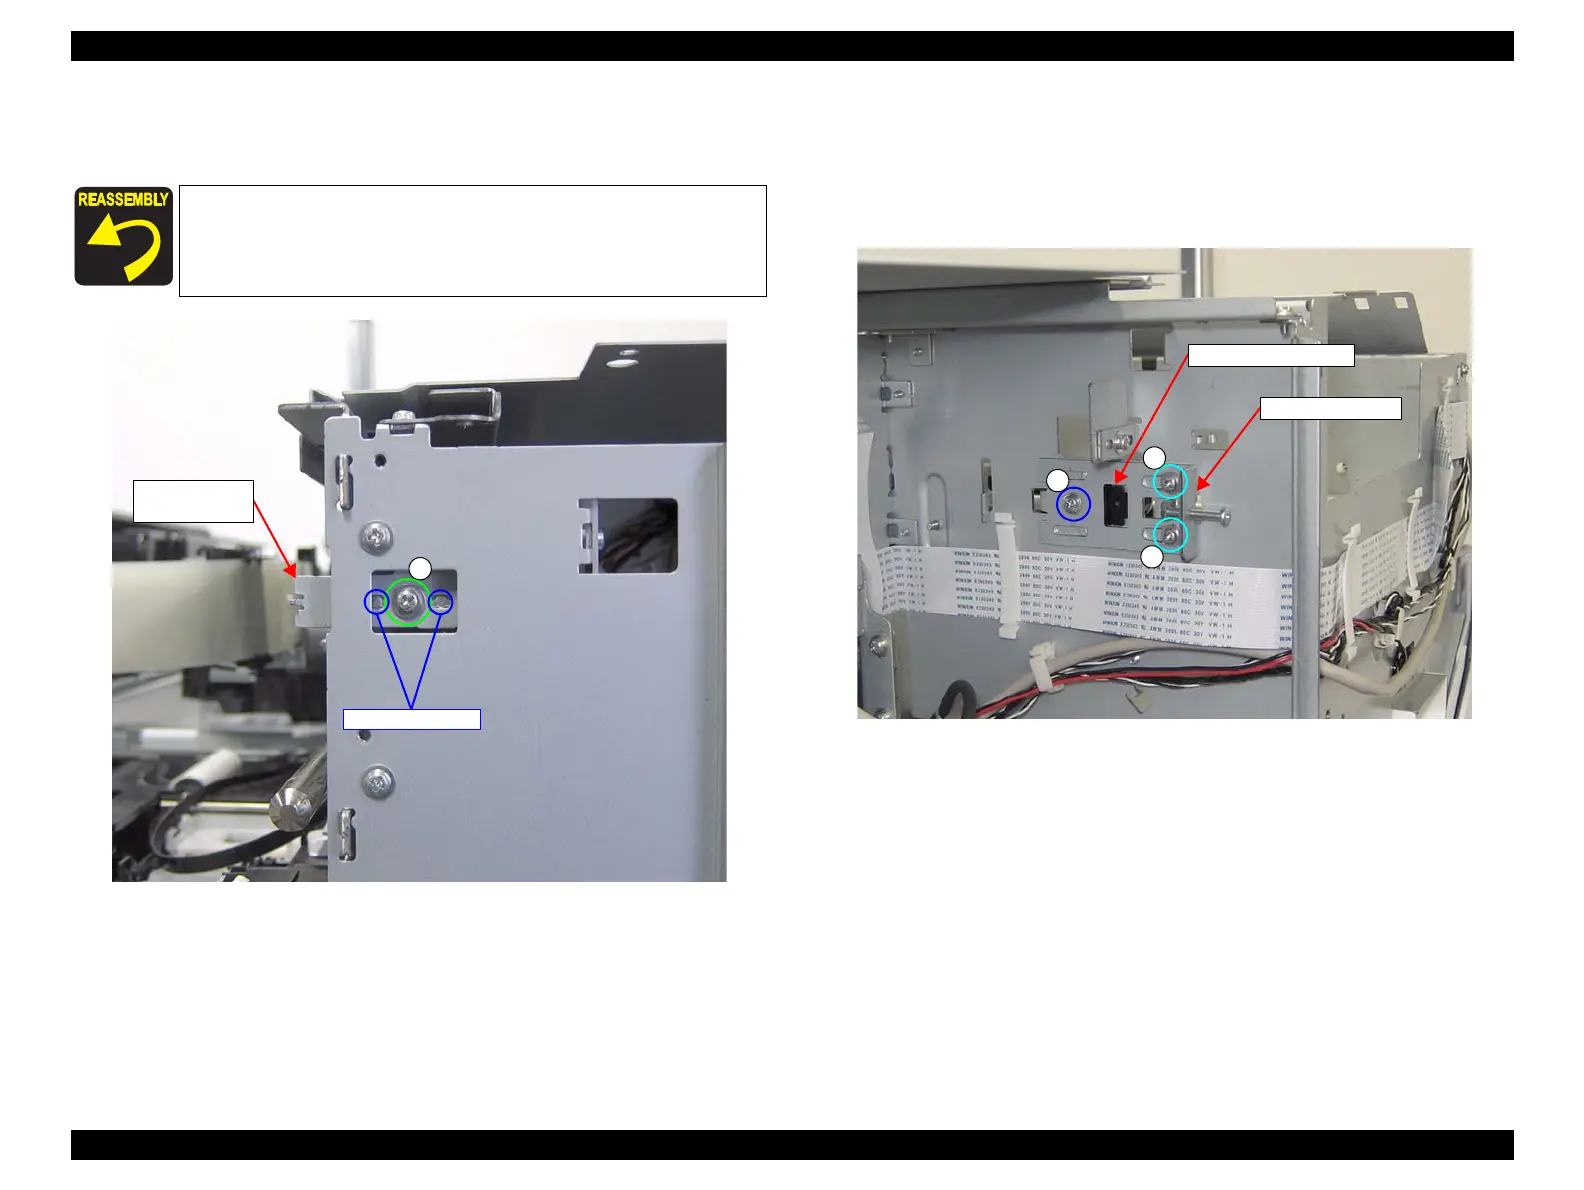
14. Remove the screw, remove the Right CR Scale Fixing Plate.
B) Silver M3x6 S-tite screw with built-in spring washer: 1 pcs
Figure 3-105. Removing the Right CR Scale Fixing Plate
15. Remove the three screws, and remove the CR Drive Pulley Assy and CR Pulley
Holder.
C) Silver M3x8 Cup P-tite screw: 1 pcs
D) Silver M3x8 Cup S-tite screw: 2 pcs
Figure 3-106. Removing the CR Pulley Holder /CR Drive Pulley Assy
Pay attention to the positioning points (See Figure 3-105).
Right CR Scale
Fixing Plate
B
Positioning points
D
D
C
CR Pulley Holder
CR Drive Pulley Assy
 Loading...


