This chapter describes the procedure for the positioning of drilling points (drill-holes, slots, notches) on a
lens.
• Description of the drilling screen (F p.75)
• Configuring drilling settings (F p.78)
• Drilling models (F p.83)
Once the drilling parameters have been set, you can go on to the centering of the lens.
Prerequisite: you must already have carried out lens tracing.
Glass lenses
The drilling function is not available for glass lenses.
Optical tracing (option)
If you trace a demo lens or a pattern using the optical tracing function, then the drilling screen is
displayed automatically once the tracing is complete.
The drilling screen is accessible on the tracer according to the edger to which it is connected:
• Neksia Classic
• Neksia RC
• Neksia Drill (with drilling function).
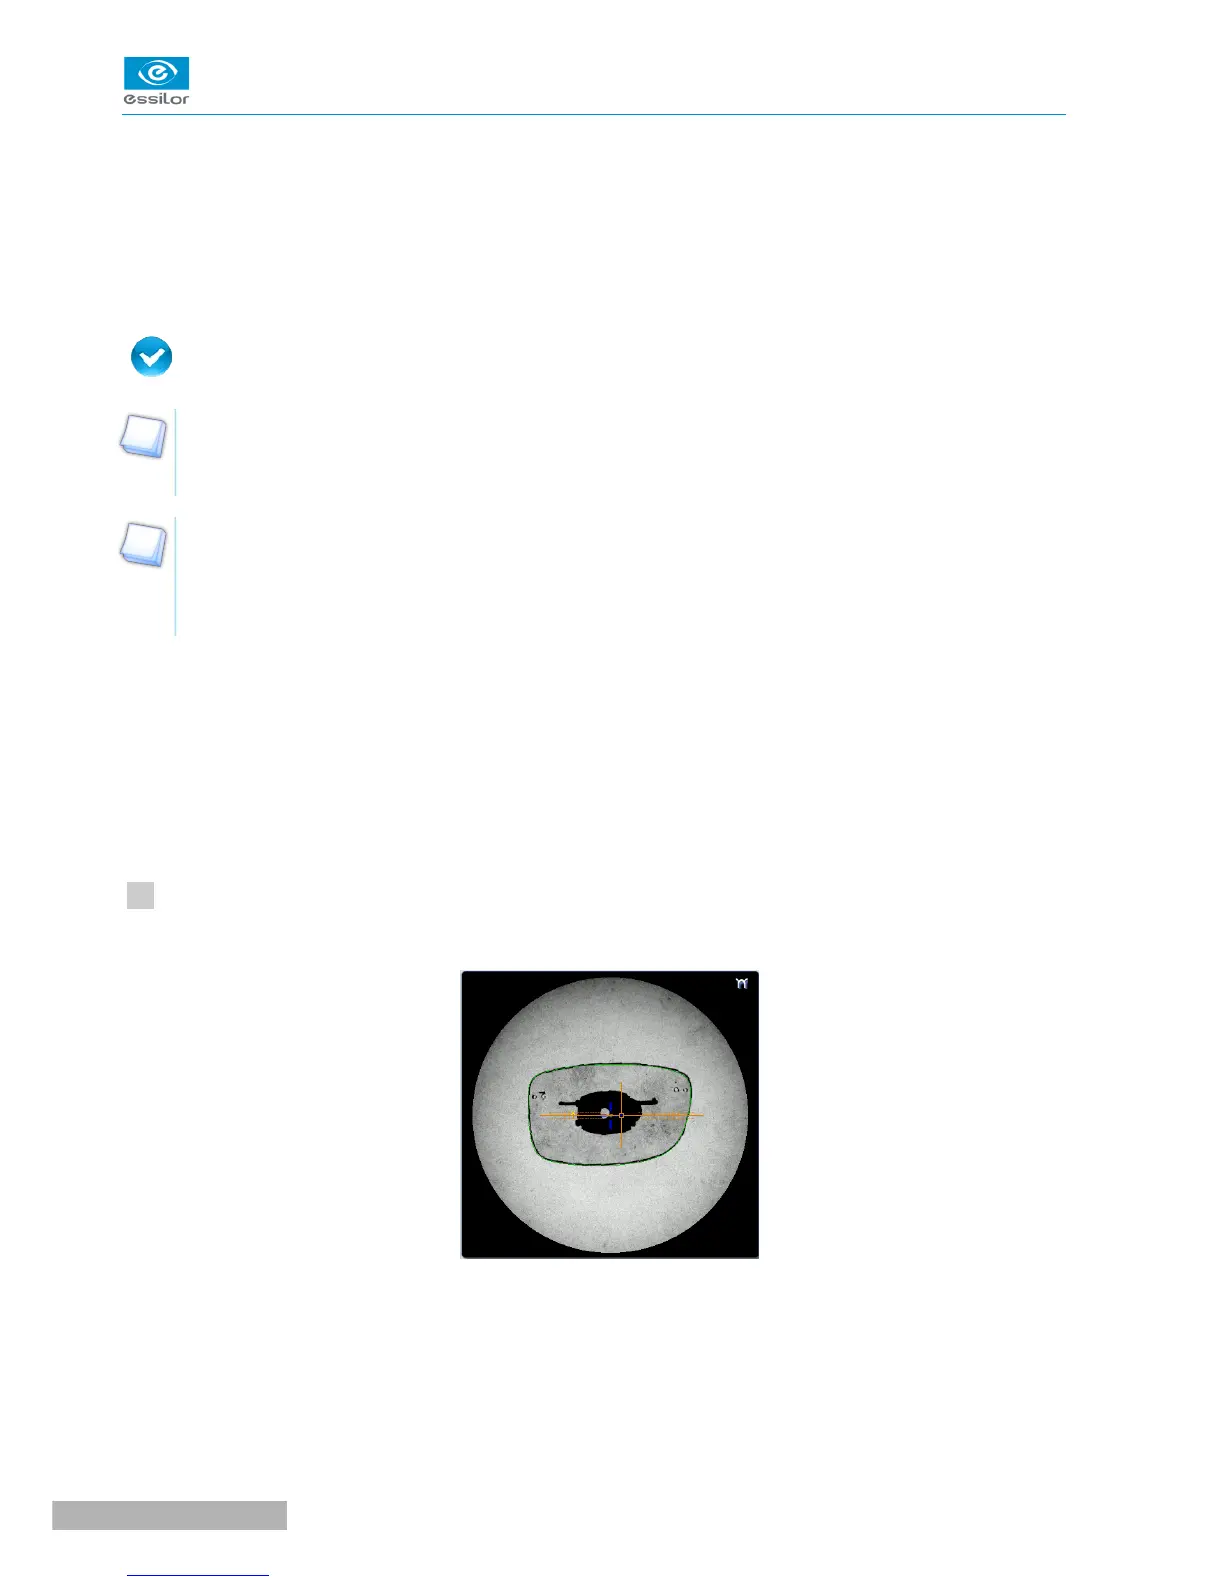
Photo mode
To prepare a drilled job from a mechanically traced shape, proceed as follows:
On the centering screen, position the demo lens within the centering chamber so that the shape and the
demo lens coincide as far as possible.

 Loading...
