Grouping the drilling points
If you need to modify several drilling points simultaneously, you can group them together provided
they are on the same side of the shape (nasal side / temporal side).
By default, the symbol is displayed: each drilling point can be modified individually.
• Press .
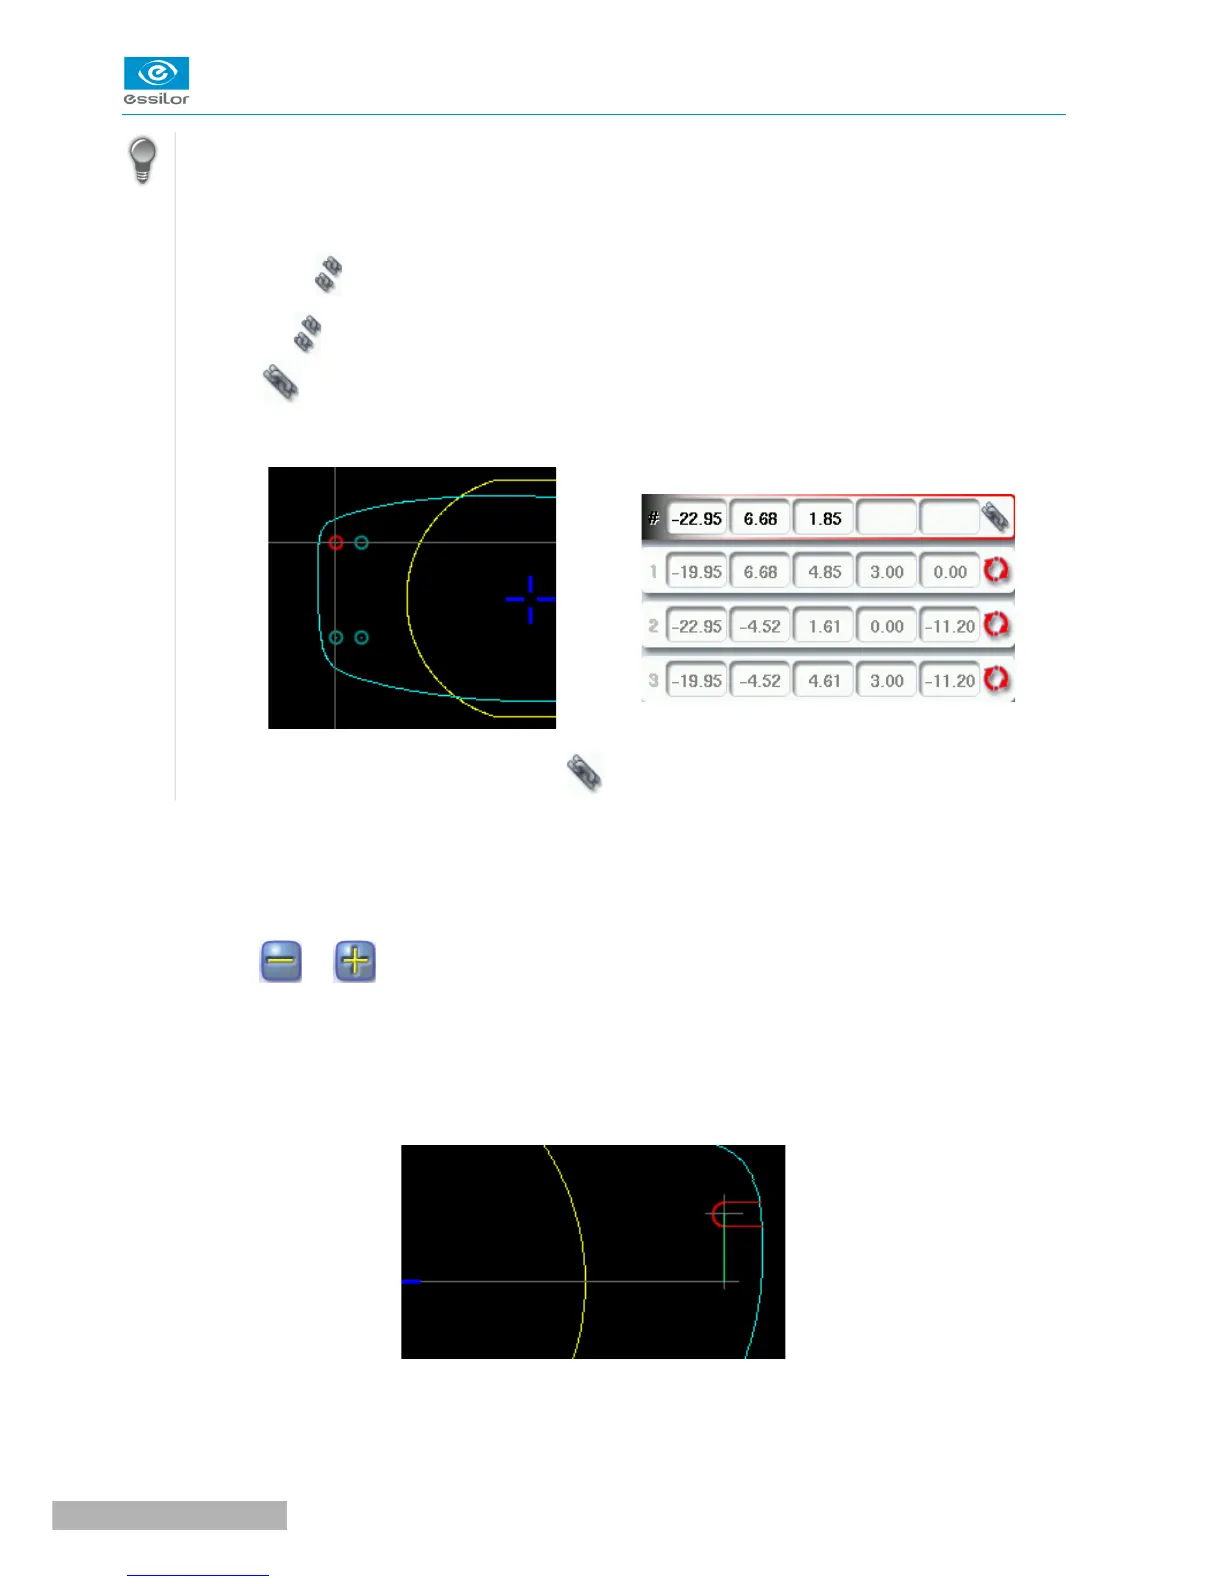
> is displayed. All future modifications will be applied to all drilling points in the same way:
◦ only the reference drilling point is modifiable,
◦ the coordinates of the other drilling points are greyed out.
• To un-group the drilling points, press again.
d. Adjusting the position of a drilling point
You have three options for adjusting the position of a drilling point on a shape:
• use the virtual mouse,
• use the or buttons to decrease or increase the selected value,
• enter the exact coordinates of the drilling point directly.
The drilling coordinates are those of its entrance drill-hole.
• For a drill-hole, it is the center.
• For a slot and a notch, the entrance point is always on the side which is furthest away from the edge
of the lens:

 Loading...
