The drilling screen is displayed:
The drilling points are positioned in keeping with:
• The settings of each drilling point in the model
• The Y coordinates of each drilling point in relation to the boxing center of the model shape
• The distance between the reference drilling point and the edge of the lens
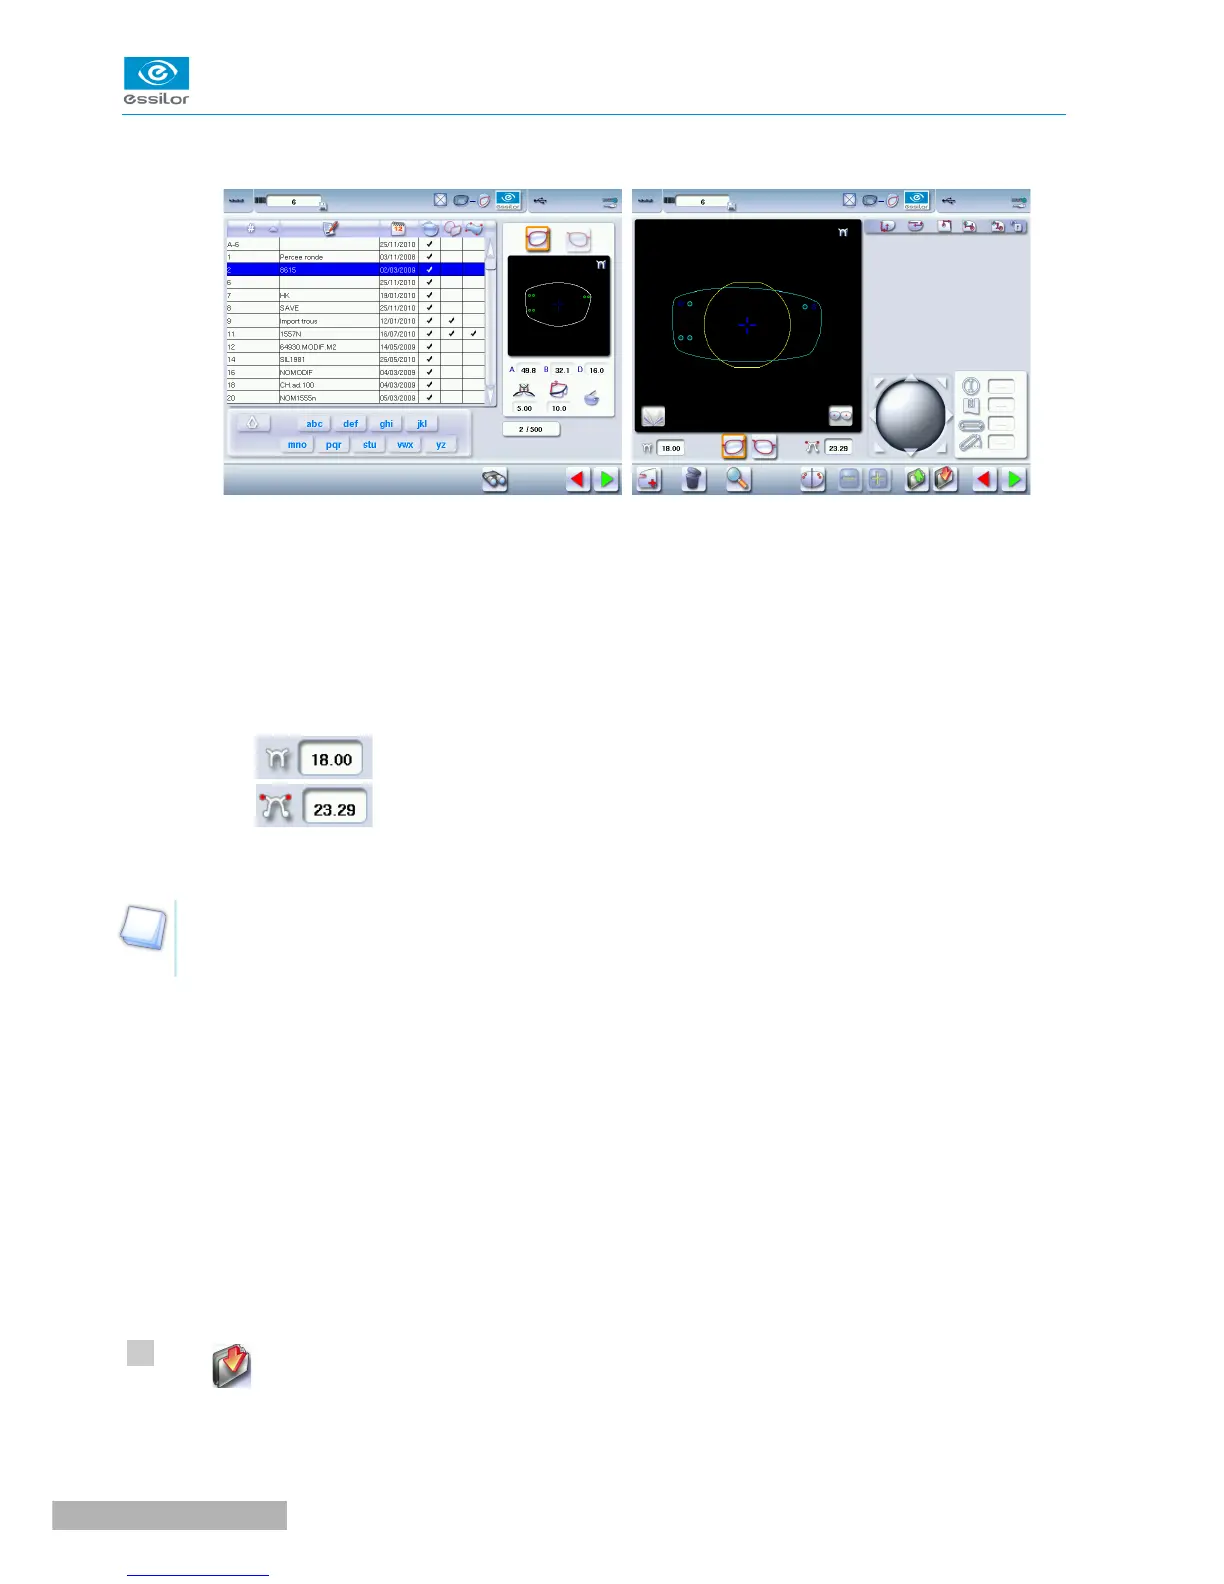
Two values are displayed under the work area
• The D-dimension (in mm) you have entered for the tracing
• The separation (in mm) between the two reference drilling points on the nasal
side (right lens and left lens)
Once the model has been imported, you can move the drilling points if you wish. For more
information, consult the section Preparing a drilling job > configuring a drilling point (F p.78).
b. Saving a model
This function makes it possible to memorize a shape and its drilling points in a new job with a new ID whilst
saving the original job.
Saving a model enables you to save in a new job:
• The traced shape
• The value of the D-dimension
• The drilling settings
• The drilling heights in relation to the boxing center of the shape (coordinated in Y)
• The distance from reference drilling points in relation to the edge of the lens (other drillings, in
relation to reference drilling)
Press to save the job and its drilling points.
The job-creation alphanumeric keypad is displayed.

 Loading...
