Press on to confirm.
The tracing result is displayed in the centering screen, in monocular format on a 1:1.6 scale.
Tracing - tracing mode
In tracing - tracing mode, the result of the tracing is displayed in the work area of the tracing screen.
For more information on working modes, consult the section Perform a trace > Tracing environment >
Jobs and working modes (F p.18).
Before Centering
If you want to add drilling points to your lenses, refer to the section Preparing a drilled job (F p.87).
5. TRACING A PATTERN, DEMO LENS OR RECUT LENS
Two types of tracing are available for patterns, demo lenses and recut lenses: optical tracing and mechanical
tracing. This section also presents the operations to be carried out to enter the curve angle and frame base
which cannot be captured in this type of tracing.
• Optical tracing (F p.30)
• Mechanical tracing (F p.32)
• Inputting the curve and the frame base after monocular tracing (F p.35)
a. Optical tracing (option)
Preparing optical tracing of demo or recut lens
This type of tracing makes it possible to retrieve the existing shape and drilling data of a lens.
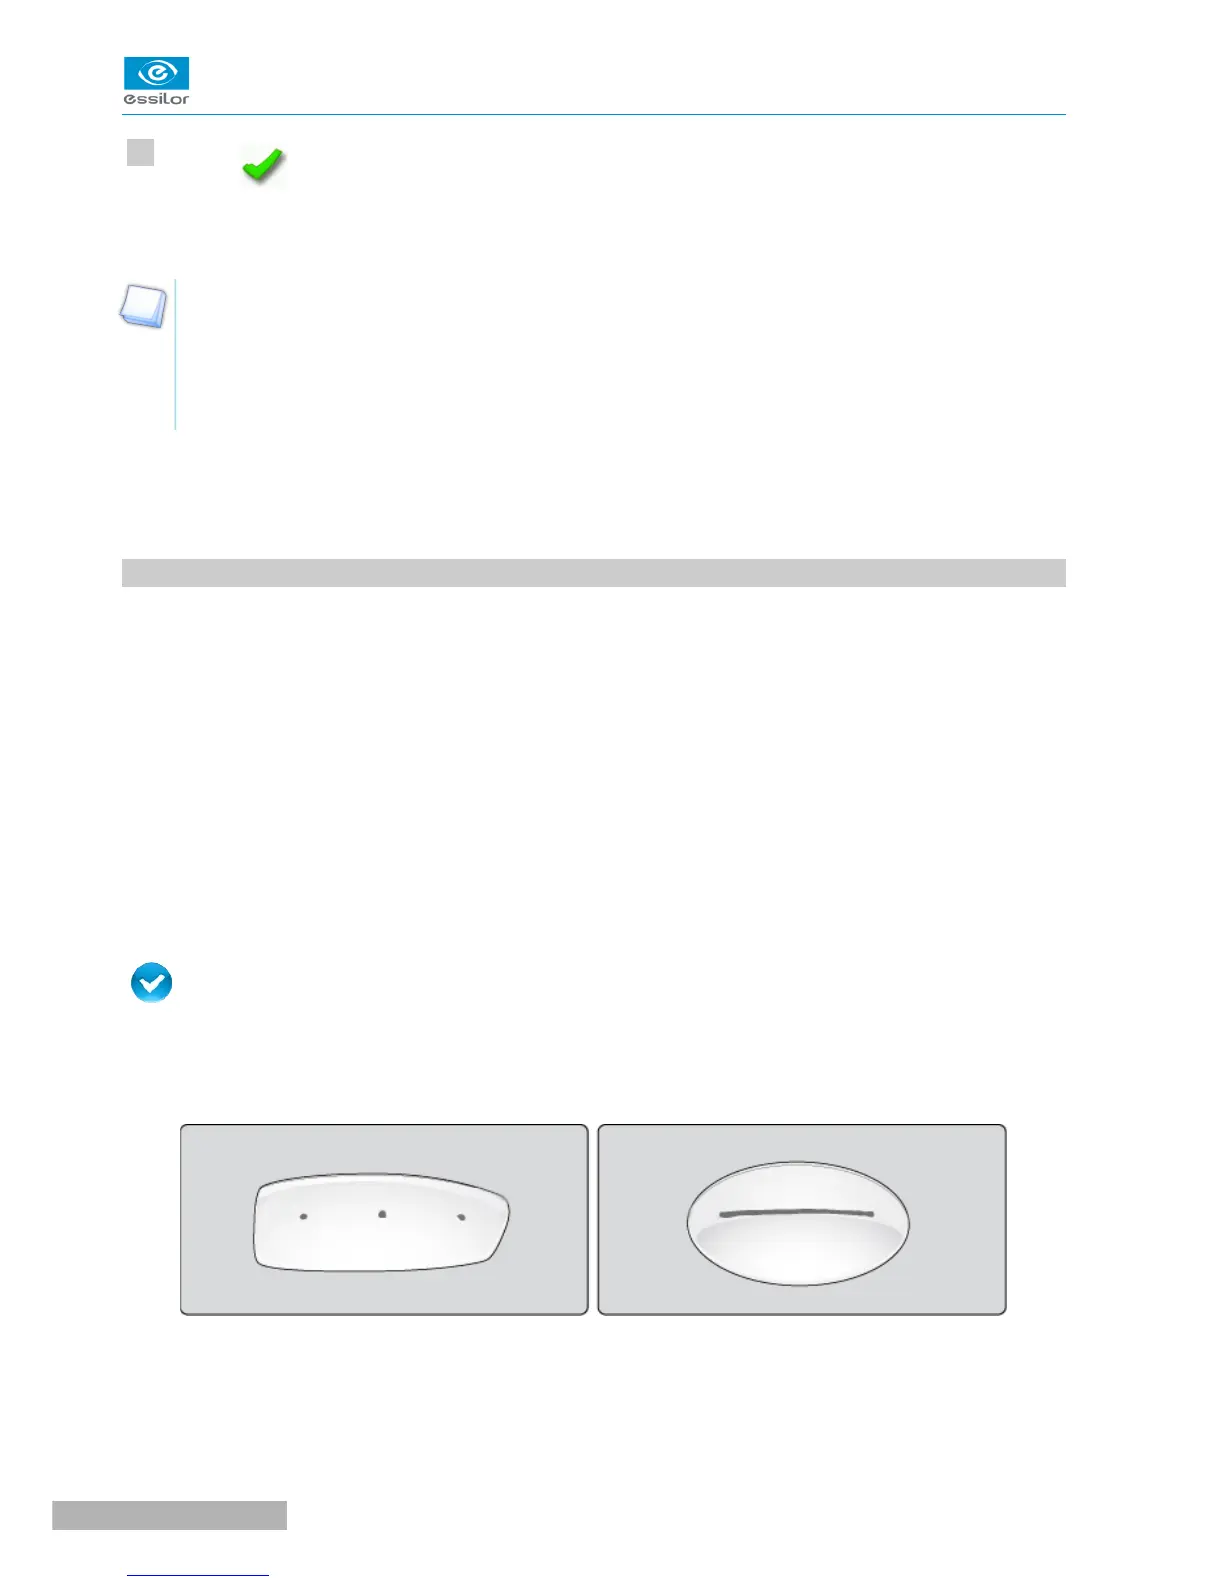
Prerequisite: for the tracer to correctly detect the horizontality of the lens, the lens must be clean and
marked using the permanent felt tip marker with:
• either three focimeter dots,
• or a horizontal line which must not touch the edges of the lens (a space of at least 5 mm is required)
 Loading...

