FIMER_PVS-175-TL A.1 Version_Product manual_EN_RevC-
F
129
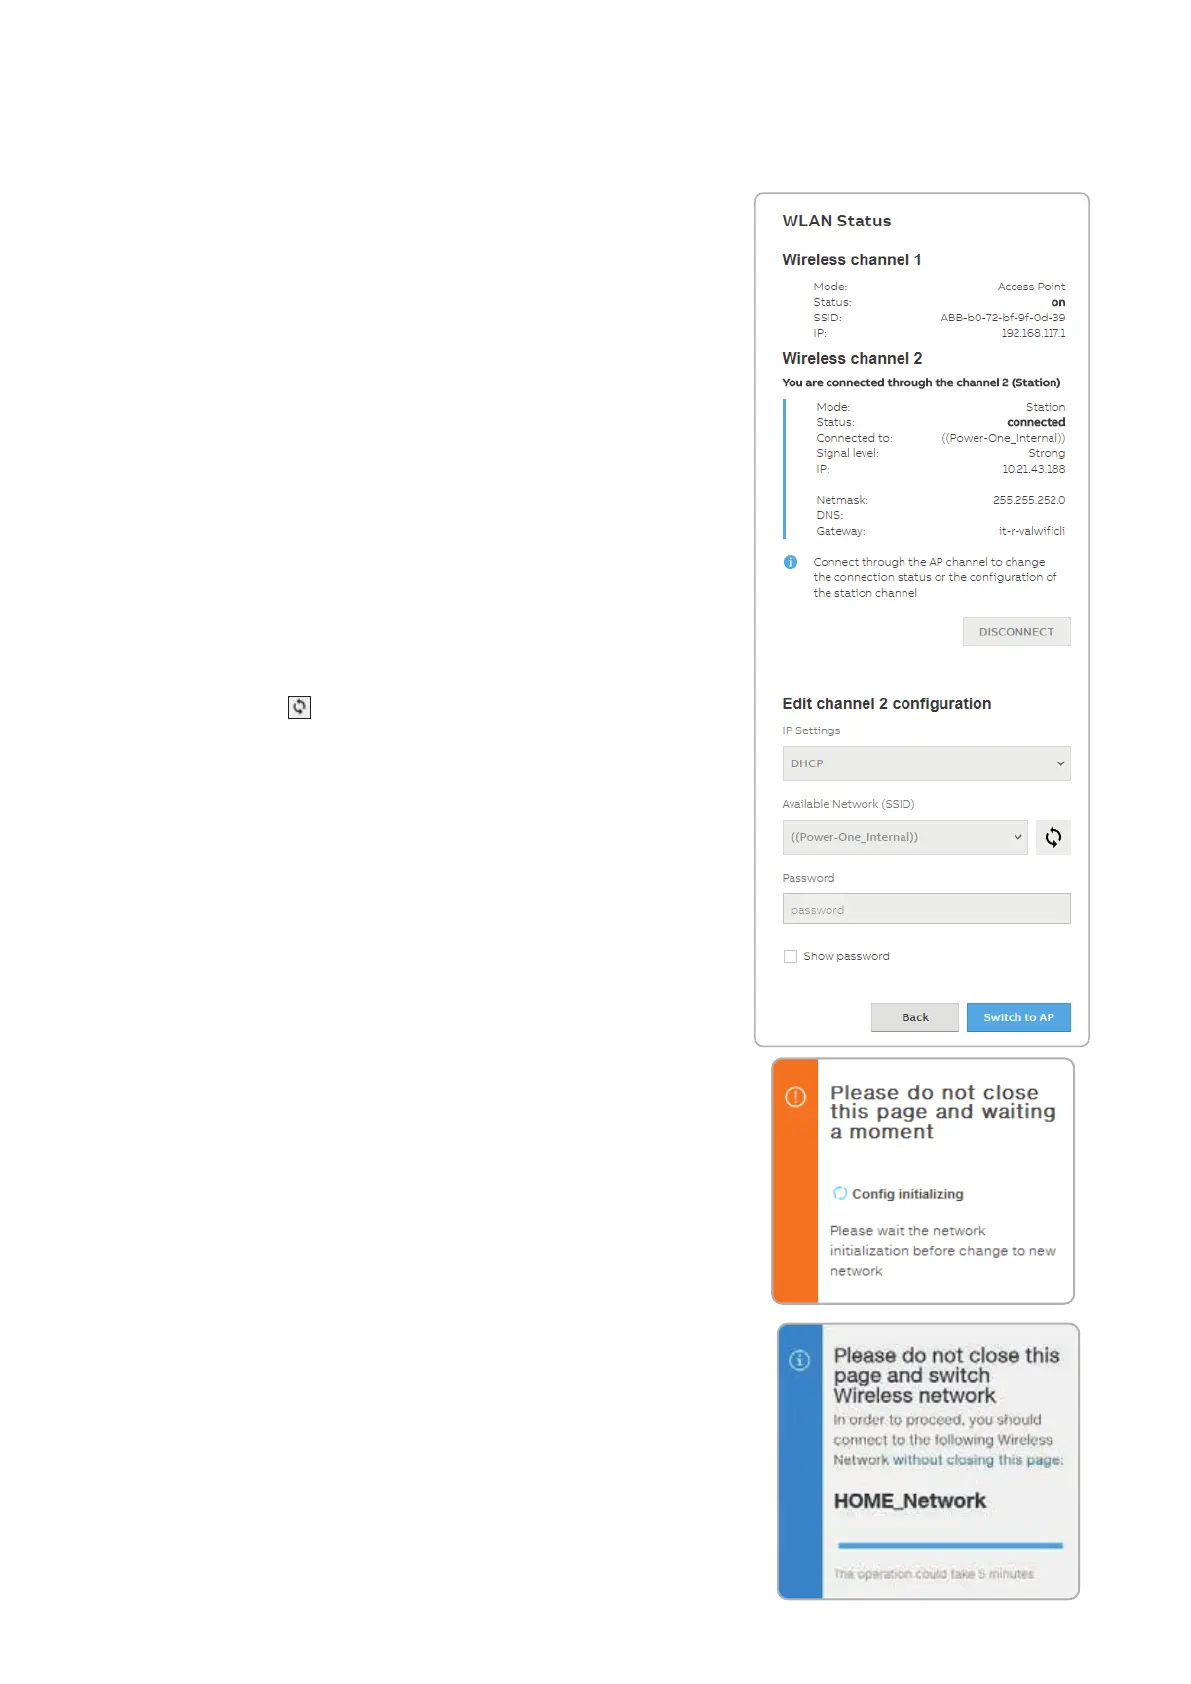
In case of connection to channel 2 (“Station Mode”), it will be required to enter the wireless network
parameters (set on the router) and follow the subsequent procedure:
• IP Selection Mode: DHCP or Static:
By selecting the DHCP function (default setup) the router
will automatically assign a dynamic IP address to the
inverter whenever it tries to connect to the user network.
With Static, the user can assign a fixed IP address to the
system. The data which has to be entered in order for IP
static address assigning to take place will appear. Complete
the additional fields at the bottom of the screen (all the
fields are mandatory with the exception of the secondary
DNS server).
• SSID (name of wireless network):
Identify and select your own wireless network from all
those shown in the SSID field (you can carry out a new
search of the networks that can be detected with the Update
button ).
Once the network has been selected, confirm.
• Password (wireless network password):
Enter the password for the destination network (if
necessary) and start the connection attempt (it will take a
few seconds).
• Click on “Connect”
• Once the inverter is associated with a wireless network, the
user must switch the tablet/smartphone/PC to the same
wireless network which the inverter is connected.