12 - 5
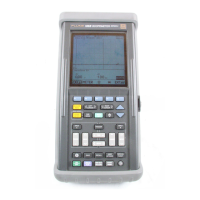
OMNISCANNER User Guide
8. Click Cancel to abort the Download process.
During the Download operation, the Download Status screen appears
and a gauge indicates the progress. The OMNISCANNER2 keypad is locked
during the download process.
9. The message ‘Download complete’ will be displayed to inform you
when the Configuration is downloaded. Click OK to return to the main
screen.
The new Configuration is now implemented, and OMNISCANNER2 displays
the Project screen. (Consult the OMNISCANNER Configuration on-line help
for further information.)
Remote Controlling OMNISCANNER2
1. To remote control OMNISCANNER2, first turn your PC on.
2. Connect OMNISCANNER2 and OMNIREMOTE via the link to be tested.
3. Use the USB Cable to connect OMNISCANNER2 to the PC and then turn
on OMNISCANNER2.
4. Run the OMNISCANNER Remote Control software.
5. Select Setup | Communication Port and select USB as the Port.
6. Click the (Connect) button.
As soon as the connection occurs, the OMNISCANNER’s serial number will
be displayed.
OMNISCANNER Remote Control will detect the Adapter that is currently
attached to OMNISCANNER2 and display the name of the adapter. If an
OMNIFiber adapter is attached the serial number will be displayed.
The Remote Control program will read OMNISCANNER’s Configuration
(Projects, Autotest, and cables).
Once the connection is completed the Connection Status bar displays
Ready!. (Consult the OMNISCANNER Remote Control on-line help for
further information.)