106 01-28006-0010-20041105 Fortinet Inc.
SNMP System config
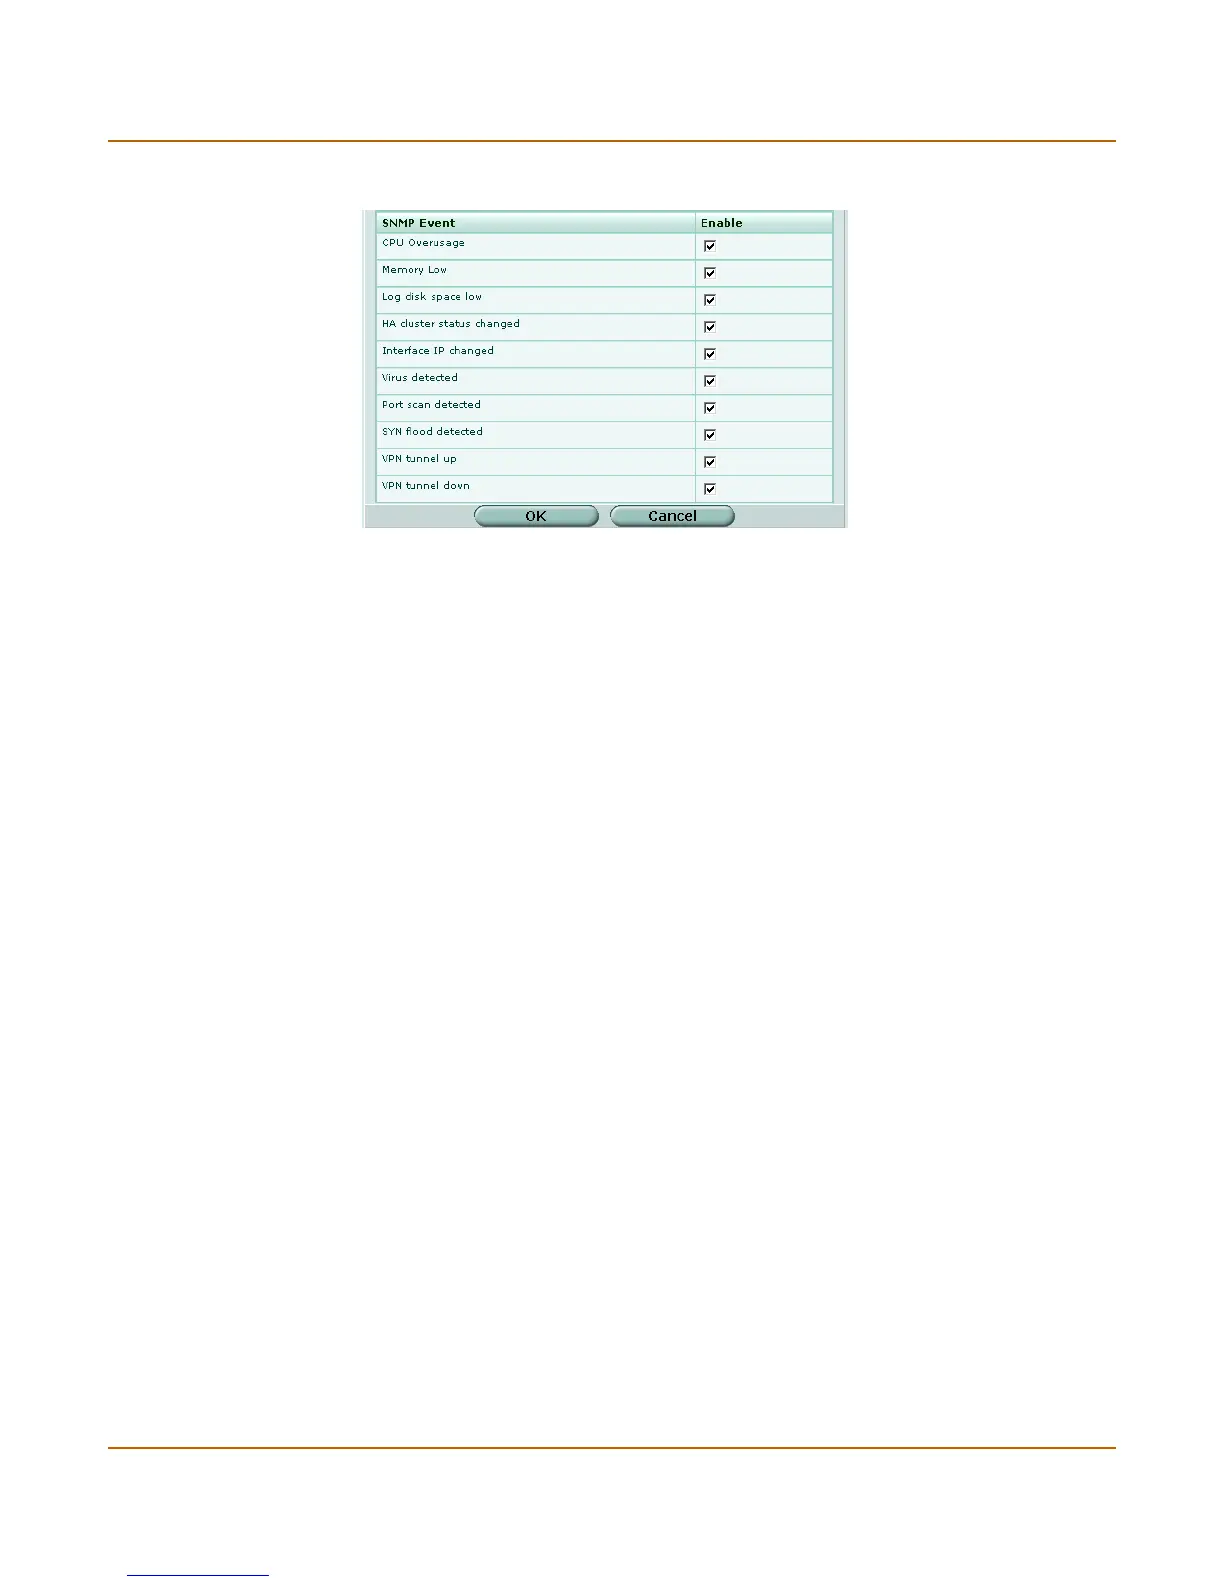
Figure 35: SNMP community options (part 2)
To configure SNMP access to an interface in NAT/Route mode
Before a remote SNMP manager can connect to the FortiGate agent, you must
configure one or more FortiGate interfaces to accept SNMP connections. See “To
control administrative access to an interface” on page 62.
1 Go to System > Network > Interface.
2 Choose an interface that an SNMP manager connects to and select Edit.
3 For Administrative Access, select SNMP.
4 Select OK.
Community Name Enter a name to identify the SNMP community.
Hosts Identify the SNMP managers that can use the settings in this SNMP
community to monitor the FortiGate unit.
IP Address The IP address of an SNMP manager than can use the settings in this
SNMP community to monitor the FortiGate unit. You can also set the IP
address to 0.0.0.0 to so that any SNMP manager can use this SNMP
community.
Interface Optionally select the name of the interface that this SNMP manager uses
to connect to the FortiGate unit. You only have to select the interface if
the SNMP manager is not on the same subnet as the FortiGate unit. This
can occur if the SNMP manager is on the Internet or behind a router.
Add Select Add to add more SNMP managers. You can add up to 8 SNMP
managers to a single community. Select the Delete icon to remove an
SNMP manager.
Queries Enter the Port number (161 by default) that the SNMP managers in this
community use for SNMP v1 and SNMP v2c queries to receive
configuration information from the FortiGate unit. Select the Enable
check box to activate queries for each SNMP version.
Traps Enter the Local and Remote port numbers (162 by default) that the
FortiGate unit uses to send SNMP v1 and SNMP v2c traps to the SNMP
managers in this community. Select the Enable check box to activate
traps for each SNMP version.
SNMP Event Enable each SNMP event for which the FortiGate unit should send traps
to the SNMP managers in this community.
 Loading...