Use e Maintenance ENGLISH
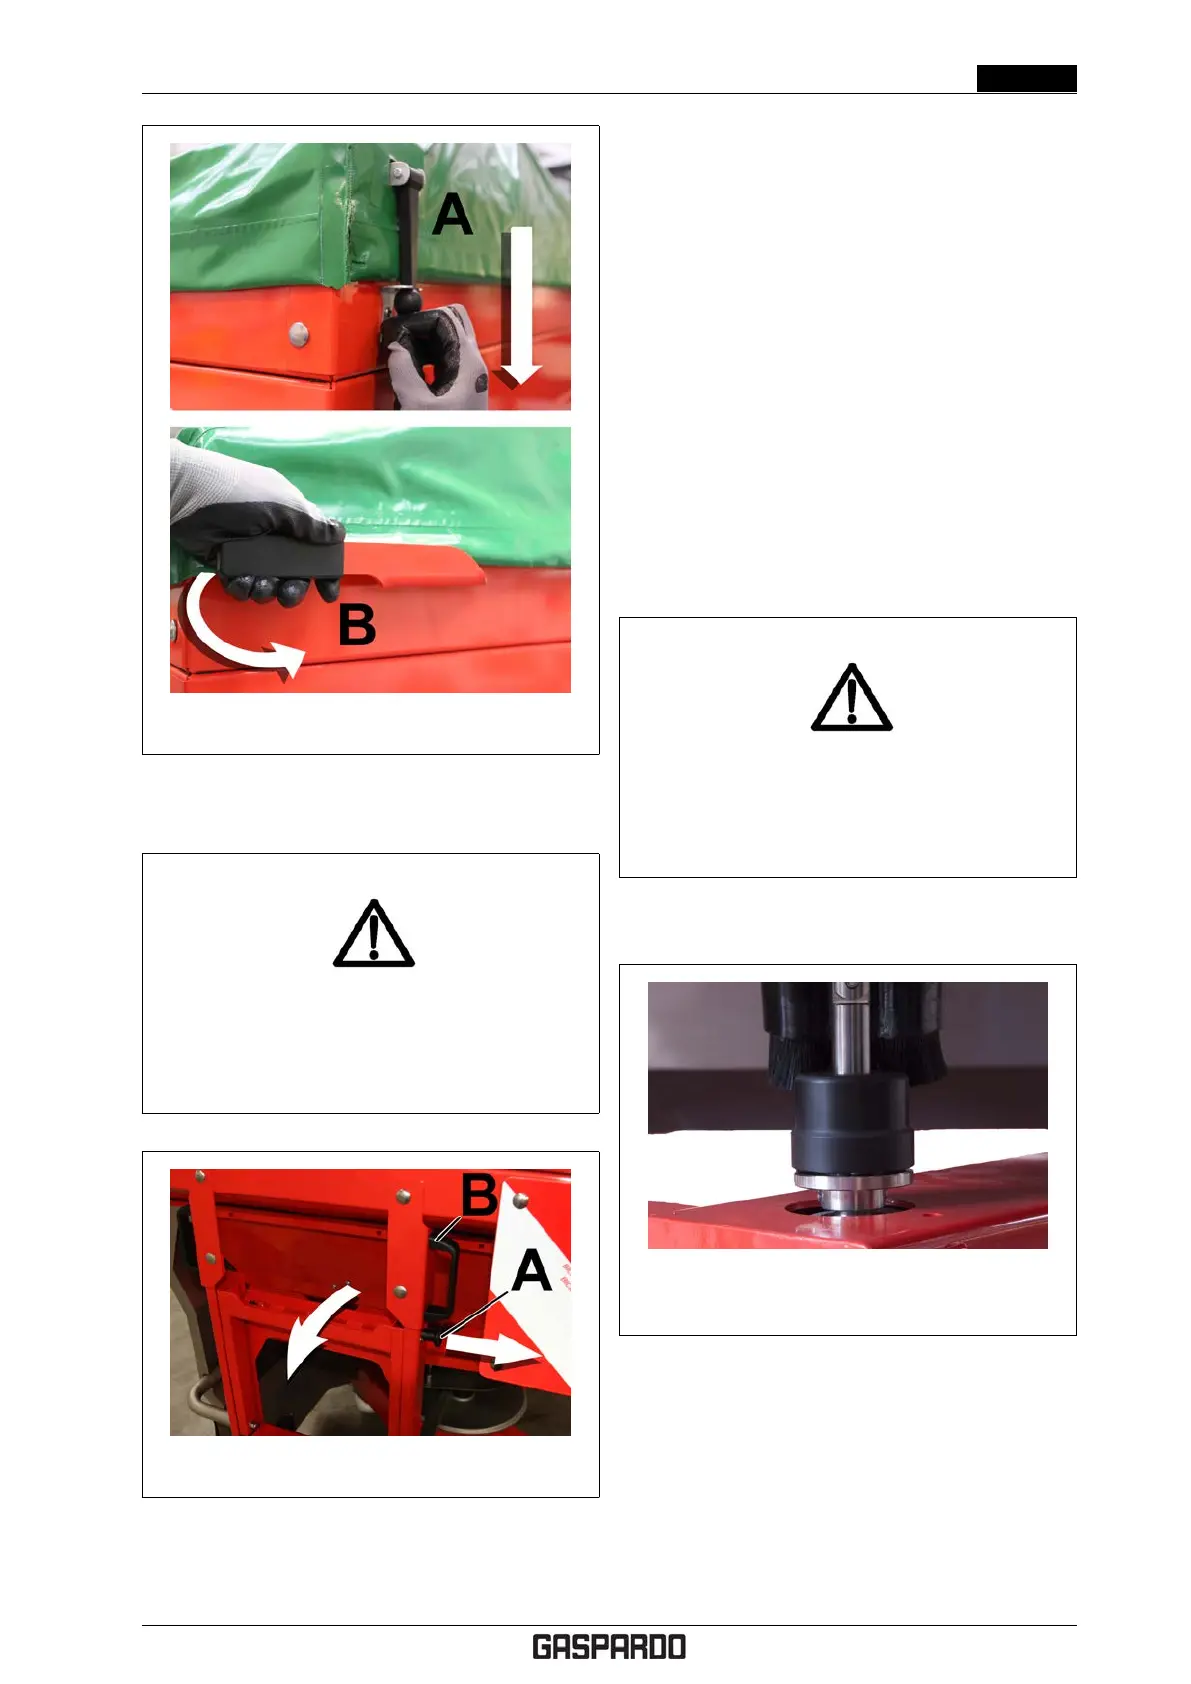
Figure 4.22: Hopper-covering tarp
4.7.7 Inspection ladder (optional)
DANGER!
All operations must be done exclusively with the
tractor off, P.T.O. disengaged, parked with
parking brake and with the key removed.
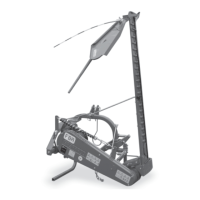
Figure 4.23: Inspection ladder
To visually inspect the inside of the hopper, proceed as
follows.
1. Use the tractor controls and lower the lifter down to
the lowest height.
2. Turn off the tractor and engage the parking brake.
3. Pull the spring piston (A) and lower the ladder as
shown in Fig. 4.23.
4. Climb up the ladder, holding onto the handles (B).
Once inspection is complete, close the ladder back up
and make sure the locking piston is back in its housing to
prevent the ladder from re-opening.
4.7.8 Flow test
For fertilisers not shown in the spreading tables, it might
be necessary to run a flow test to appropriately calibrate
the fertiliser spreader control system to the new fertiliser.
Position the tractor-fertiliser spreader assembly on even
ground and adjust it to the desired working height as
shown in § 4.7.1 on pag. 27.
DANGER!
All operations must be done exclusively with the
tractor off, P.T.O. disengaged, parked with
parking brake and with the key removed.
Before starting the test (see the control system instruc-
tions manual), you must prepare the machine as follows.
Figure 4.24: Flow test: tightening the agitator
shaft
1. Remove the spreading discs as shown in § 4.7.3 on
pag. 30.
2. Once the spreading discs have been removed, repo-
sition the agitator drive shaft in its housing and tighten
the locking handwheel (see fig. 4.24).
3. Turn the drop point positioning lever to the 0 position.
4. Position a collection bin under the discharge spout.
Cod. F07011577 EN - 33