ENGLISH Use e Maintenance
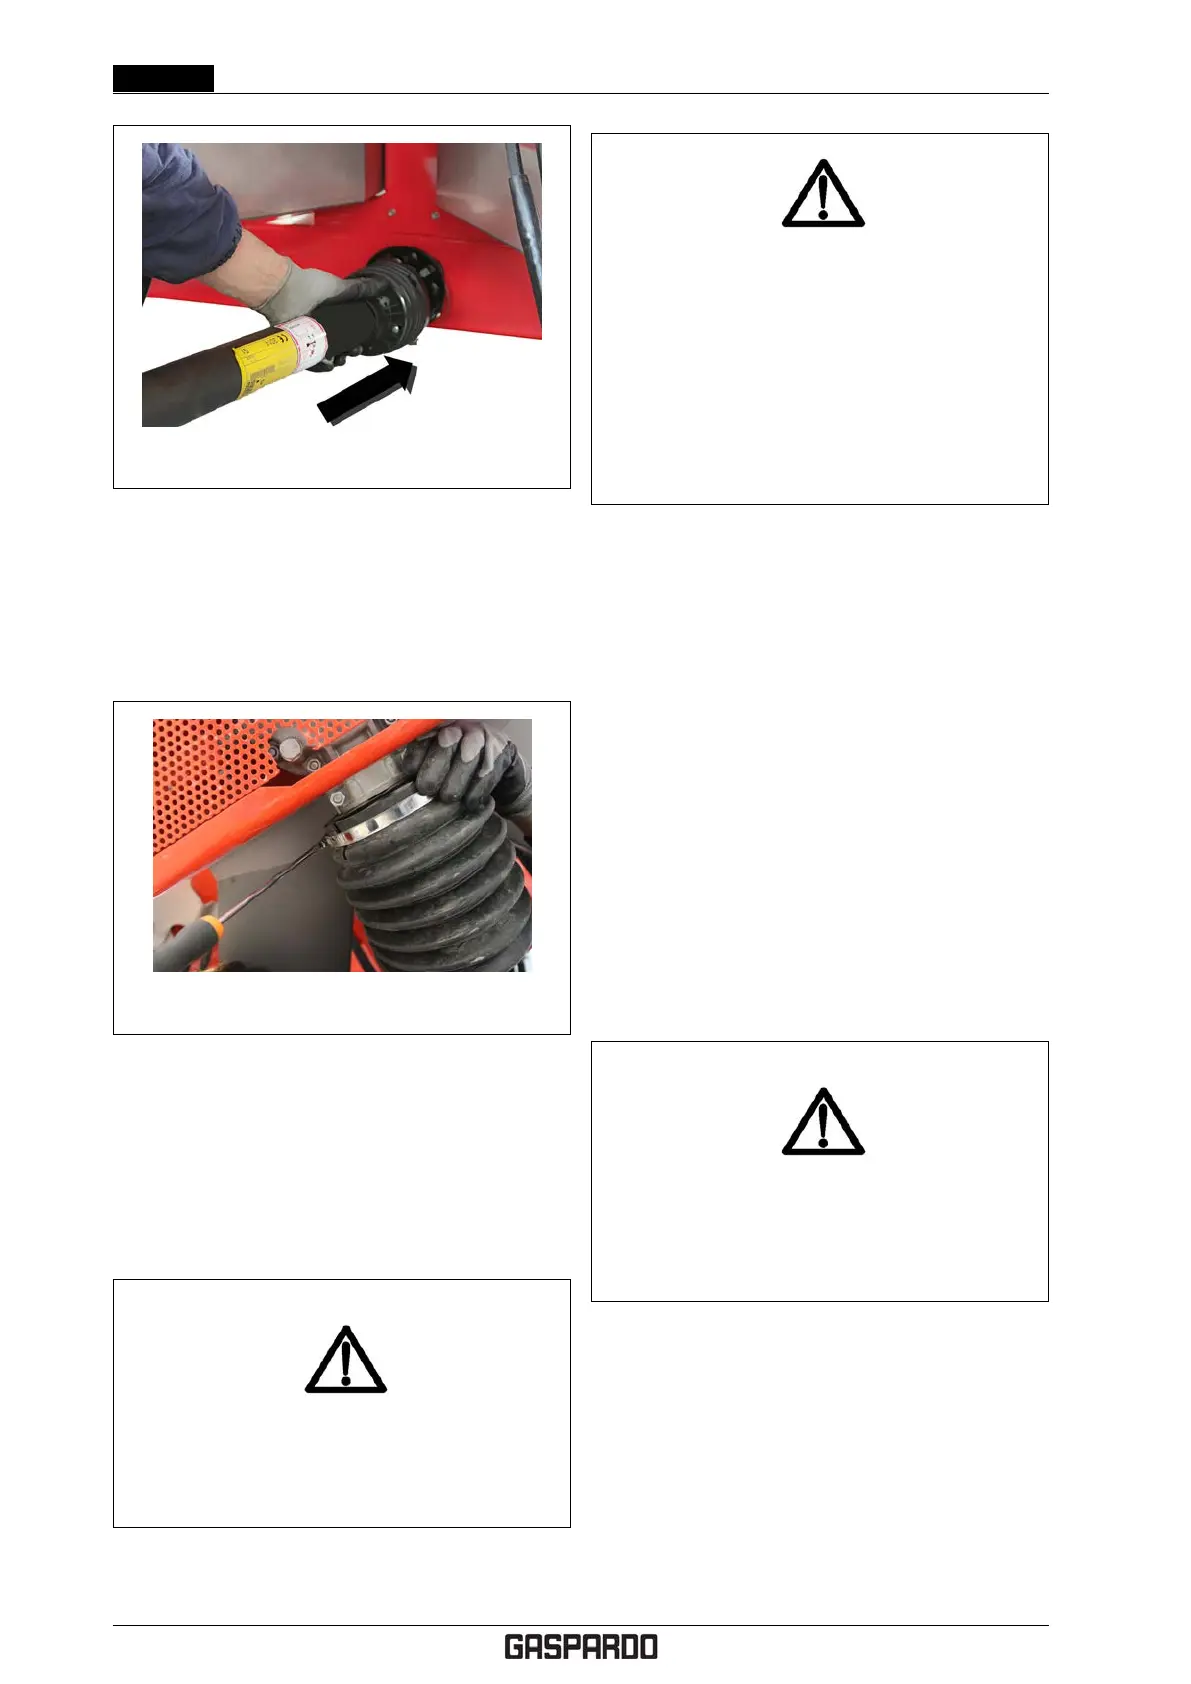
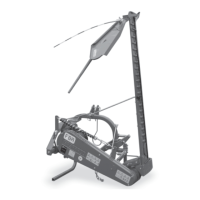
Figure 4.12: Installing the Cardan - 1
3. Secure the protection cap to the central drive unit and
tighten the fastening clamp (see Fig. 4.13).
4. Hook the protection anti-rotation chain and put the
Cardan shaft back into its housing.
Figure 4.13: Installing the Cardan - 2
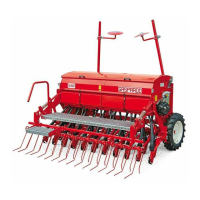
4.7 METHOD OF USE
Sit in the steering seat of the tractor and check that there
are no other persons or animals in the vicinity of either the
tractor or machine.
WARNING!
The fertiliser spreader was designed to be used
by a single operator to prevent accidents from
happening in the event of incorrect manoeuvres.
WARNING!
When using the implement for the first time,
check that the machine and tractor are compati-
ble with each other.
Check the total weight and weight on each axle.
Particularly check that the percentage of residual
weight on the front axle of the tractor complies
with the Highway Code prescriptions. If neces-
sary, weight the front and check again (see § 4.3
on pag. 22).
Before moving to the work field, it is a good idea to con-
sult the spreading tables (see § ?? on pag. ??) for the
fertiliser to spread, then prepare the machine as shown.
Below are all the instructions needed to prepare the ma-
chine to work in the field.
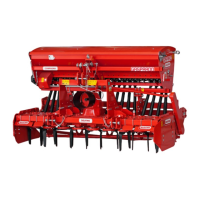
4.7.1 Working width adjustment
Adjusting the working width depends both on the adjust-
ments to make on the fertiliser spreader and on the oper-
ating mode during tractor use.
The adjustments to make on the fertiliser spreader are:
• adjusting the working height
• choosing the spreading discs
• adjusting the drop point on the disc.
The working width also depends on the number of P.T.O.
revs during spreading.
Adjusting the working height
DANGER!
All operations must be done exclusively with the
tractor off, P.T.O. disengaged, parked with
parking brake and with the key removed.
After having hooked the fertiliser spreader to the tractor
(see § 4.1.1 on pag. 20) position it on even ground. Then:
1. Check the spreading tables for the fertiliser to spread.
If the fertiliser you are using is not shown in the ta-
bles, consult the spreading table for a fertiliser with
similar chemical and physical features (granulometry,
specific weight) for the preliminary adjustments.
2. Choose the working width from column (A) in figure
4.14 then find the machine adjustment height from
the ground in column (E).
28- EN Cod. F07011577