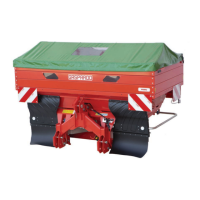
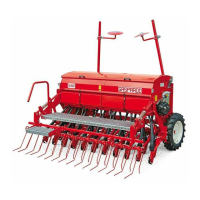
Use e Maintenance ENGLISH
DANGER!
In order to completely empty the hopper, it may
be necessary to turn on the tractor and bring the
P.T.O. to 540 rpm.
Before activating the P.T.O., make sure that no
one is near the tractor.
DANGER OF DRAGGING BY ROTATING PARTS.
NEVER get out of the cab until the hopper is
completely empty.
Once the hopper is empty, disconnect the P.T.O.
and turn off the tractor before getting off.
In case of danger, stop the P.T.O. immediately
and turn off the tractor.
Once the hopper is empty, reassemble the spreading
discs and wash the machine (see § 5.2).
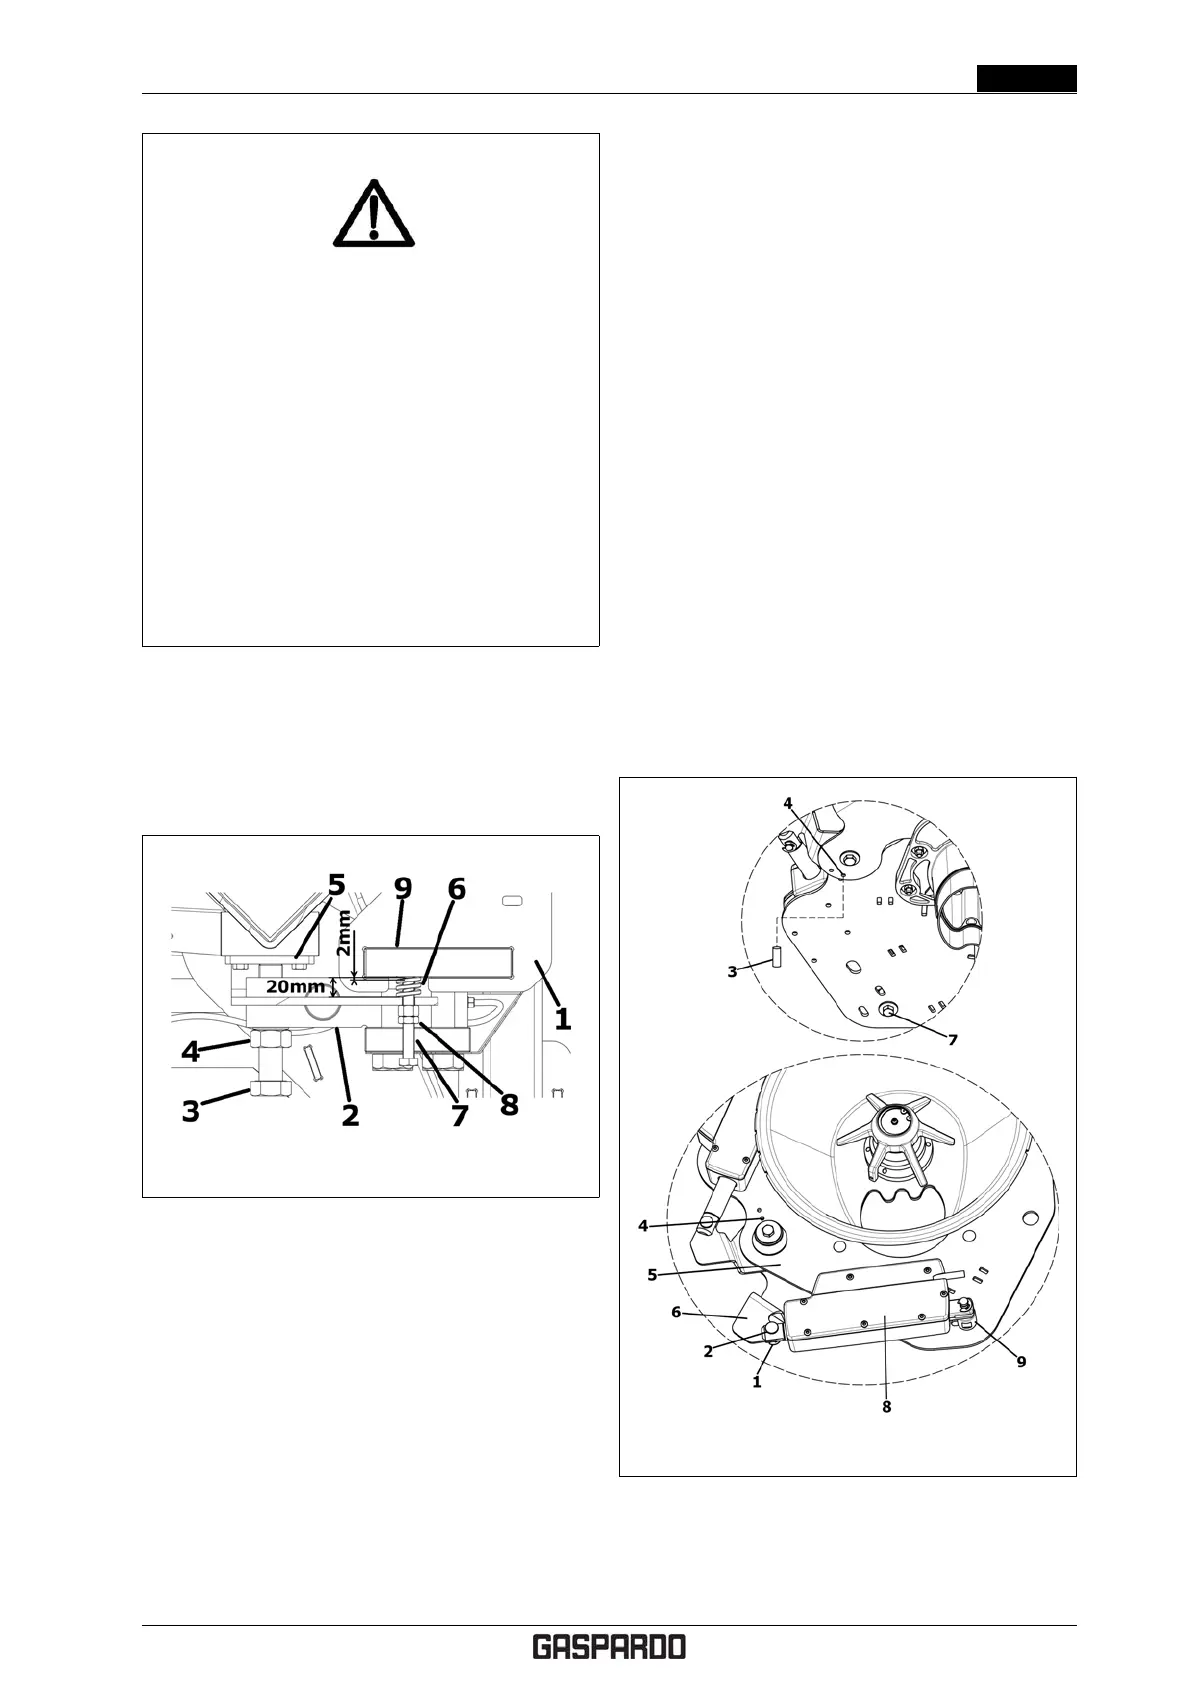
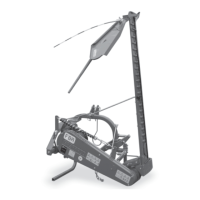
5.4 LOAD CELL CHECK
Figure 5.1: Load cell check
With reference to fig. 5.1 you have:
1. Weighing frame.
2. Load cell.
3. Adjustment screw.
4. Locking counternut.
5. Cell support.
6. Limit spring.
7. Limit screws.
8. Locking counternut.
9. Frame support.
Should the weighing system become inaccurate and dif-
ficult to calibrate (to calibrate the weighing system, refer
to the control system instructions manual), the adjustment
screw (3) ) may be loose or may have gone into the sup-
port (5).
In this case, you must check proper positioning of the
load cell.
1. Loosen the counternut (4).
2. Adjust the screw (3) until the springs (6) reach a
length of 20 mm.
3. Tighten the locking counternut (4).
4. Loosen the counternuts (8) and adjust the limit
screws (7) until they are 2 mm from the support (9)
.
5. Tighten the locking counternuts (8).
Once the load cell positioning adjustment is complete,
you must re-calibrate the weighing system (see the control
system instructions manual).
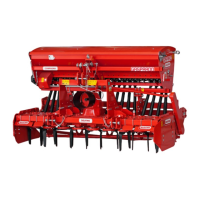
5.5 CALIBRATING THE DOSING
SHUTTER
Check dosing shutter adjustment at the beginning of every
season and every time you notice a difference in wear on
the two sides of the machine.
Figure 5.2: Calibrating the dosing shutter
With reference to fig 5.2 to calibrate the dosing shutter,
proceed as follows.
Cod. F07011577 EN - 41