Chapter 7: Repair Procedures
Display Module Repairs
Service Manual 7-67
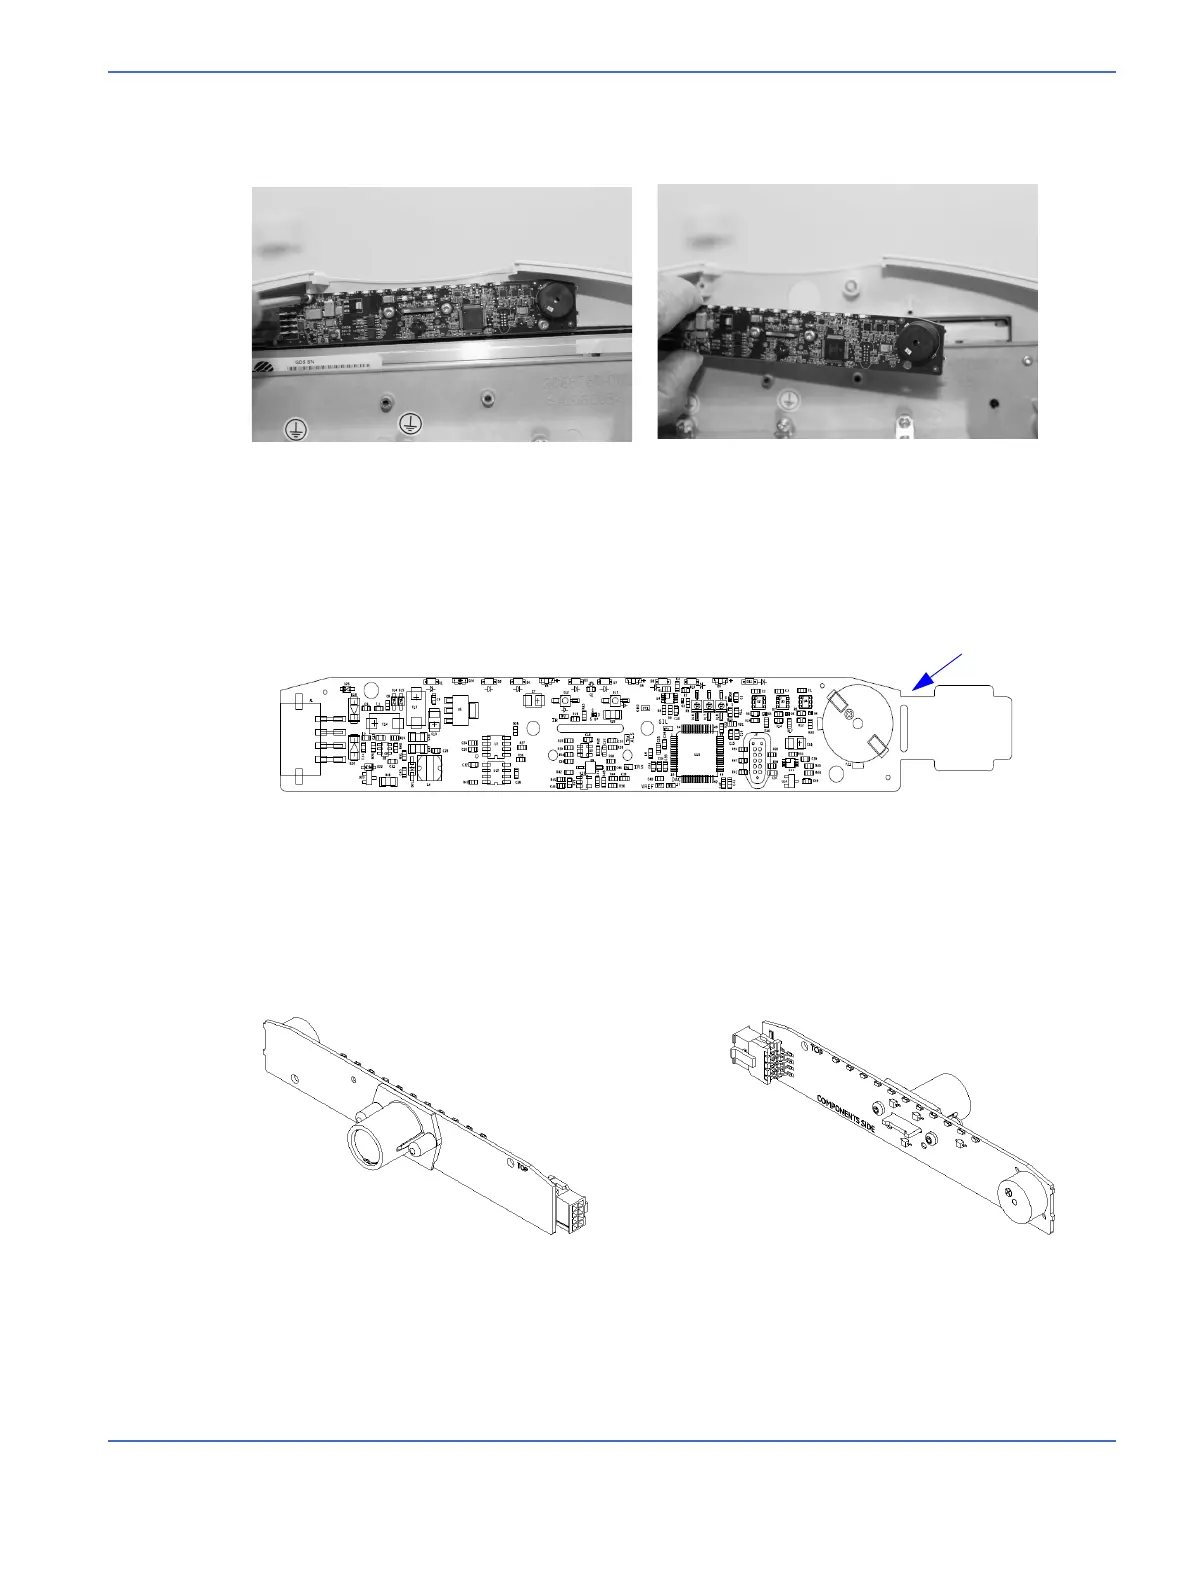
3. Using a T10 torx tool, remove the two 30 x 10 thread forming mounting screws upper left and lower
right and remove the Alarm Board.
Note: Do not remove the two middle screws.
4. If you are installing a new Alarm PCA, you will need to complete steps 5 and 6. If not, this procedure is
complete.
5. Break the tab off the alarm and save it for assembly of the light pipe.
6. To assemble the light pipe to the alarm board it is necessary to do one of the following:
a. If you are installing a new light pipe 2069160-001 you will need the tab saved earlier. Using a T10 torx
tool and two (30 x 10) thread forming screws, assemble the parts as shown.
b. If you are reusing the existing light pipe 2069160-001, Remove the light pipe and tab from the old
alarm board and install in the same orientation on the new alarm board.
FIGURE 7-61. Alarm Board Screws
Tab
Snap here
FIGURE 7-62. Tab

 Loading...


