Manual
KVCG202/EN M/H
3.2.3 Keypad
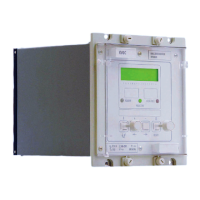
The four keys perform the following functions:
[F] – function select/digit select key/next column
[+] – put in setting mode/increment value/accept key/previous column
[–] – put in setting mode/decrement value/reject key/next column
[0] – reset/escape/change default display key
Note: Only the [F] and [0] keys are accessible when the relay cover is in
place.
3.2.4 Liquid crystal display
The liquid crystal display has two lines, each of sixteen characters. A back-light is
activated, when any key on the front plate is momentarily pressed and will remain lit until
ten minutes after the last key press. This enables the display to be read in all conditions
of ambient lighting. The back-light will automatically switch off after one minute of keypad
inactivity.
The numbers printed on the front plate just below the display, identify the individual digits
that are displayed for some of the settings, i.e. function links, relay masks etc.
3.3 Menu system
Figure 2: Menu format
Settings, measured values, alarm records and system data resides in a table known as
MENU TABLE. Data within the relays is accessed via a MENU table. All the data
displayed on the LCD or transmitted via the serial communications port is obtained via
this table.
The table is comprised of cells arranged in rows and columns, like a spreadsheet.
A cell may contain text, values, settings or functions. The first cell in a column, the
column heading, contains text identifying the data grouped under it in that column.
3.3.1 Default display
The selected default display that appears on power-up can be selected by the user.
Whilst the default display is visible it is possible to scroll through the available options
with a momentary press of the [0] key. The required default display can be selected via
menu cells 0411 or 0611. Alternatively, pressing the [0] key for 1 second will select the
currently visible option as the default.

 Loading...