Archiving
Vivid i User’s Manual 177
2378958-100 Rev. 02
6. Press the trackball SET key.
7. Press More in the Examination list window (see
Figure 8-14, page 172).
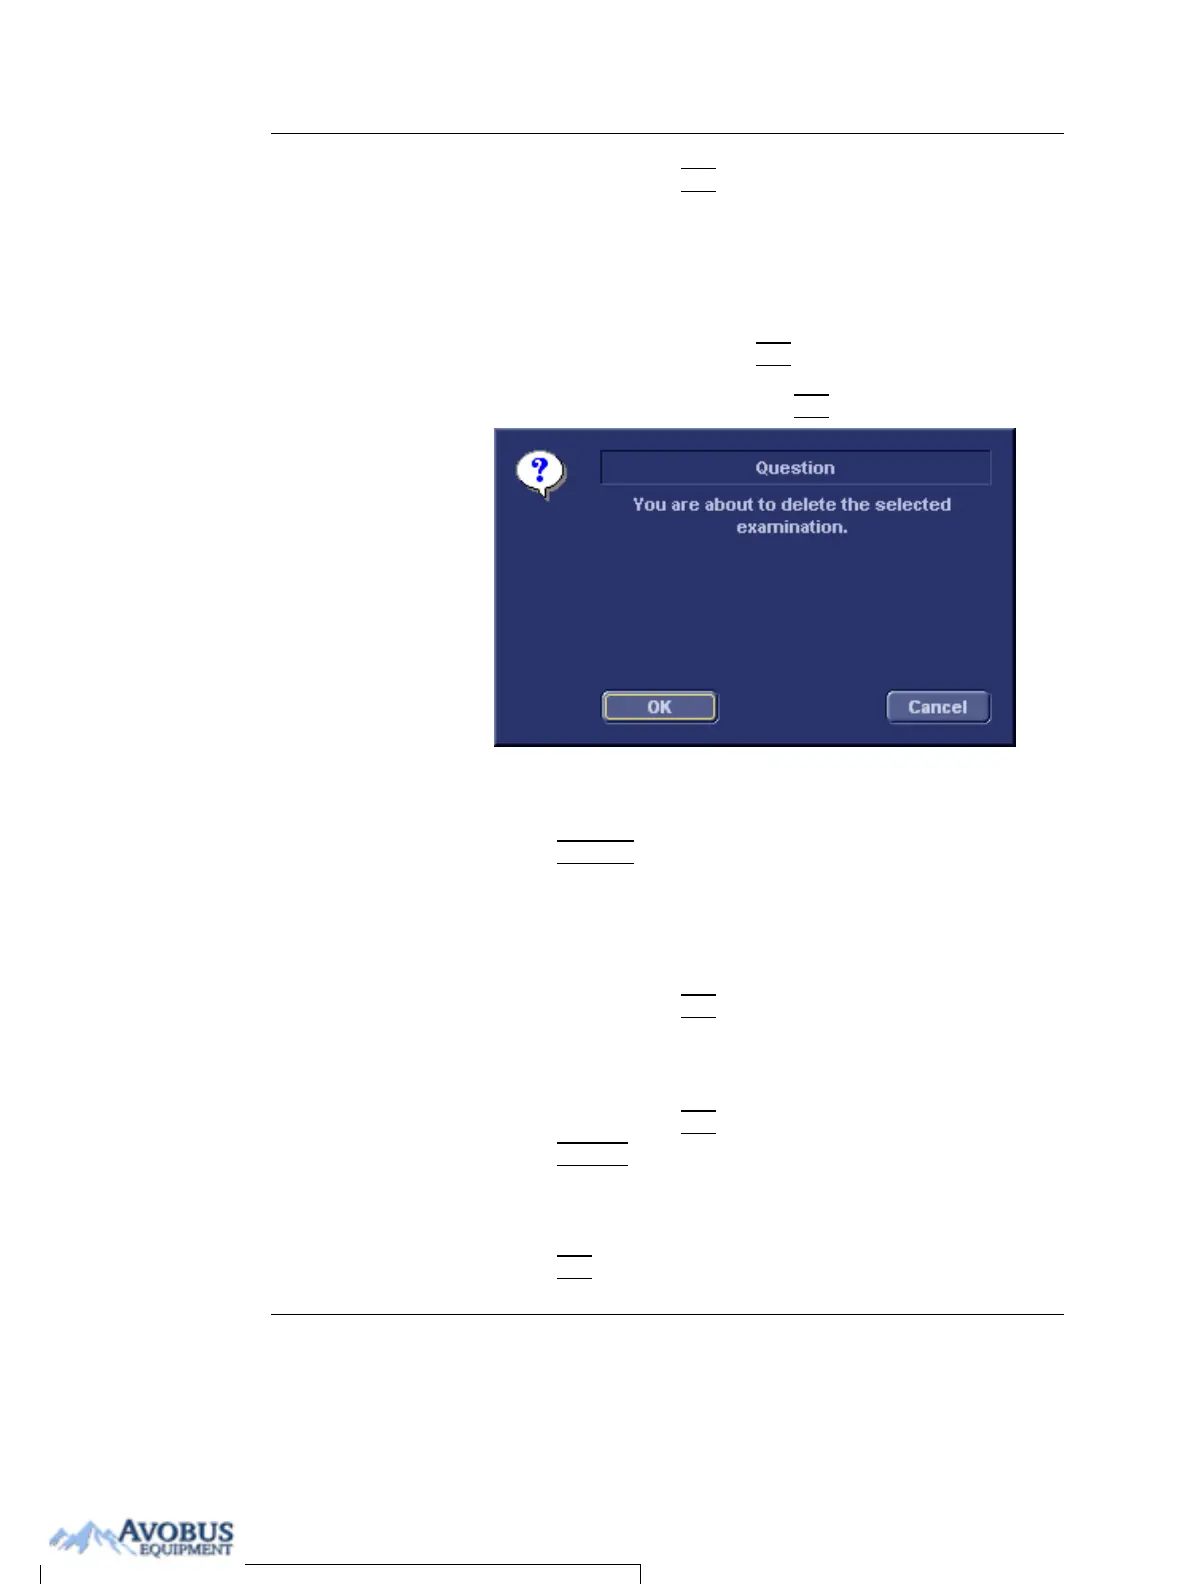
8. Press Del Exam to delete the examination.
A warning message is displayed asking the user to confirm
the action to perform (see Figure 8-18).
9. Trackball to OK and press
SET to delete the selected
examination.
Trackball to Cancel and press
SET to abort deletion.
Figure 8-18: Delete Examination prompt
To delete an image
1. Press PATIENT on the Front panel.
2. Select Patient List.
The Search/Create Patient window is displayed.
3. Type the patient Last Name, and/or ID.
4. Trackball to the required patient to highlight the record.
5. Press the trackball
SET button.
The Examination list window is displayed.
6. Trackball to the actual examination in the Examination list
window.
7. Press the trackball
SET button.
8. Press
REVIEW.
The images for the selected examination are displayed on
the Review screen (Figure 8-21, page 182).
Repeat steps 9 and
10 to delete several
images.
9. Trackball to the image to delete.
10. Press
SET on the control panel.
To Purchase, Visit Avobus.com or call 1-800-674-3655
 Loading...


