Chapter 4
Installing the Ripple-2 Node
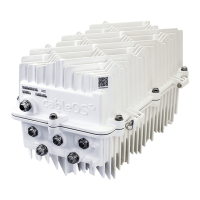
This section describes the Ripple-2 node housing installation. It also describes installing its internal parts,
including the Pebble-2 module, Jetty-1 module, SFP+ and Fin R-OLT transceivers.
Safety Certification
IMPORTANT: All safety precautions and procedures must be followed during installation,
usage, and maintenance. Before carrying out any procedures, refer to the Safety and regulatory
compliance information section of this guide.
• Receiving and inspecting the Ripple-2 Node
• Tools, test equipment, and fasteners
• Opening the Ripple-2 Node housing
• Remote PHY DOCSIS node installation
• Remote FTTx Switch installation
• Connecting fiber cables to the Ripple-2 Node
• Mounting the Ripple-2 Node housing
• Grounding the Ripple-2 Node housing
• Closing the Ripple-2 Node housing
Receiving and inspecting the Ripple-2 Node
When opening the shipping container and unpacking the Ripple-2 node prior to installation the following
procedure should be observed to prevent personal injury or electrostatic and physical damage to the
node.
1. As you unpack the Ripple-2 node, inspect the shipping container and equipment for damage.
Save the shipping material for future use.
2. Touch a ground point for several seconds before you remove the node from its antistatic bag.
A suitable ground point is an unpainted part of the chassis of any grounded piece of equipment.
3. If the container or the node is damaged, notify both the freight carrier and Harmonic Inc.
To protect yourself from potential injury and to protect the node from further damage, do not perform
any operational tests if the equipment appears to be damaged.
30