Mounting the Ripple-2 Node housing
7. When the housing is in the required position, torque the two messenger-cable clamp bolts to 10 to 12
ft-lbs.
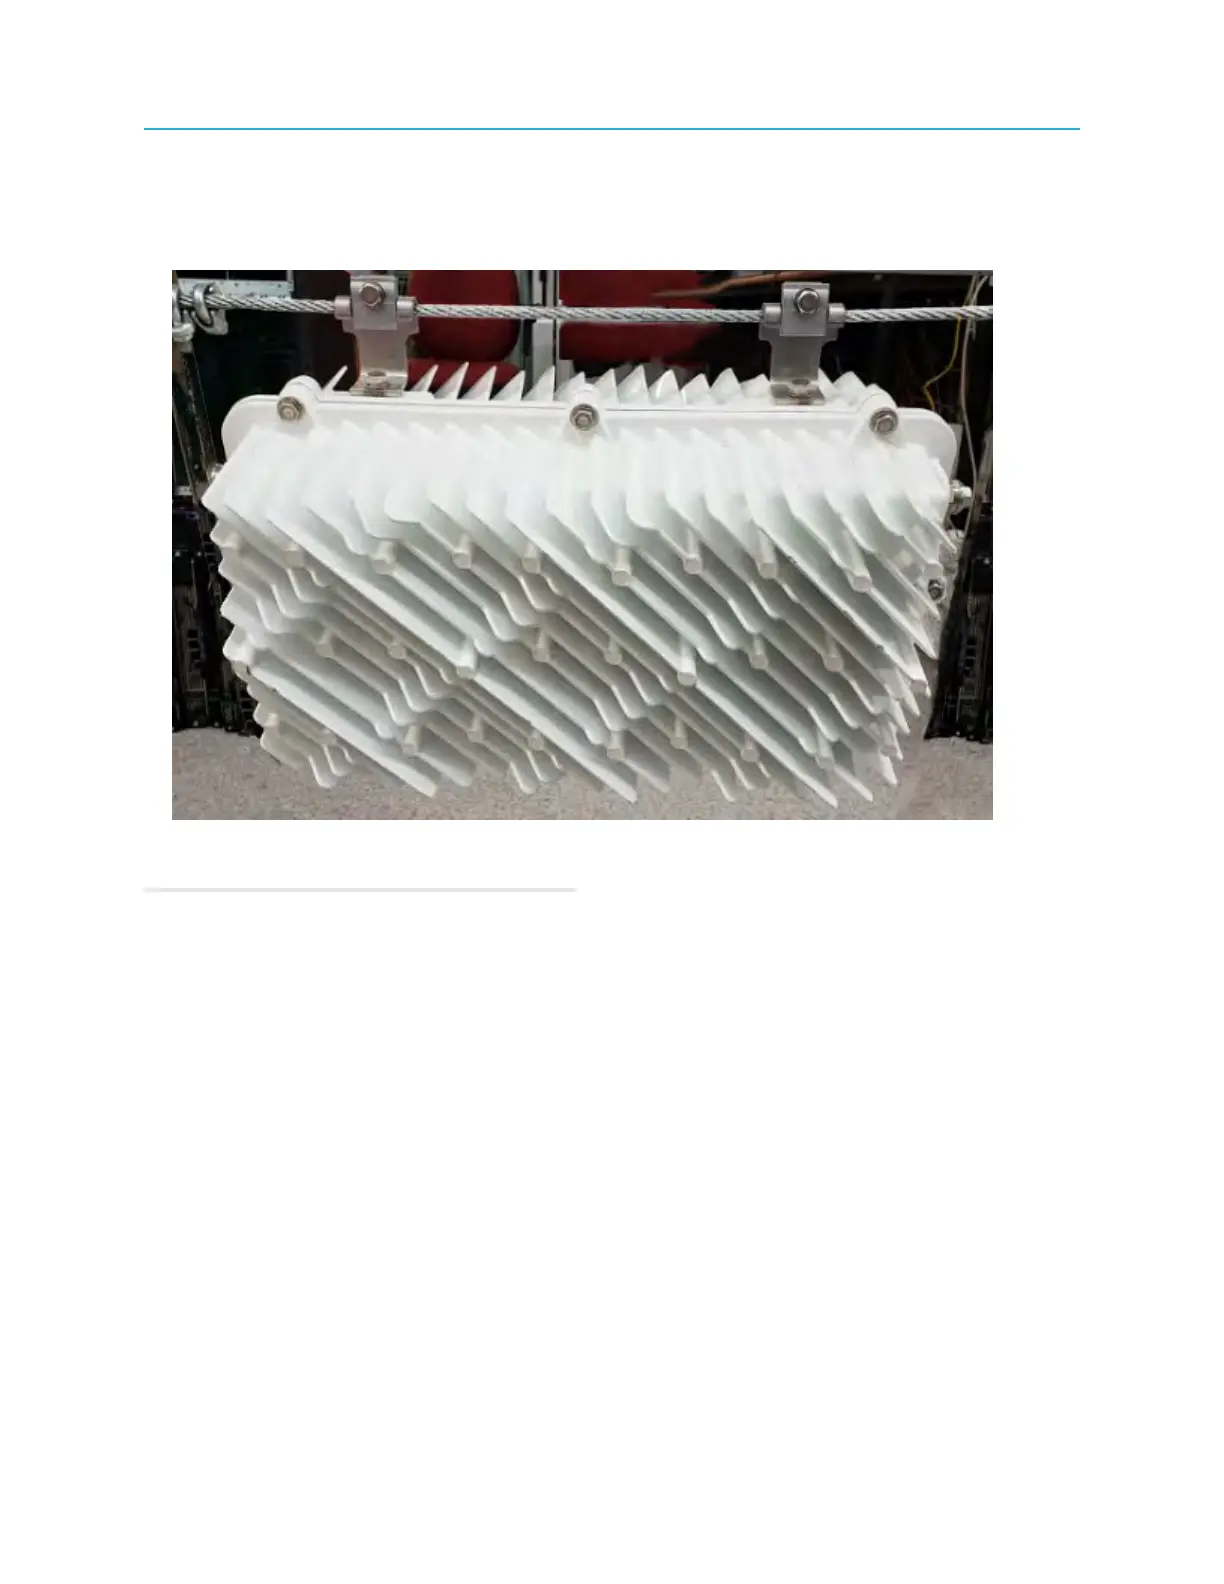
Figure 4-15: Ripple-2 node mounted on messenger-cable with the Spacing method
8. Connect the RF-coaxial and optical-fiber cables.
Related information
Connecting coaxial cables
Connecting fiber cables to the Ripple-2 Node
Mounting in a pedestal
Mounting the Ripple-2 node in a pedestal or on an external wall of a building is required when
infrastructure is in underground conduits. This type of mounting method allows access from any building
side to the node.
Tools
• Torque wrench with 6-point 1/2" socket
1. Remove the two messenger-cable clamps and bolts from the node with the torque wrench.
The clamps and bolts will be used in a later step when securing the node housing to the pedestal
bracket.
2. Position the node horizontally or vertically in the enclosure to allow for free air flow around the node.
3. Line up the screw holes on the underside of the node housing with the mounting holes in the pedestal.
Depending on the pedestal manufacturer, a mounting bracket may also be provided.
51 Installation Guide