Chapter 4: Installing the Ripple-2 Node
2. Lift the node and seat the messenger-cable (strand) inside the grooves of the two messenger-cable
clamps.
3. Tighten the two messenger-cable clamp bolts to 5 to 8 ft-lbs with the torque wrench.
What to do next
Next, connect the RF-coaxial and optical-fiber cables.
Related information
Connecting coaxial cables
Connecting fiber cables to the Ripple-2 Node
Mounting using the Spacing messenger-cable hanging method
The Spacing method is used to hang the node on a messenger-cable using extended brackets. The
extended brackets leave a gap between the node and the messenger-cable to accommodate any cables
or wires that may be strung adjacent to the messenger-cable preventing use of the Flush method.
Tools
• Torque wrench with 6-point 1/2" socket
• Extended clamp kit that includes the following components:
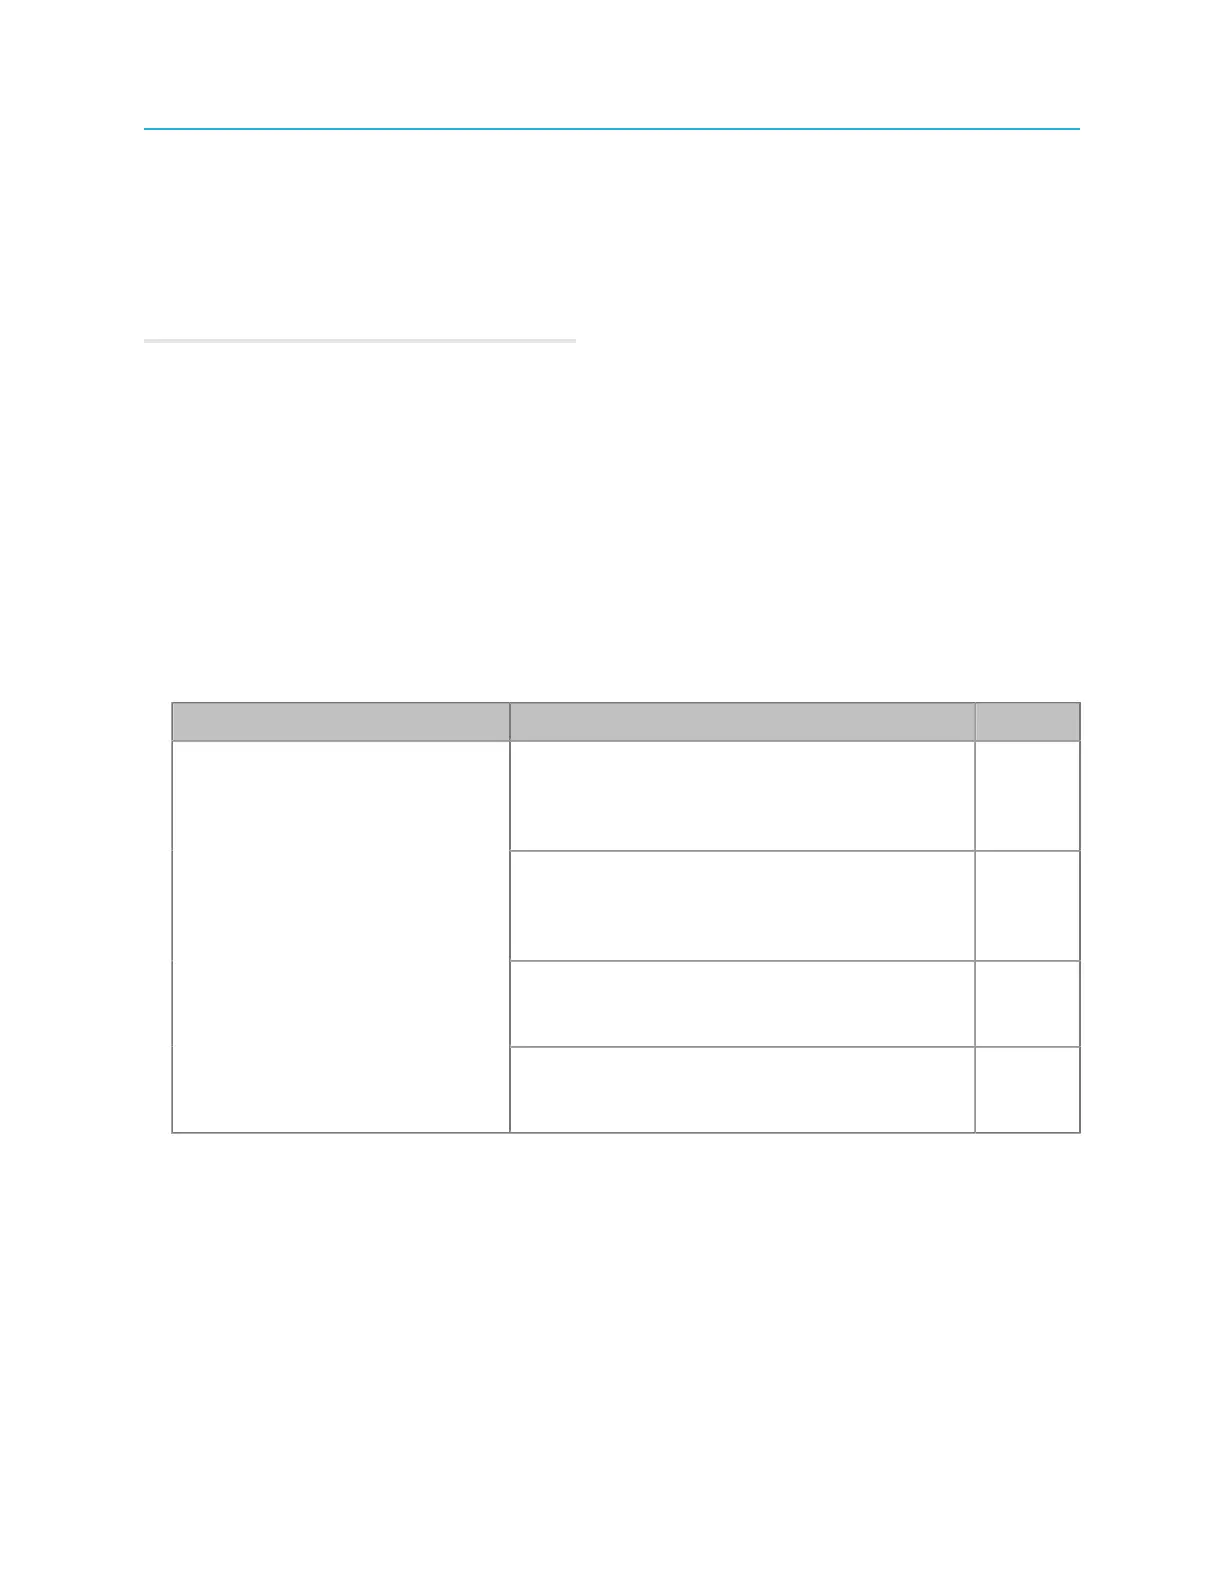
Harmonic part no. Component / Description Quantity
Bracket: 2" or 4" (depending on Harmonic part
no.)
FAB; SM; BRKT; HOUSING; CLAMP; NODE
2
Bolt:
SCREW; HEX HD; 5/16-18X3/4"; FULLY THD;
SS
2
Flat washer:
WASHER; FLAT; 5/16"; SS; 0.75" O.D.
2
COS-SPR-RPL1-CLAMP-2-KIT
2-inch Node Housing Clamp Kit
(2PCS) incl. hardware
COS-SPR-RPL1-CLAMP-4-KIT
4-inch Node Housing Clamp Kit
(2PCS) incl. hardware
Lock washer:
WASHER; SPLIT LOCK; 5/16THD; SS
2
1. Remove the two messenger-cable clamps and bolts from the node with the torque wrench.
The clamps and bolts will be used in a later step when attaching the bracket to the messenger-cable.
48