4.3 Integration Value Observation
64
These functions can be controlled by key operations or by communication commands.
Before Starting Integration
1. Verify that the clock is set correctly.
See "Clock" (p. 129)
2. Select the integration mode.
See 4.3.2 ( p.66)
3. Set the desired time control functions (interval, timer, and clock controls).
See 4.3.4 ( p.69)
Set "OFF" for time settings when integrating manually.
4. Make appropriate settings for saving to CF card, and when using the D/A output, as needed.
See "7.3 Media Formatting" (p. 137), "8.3 Using Analog and Waveform D/A Output" (p. 164)
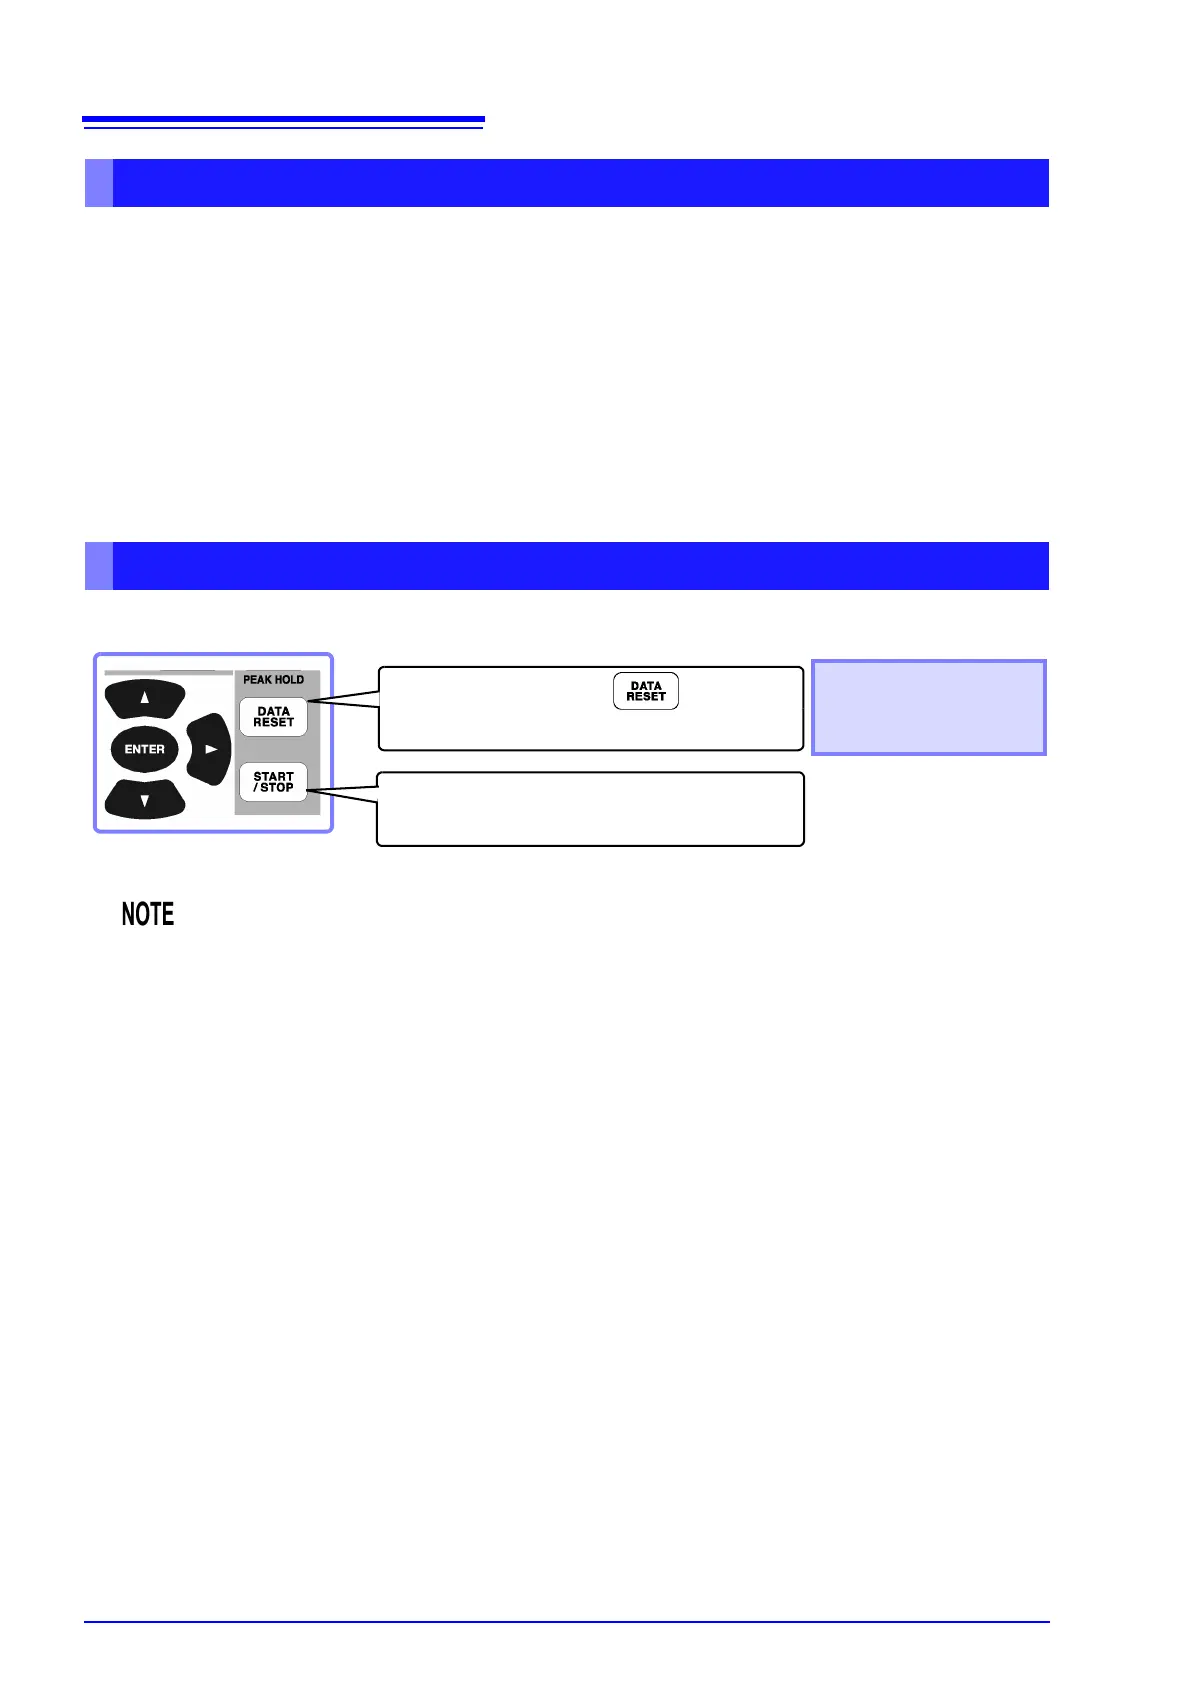
Starting, Stopping, and Resetting Integration
• Integration start, stop and value reset cannot be performed on the Setting or File Operation
screens. These functions are available only on the Measurement screen.
• Remote control by LAN communications can be performed using the same operations on the
remote control from the Internet browser.
See "9.2 Remote Control of the Instrument by Internet Browser" (p. 182)
Start integration: press once
Stop integration
*: press again
Resets integration: press
when integration is finished
Always reset the integration
values when changing oth-
er settings.
* When timer or clock control
is enabled, integration
stops automatically at the
specified stop time.
 Loading...


