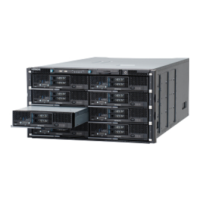
13. Perform the smart configure process.
See Smart configure procedure for server blade on page 4-52 section.
14. Verify that the replacement was successful through the MAR log.
See Alert information identification procedure on page 4-5 section.
15. Turn off LID LED for identifying the target blade.
See
Identify LED (LID) on/off procedure on page 4-7 section.
Notice:
Do not install the server blade without the top cover. The server chassis
has a mechanical security to prevent installation without the top cover.
Bypassing this security feature can cause serious damage of server
chassis or server blade.
Replacing a half-wide server blade for storage expansion
blade
The hot-swappable feature of the Hitachi Compute Blade 500 series system
allows the replacement of the server blade for storage expansion blade with
the server chassis power on. This procedure describes how to replace a
server blade for storage expansion blade when the server chassis power is
on.
Removing a server blade with a storage expansion blade
1. Removing a server blade with a storage expansion blade.
See
Removing a storage expansion blade on page 5-11 section.
2. Opening a top cover of server blade and storage expansion blade.
See Opening a top cover, Server blade on page 5-38 and Opening a top
cover, Storage expansion blade on page 5-39 section.
3. Loosen two screws on the bracket of pass through mezzanine component
in the storage expansion blade, and then remove it.
4. Open the lock tabs, as shown below.
Replacing parts
5-17
Hitachi Compute Blade 500 Series System Service Manual
 Loading...
