Affirm Breast Biopsy Guidance System User Guide
Chapter 3: Installation, Verification, and Removal
Page 18 MAN-06411-002 Revision 003
Adjust the Bracket Height
1. Release the Attachment Bracket Lock (see the previous figure, item 5).
2. Slide the bracket to the required height.
3. Push the Attachment Bracket Lock into the locked position.
Adjust the Biopsy Control Module Position
1. Release the Lock Knob for the Articulating Arm (see the previous figure, item 1).
2. Tilt or change the current angle of the Biopsy Control Module.
3. Rotate the Lock Knob to lock the Biopsy Control Module in the new position.
3.4 Installation and Removal of Accessories
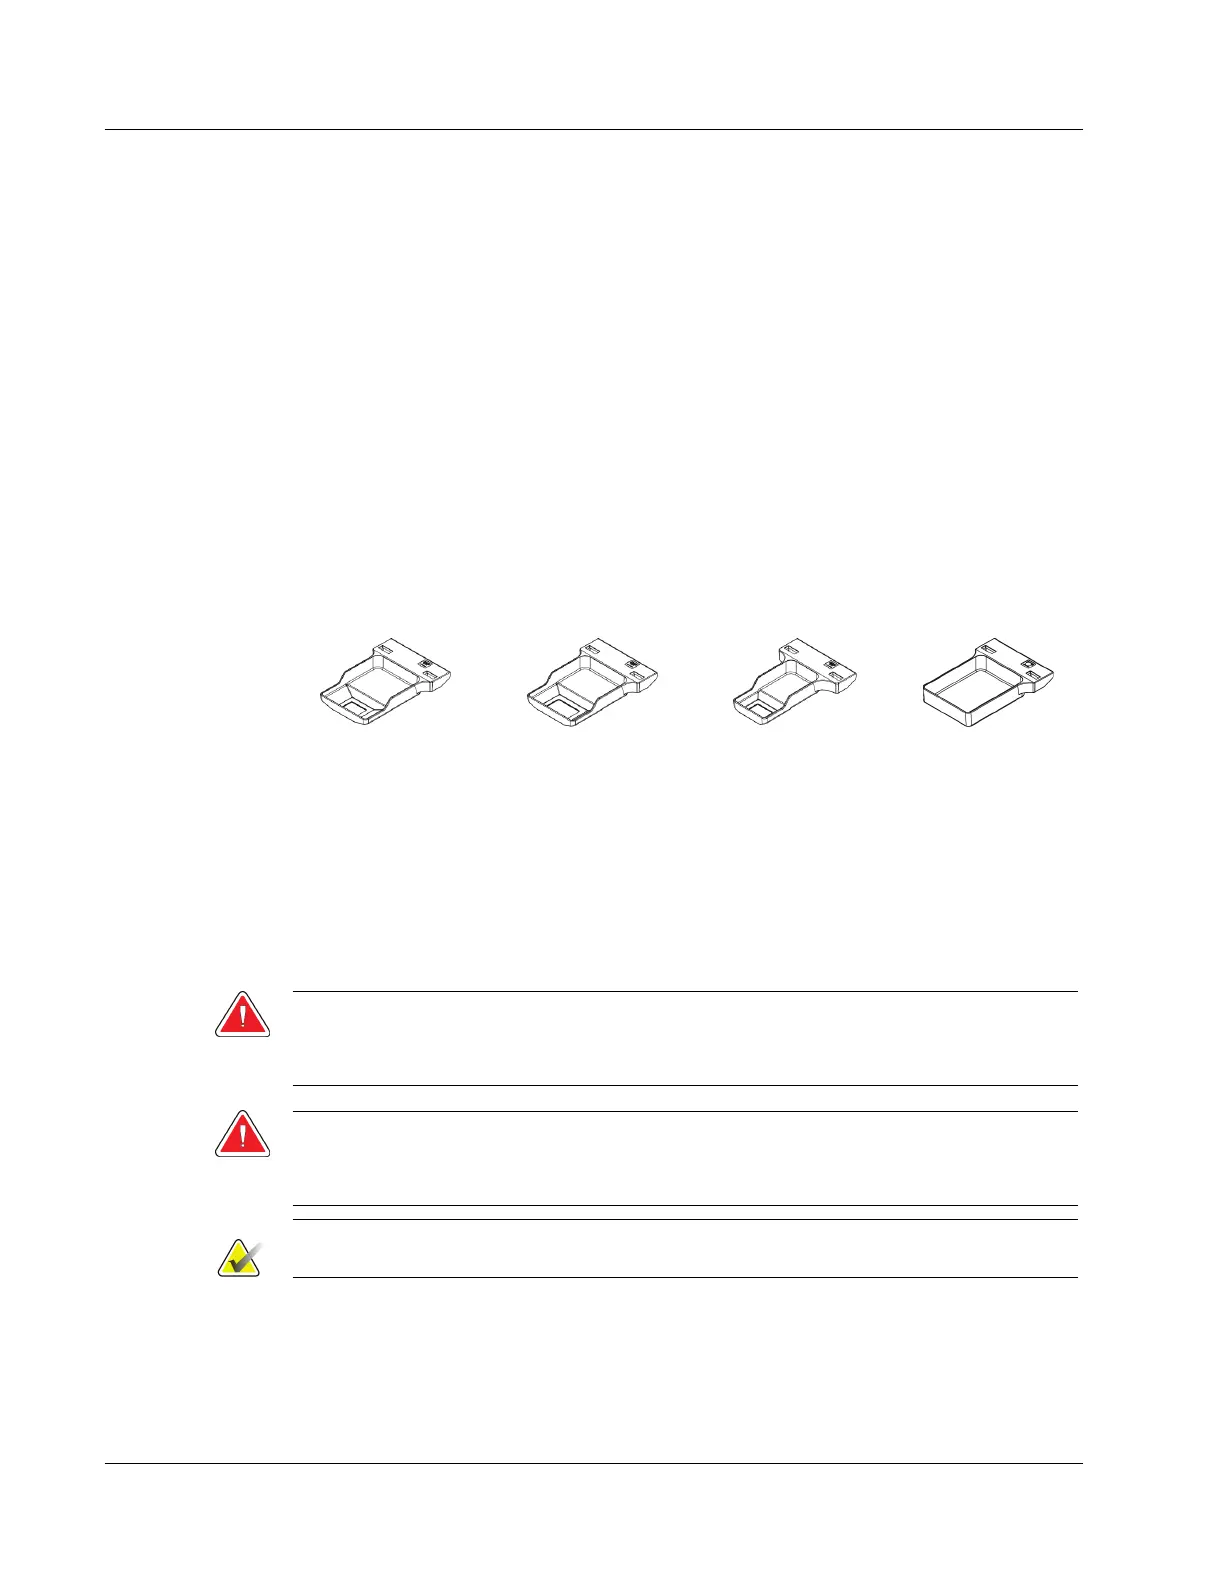
3.4.1 Biopsy Compression Paddles
Biopsy Paddle
Biopsy Paddle
Biopsy Paddle
Biopsy Paddle*
*The system automatically recognizes when a Lateral Arm is installed on the Biopsy Guidance Module.
The biopsy compression paddles attach to the compression device on the imaging
system. Refer to the imaging system User Guide for instructions on installation and
removal of the paddles.
3.4.2 Needle Guide
Warning:
Always use sterile techniques when you use Needle Guides during the
patient procedures.
Warning:
It is important to install the device correctly. Be sure to insert the needle
through the top and bottom Needle Guides.
Note
Your needle guides can look different from the needle guides shown.