Affirm Breast Biopsy Guidance System User Guide
Chapter 3: Installation, Verification, and Removal
MAN-06411-002 Revision 003 Page 35
Installation of the X-Stop
1. Make sure that the X-Stop lever is fully in the unlocked (up) position.
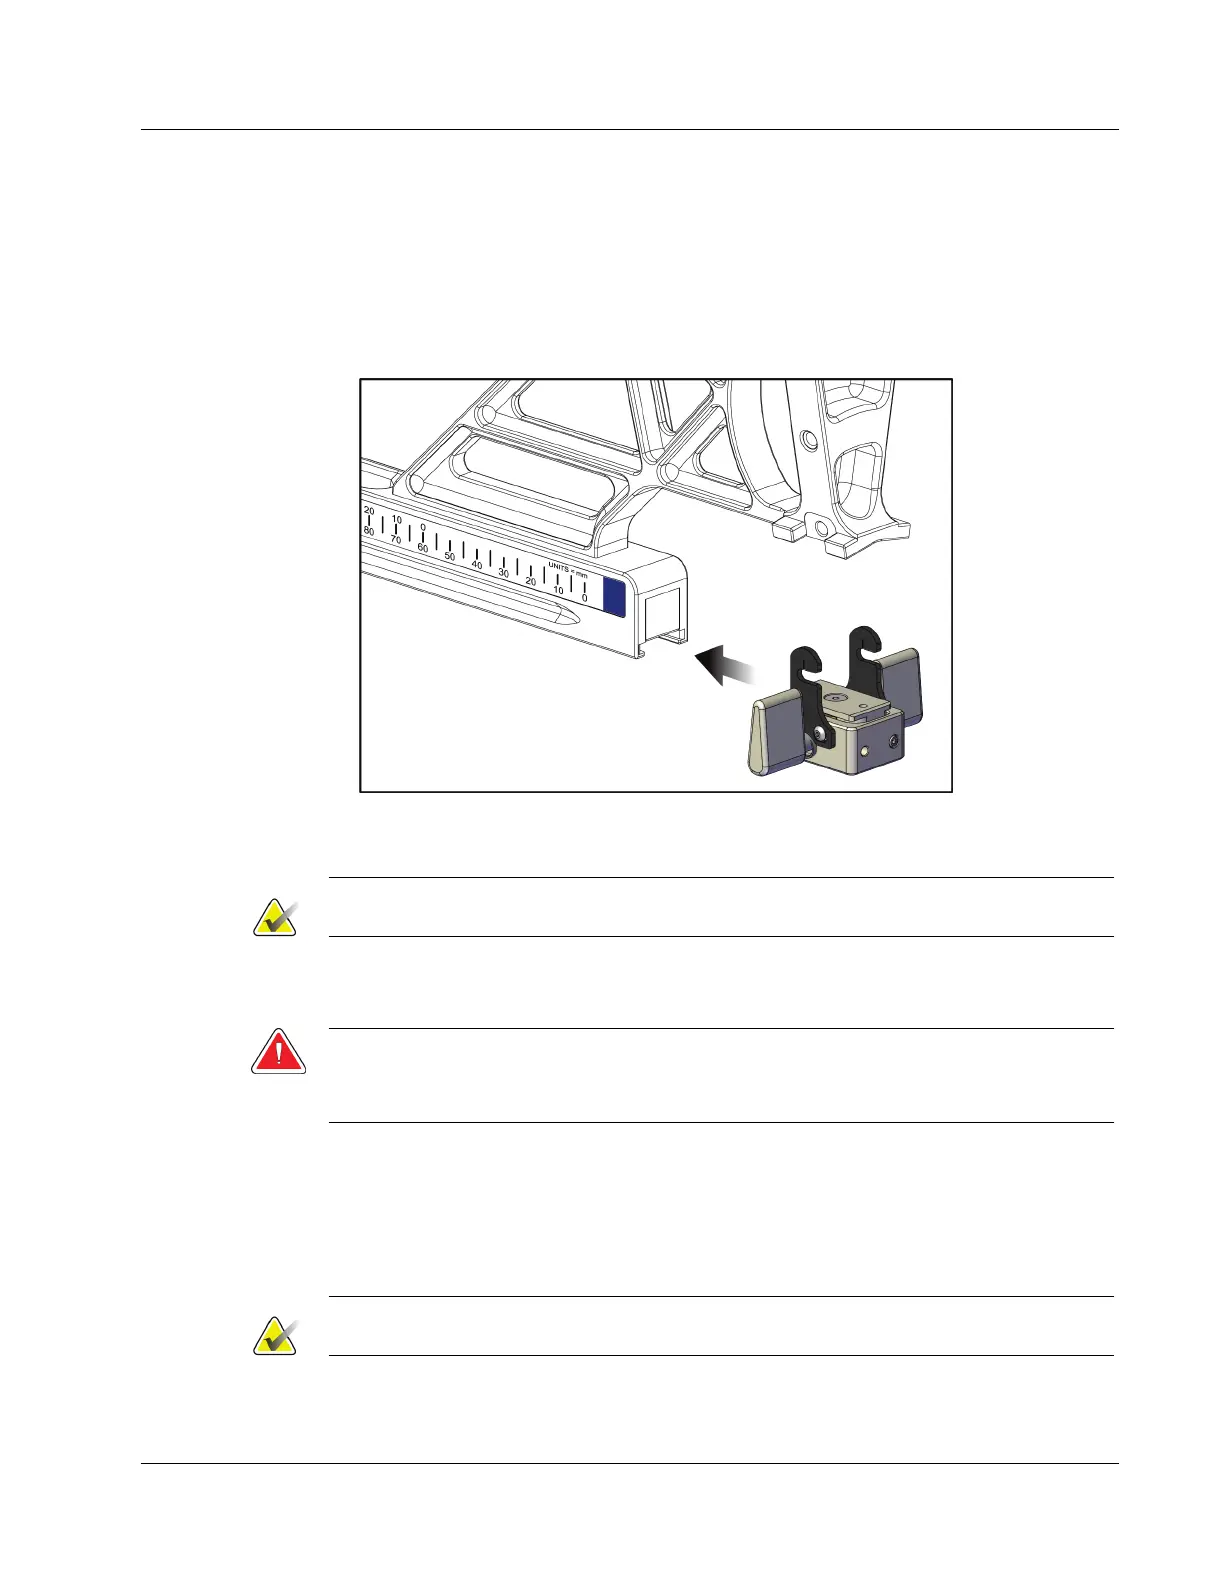
2. Slide the X-Stop onto the Lateral Arm on the same side as the Lateral Arm mount.
The X-Stop only slides on when the open side of the X-Stop Position Indicator is
turned toward the Lateral Arm Mount. See the following figure for positioning.
Figure 29: Installing the X-Stop on the Lateral Arm
3. Set the X-Stop Position Indicator to the desired position on the scale.
Note
For smooth movement, push up when sliding the X-Stop into position.
4. Flip the X-Stop lever down into the locked position.
Warning:
The X-Stop must be in the locked position before the biopsy device is moved
into position.
Removal of the X-Stop
1. Flip the X-Stop lever fully up into the unlocked position.
2. Slide the X-Stop off the Lateral Arm.
3. Flip the X-Stop lever into the unlocked (down) position for storage.
Note
The X-Stop is stored in the locked position in the Lateral Arm case.