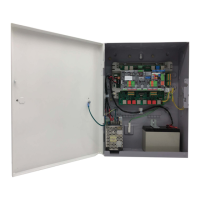
134 MPA2C3 User Manual
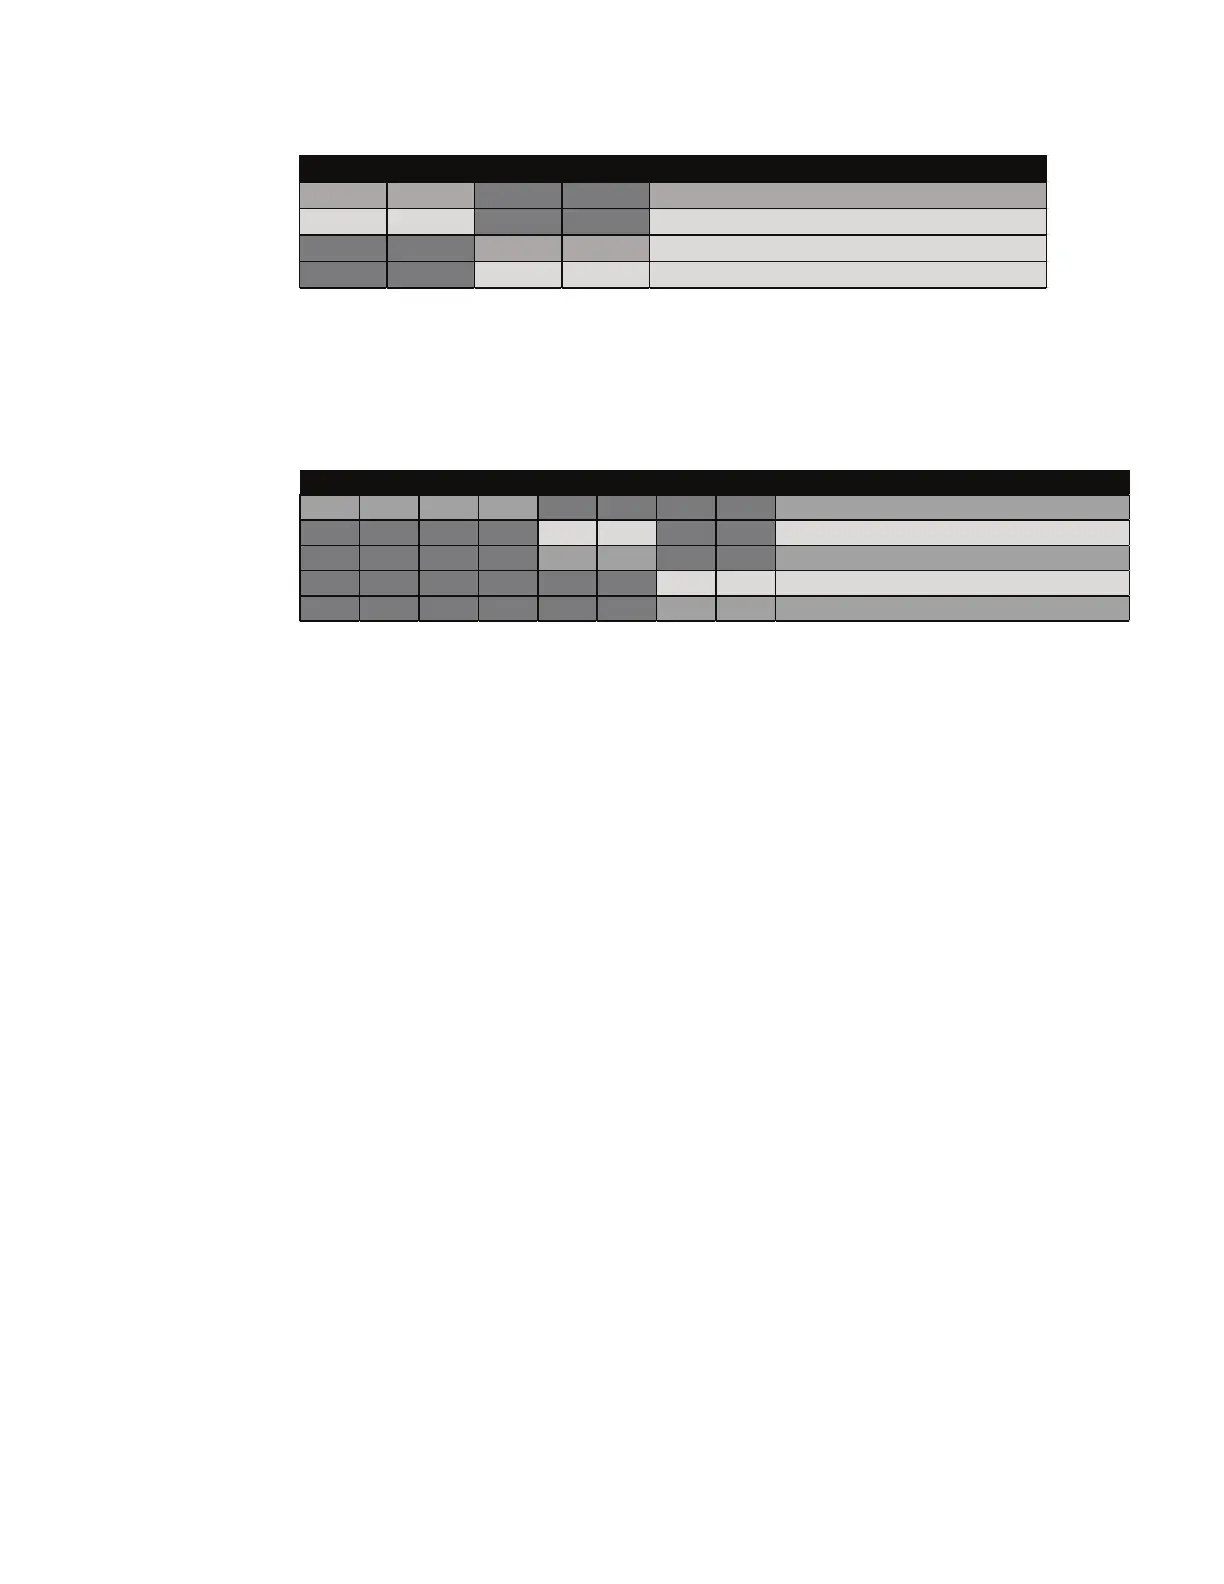
MPA2C3 SW2 DIP Switch Settings
MPA2C3 SW3 DIP Switch Settings
Note: When you use the DIP switches to reset a panel to the original factory default values,
the Event History is lost and any customized databases are removed. So the panel is
reset with the original factory default database. This does not affect the Ethernet IP
address.
Note: Door 3 and Door 4 is applicable for 4 door panels.
Restoring the Panel to Factory Default Settings
1. Make a note of the existing settings on SW1 DIP switches.
2. While the panel is powered up, turn all of the DIP switches to the OFF position.
3. Power down; then power the panel back up.
4. Wait for the panel to come up. The RUN LED should flicker fast.
5. Set the DIP switches back to their original positions.
Bit1 Bit2 Bit3 Bit4 Section
OFF OFF No EOL resistor for OSDP 1 (Door 1 & 3)
ON ON EOL resistor for OSDP 1 (Door 1 & 3)
OFF OFF No EOL resistor for OSDP 2 (Door 2 & 4)
ON ON EOL resistor for OSDP 2 (Door 2 & 4)
Bit 1 Bit 2 Bit 3 Bit 4 Bit 5 Bit 6 Bit 7 Bit 8 SelecƟon
OFF OFF OFF OFF Future Use - always in OFF posiƟon
OFF OFF NO EOL resistor for RS485 bus I/O Devices (default)
ON ON EOL resistor for RS485 bus I/O Devices
OFF OFF NO EOL resistor for RS485 bus Downstream panels (default)
ON ON EOL resistor for RS485 bus Downstream panels