HP
8114A Service Guide
Removing the Timing Board
TIMING
BOARD
I
cD
,701
@
‘\
NO.08
I
14-66504
9’
%
.
TIMING BOARD
1 SECURING SCREWS
wml
PANEL
---’
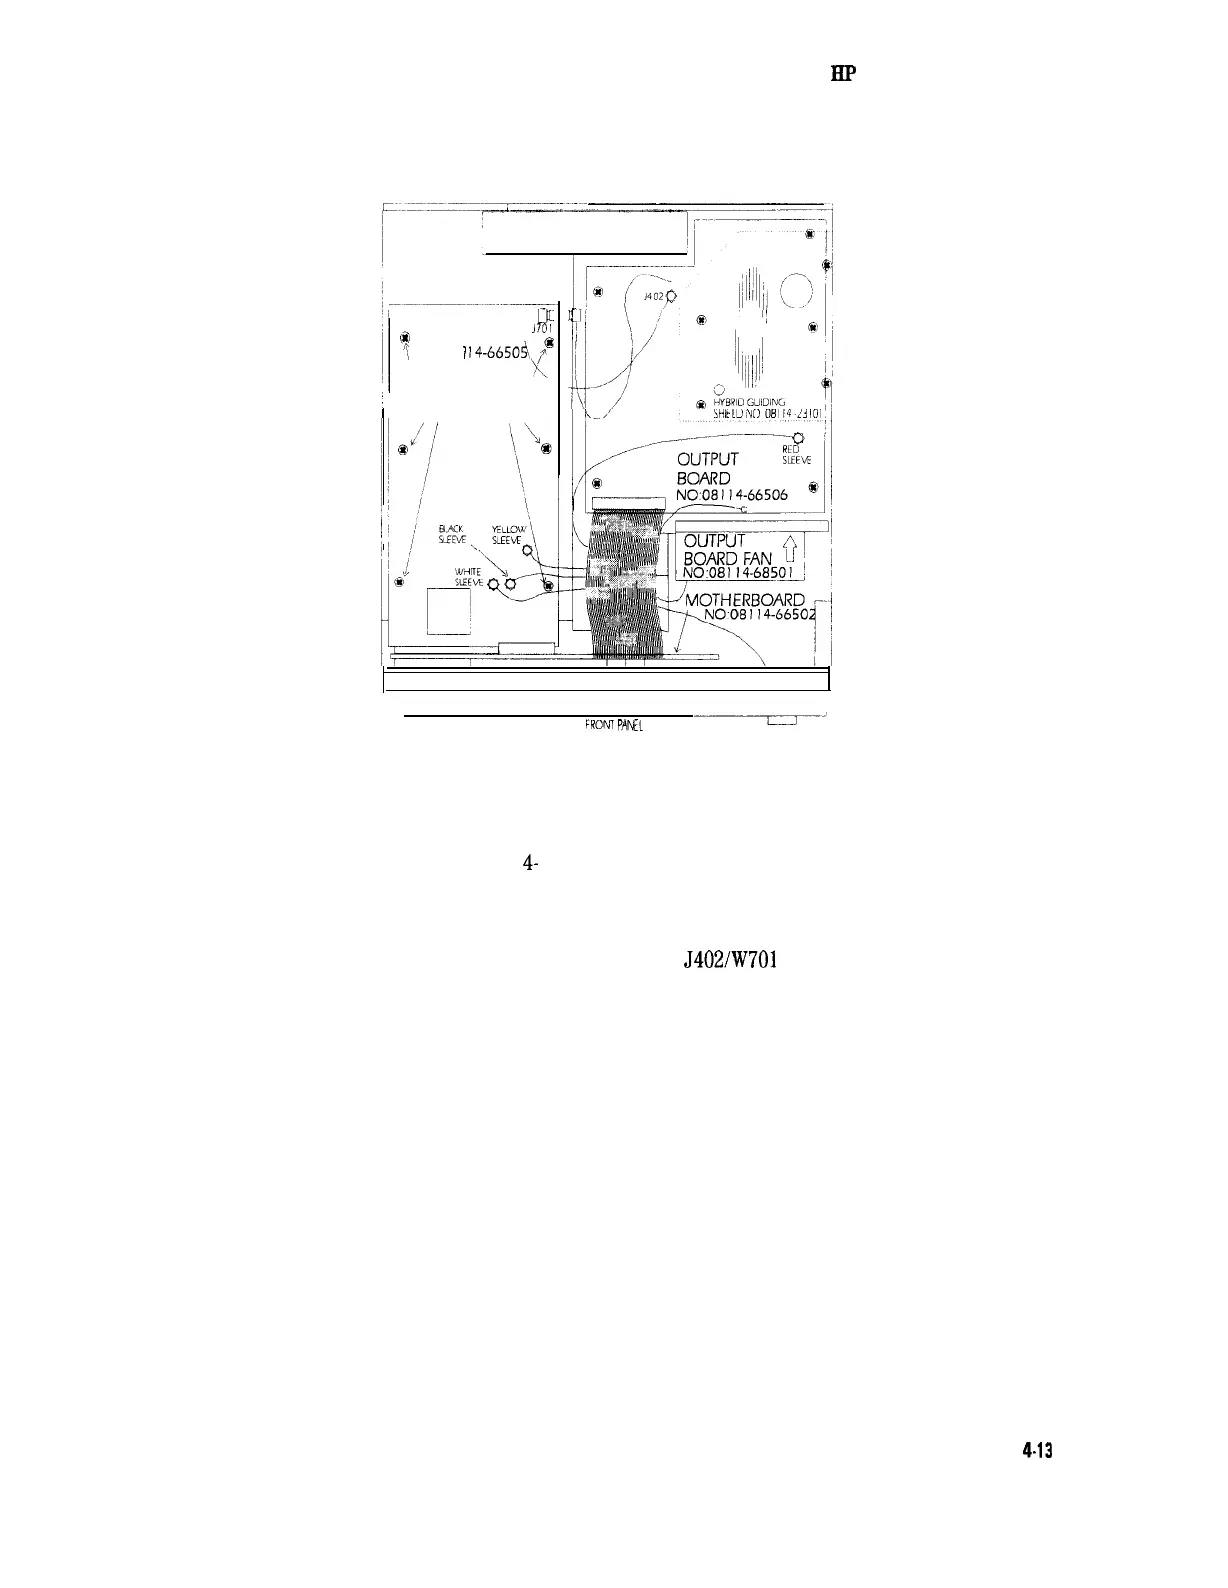
Figure 4-10. Location of the Timing Board
1. Follow the instructions for Removing the Cover.
2. Remove the 6 screws securing the timing board to the chassis. See
Figure
4-
10.
3. Disconnect the three cables which are close to the front panel.
4. Disconnect the two cables which are close to the rear panel, 5701
on the timing board, and
J402/W701
on the output board.
5. Slide the timing board back for about 10 mm to release the board
from its connection to the motherboard.
6. Remove the timing board.
Refitting the Timing Board
Refitting the timing board is the reverse procedure of removal.
Disassembly and Reassembly 4.13