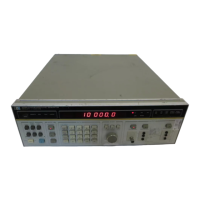
3. Set the Digitizing Oscilloscope HP 54121T:
l
Press
(AUTOSCALE)
I
Center one pulse on screen, e.g.:
TIME/DIV
=
50
&div,
DELAY
= 365
,us,
I
Select the Display menu and set the Number of Averages to 32
I
Select the Channel menu and set the Attenuation factor to 10
n Select the Delta V menu and turn the voltage markers On
I
Set the Preset Levels =
10-90X
and press [AUTO LEVEL SET)
I
Select the
Timebase
menu and set
TIME/DIV
= 2
ns/div,
DELAY
= 40.7 ns
m
Select the Delta t menu and turn the markers On
m
Set START ON EDGE = POSl and STOP ON EDGE = POSl
4. Set period of HP 8114A to: Period = 1
ps
5. After the averaging, while the oscilloscope is in the Delta t menu,
Press the [PRECISE EDGE FIND) key
6. Check the HP 8114A rise time at the following leading edge setting:
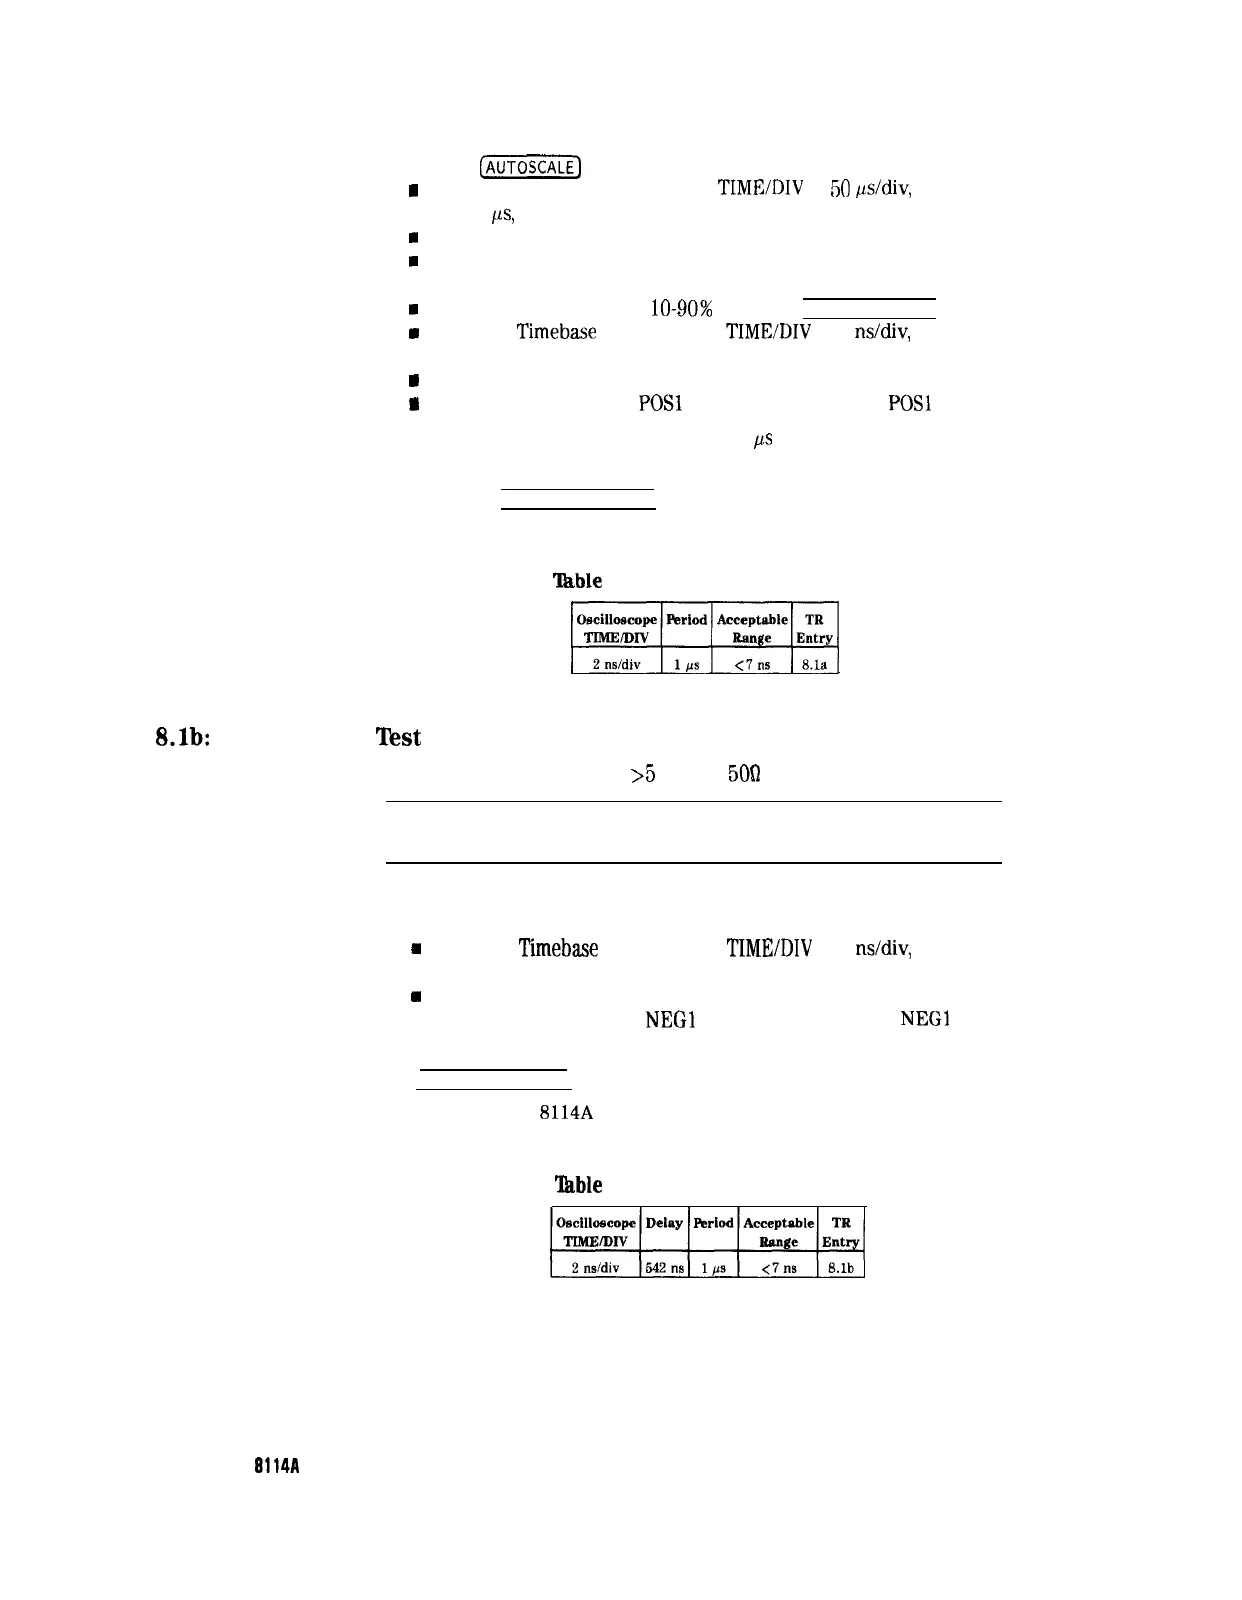
‘able 3-13. Leading Edge Setting
mi
Test
8.lb:
Trailing Edge
Test
Trailing edge for amplitudes
>5
V from
5062
into 500.
Note
3
The Leading Edge test must be performed before you start this test.
Procedure
1. Set the Digitizing Oscilloscope HP 54121T:
I
Select the
Timebase
menu and set
TIME/DIV
= 2
ns/div,
DELAY
= 542 ns
u
Select the Delta t menu
n
Set START ON EDGE =
NEGl
and STOP ON EDGE =
NEGl
2. While the oscilloscope is in the Delta t menu, press the
[PRECISE EDGE FIND) key
3. Check the HP
8114A
output signal falls at the following trailing
edge setting:
‘Ihble
3-14. Trailing Edge Setting
Oscilloscope Delay Period Acceptable TR
II
J-38 Testing the HP
8114A