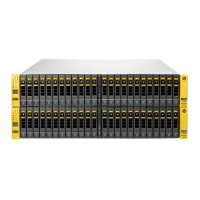
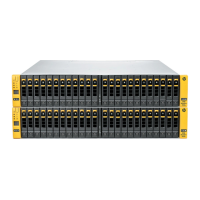
9 System Powering On and LED Status Verification
Before powering on the system, complete the “System Setup Verification” (page 83).
Powering On the System
1. Set the circuit breakers on the PDUs to the ON position and verify that the LED is green.
2. Set the switches on the power strips to the ON position.
NOTE: Some power strips might not have power switches.
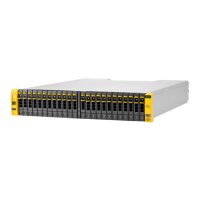
3. Power on the SP and verify that the Power On LED is green.
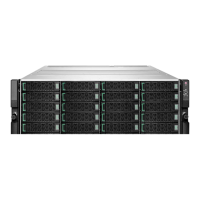
4. Power on the drive enclosure PCMs and verify that the PCM OK LED is green.
5. Power on the controller node enclosure PCMs and verify that the PCM OK LED is green.
6. After approximately 10 minutes, allowing time for the system to boot and the cache batteries
to charge, verify the status of the LEDs as described in “Verifying LED Status” (page 85).
Verifying LED Status
1. At the front of the system, verify that the bezel System Power green LED is On and the
Drive Status amber LED is Off. See “Bezel LEDs” (page 14) and “Drive LEDs” (page 30).
NOTE: If either the bezel Module Fault amber LED or Drive Status amber LED are On,
do not proceed until the problem is resolved.
2. At the rear of the system, verify that the following green LEDs are On:
• Controller node—see “Node LEDs” (page 27)
The controller node LEDs should be flashing green once per second. The green LED
of each controller node will flash together when the storage cluster is properly formed.
• I/O modules—see “I/O Module LEDs” (page 31).
• PCM—see “580 W PCM LEDs—Drive Enclosure” (page 37) or “764 W PCM
LEDs—Node Enclosure” (page 35).
Continue on to“System Installation Checklists” (page 86), before initializing
the SP and system software.
Powering On the System 85
 Loading...