Figure 66 Placing the Sticker
c. Line up the wavy side of the second sticker with the wavy side of the first sticker and press
down until they stick together.
Figure 67 Connecting the Stickers
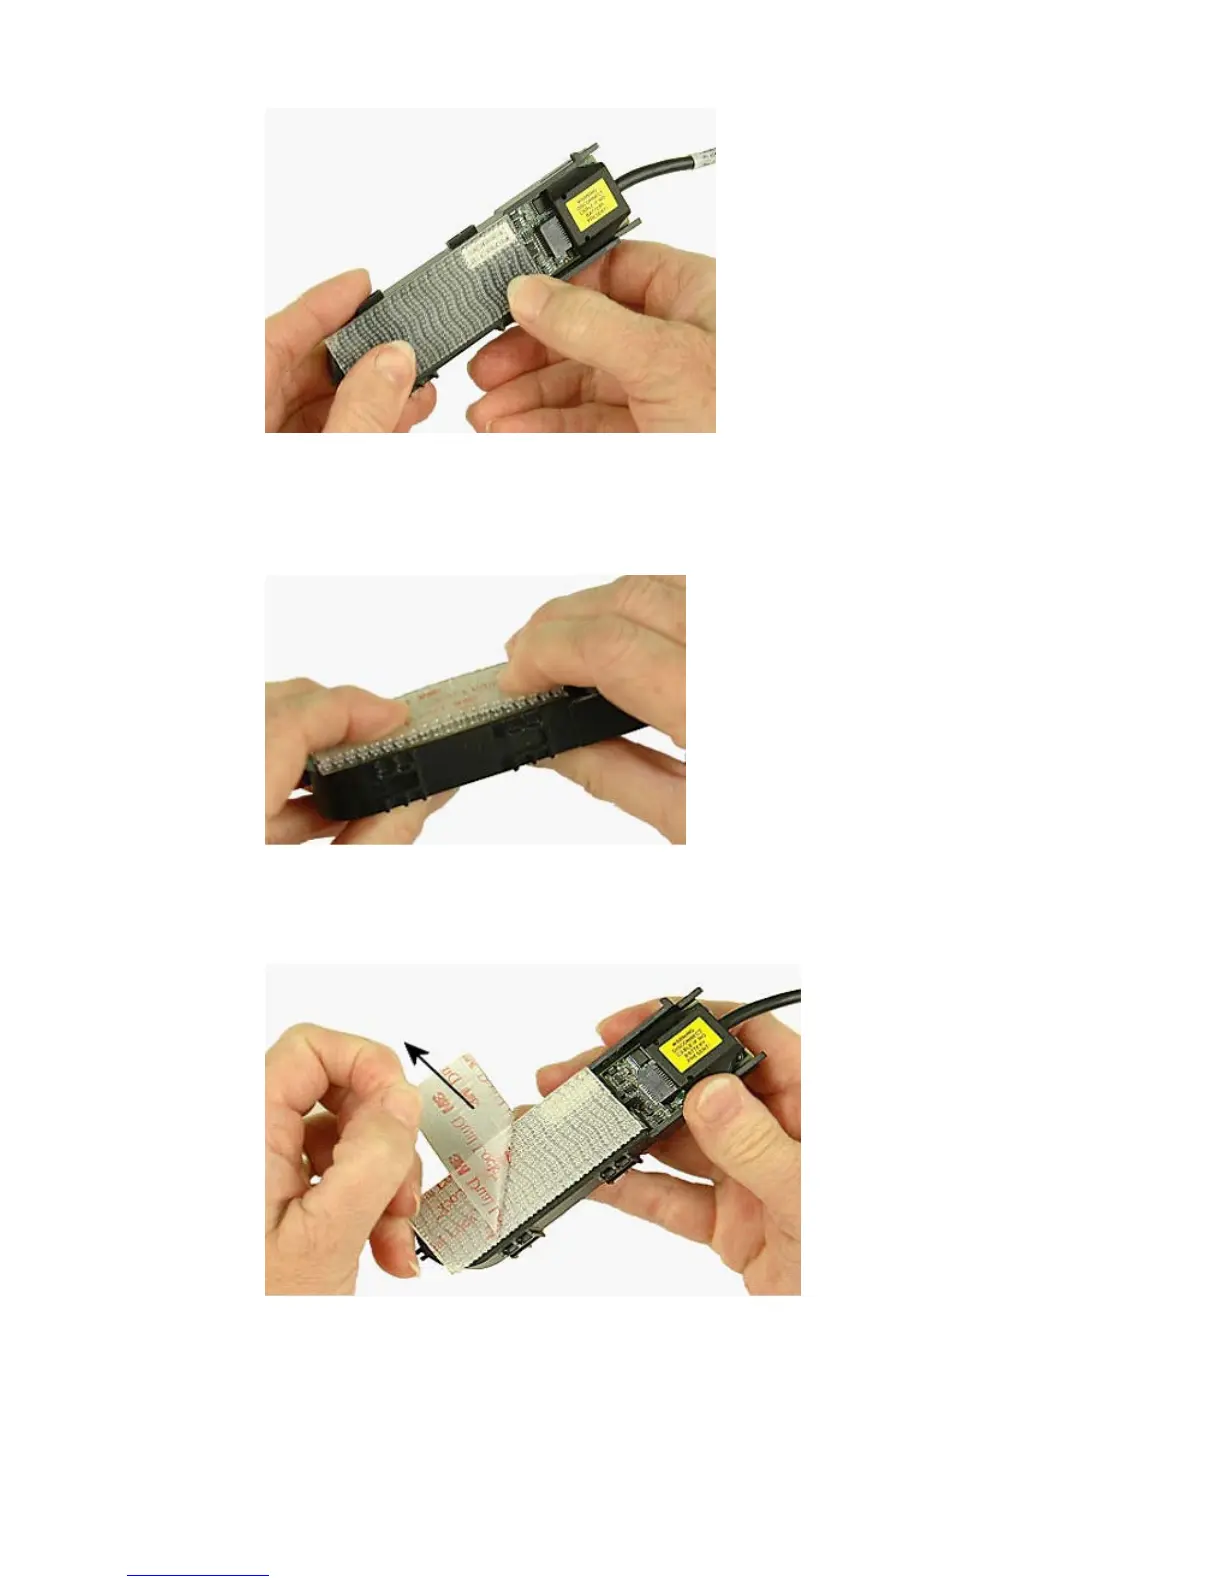
d. Remove the protector from the second sticker to expose the sticky surface.
Figure 68 Removing the Protector
134 Removing and Replacing Components