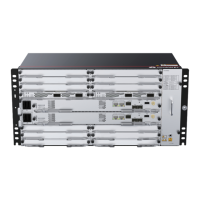
N2000H V3 Appliance
User Guide
Huawei Proprietary and Confidential
Copyright © Huawei Technologies Co., Ltd.
----End
7.33 Installing a NIC
This topic describes how to install a network interface card (NIC).
Scenarios
Install a NIC in any of the following scenarios:
A NIC fails.
A NIC is to be replaced with a new model.
Prerequisites
Conditions
You have powered off the N2000H V3. For details, see 3.2 Powering Off.
You have checked that the mainboard is properly installed. For details, see 5.31
Installing the Mainboard.
You have removed the chassis cover from the N2000H V3. For details, see 5.6
Removing the Chassis Cover.
You have removed the I/O module, , or that is above the NIC. For details, see 5.12
Removing the Riser Card.
Data
You have determined the position on the N2000H V3 for installing a NIC.
You have obtained the rack number and chassis number of the N2000H V3, and labeled
its panel to prevent misoperations.
Tools
ESD gloves
Packaging materials, for example, an ESD bag
Phillips screwdriver
Hardware
You have obtained a spare NIC.
Procedure
Step 1 Take the spare NIC out of the ESD bag.
Step 2 Tighten the two screws using the Phillips screwdriver to secure the NIC. See step (2) in
Figure 5-68.

 Loading...