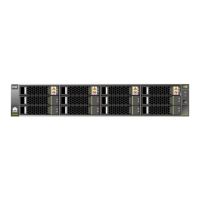
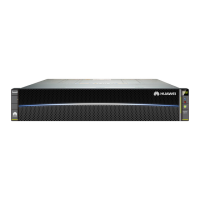
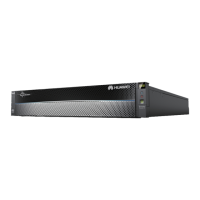
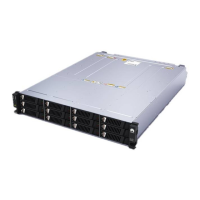
N2000H V3 Appliance
User Guide
2 Installing and Removing the N2000H V3
Huawei Proprietary and Confidential
Copyright © Huawei Technologies Co., Ltd.
Scenarios
Install the N2000H V3 when:
More N2000H V3s are required in a rack for capacity expansion.
A faulty N2000H V3 needs to be replaced with a new N2000H V3.
A different rack Appliance needs to be substituted by the N2000H V3.
Maintain the N2000H V3 parts.
Before installing a Appliance, check that the guide rails of the rack are level, smooth, and not
deformed. This ensures surface contact between the Appliance and the guide rails. As a result,
the guide rails are evenly loaded after the Appliance is installed. You are advised to use the
guide rails delivered with the Appliance to ensure even loading.
Impact on the System
This operation has no adverse impact on the system.
Prerequisites
Conditions
Make the following preparations before installing the N2000H V3:
A rack is properly installed.
The installation environment meets the requirements specified in 2.1 Installation
Overview.
Data
Data preparation is not required for this operation.
Tools
The following tools are available:
Electrostatic discharge (ESD) wrist strap or ESD gloves: used to prevent ESD damage.
Screwdriver: used to tighten the screws on the panel.
Floating nut mounting bar: used to install the floating nut.
2.3.1 Installing the N2000H V3 by Using L-Shaped Guide Rails
Context
L-shaped guide rails apply only to Huawei racks.
Procedure
Step 1 Determine the positions for installing floating nuts. See Figure 2-1.
 Loading...
