6-4 Chapter 6: Preparing to upgrade
Using the Windows 95 Device
Manager
Use the Windows 95 Device Manager to verify system
device settings or to resolve system resource conflicts, such
as those that might occur with Interrupt Request (IRQ) and
Direct Memory Access (DMA) resources.
Follow these steps to start the Device Manager and change
device settings:
1.
From the Windows 95 desktop, double-click on the
My
Computer
icon.
2.
In the My Computer window, double-click on the
Control Panel
icon.
3.
In the Control Panel window, double-click on the
System
icon.
4.
In the System Properties window, click on the
Device
Manager
tab.
5.
Select a device item then click on the
Properties
button. A display box appears showing the properties
of the device.
6.
Make the necessary changes in the settings that will
not conflict with other devices.
7.
Click on
OK
.
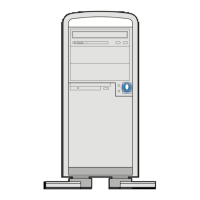
Opening the system unit
Each time you open your system unit, you must follow
specific safety procedures to ensure that you do not damage
your computer.
Taking safety precautions
For your safety and the safety of your equipment, follow
these steps before you remove the system unit cover:
1.
If your computer is on, or in ‘suspend’ mode, shut
down the machine.
2.
Turn off the monitor and any external components,
such as a printer.
3.
Unplug all cables from the system unit except the
system unit power cord. Be sure to disconnect any
telephone line connections as well.
4.
Proceed to the next section for instructions on
removing the cover.
Note:
In the UK, by law, the telephone line cable must be
connected after the power cord.
In the UK, by law, the power cord must be
disconnected after the telephone line cable.
v65xahb.book : chap-6.fm Page 4 Friday, January 16, 1998 4:27 PM
 Loading...
