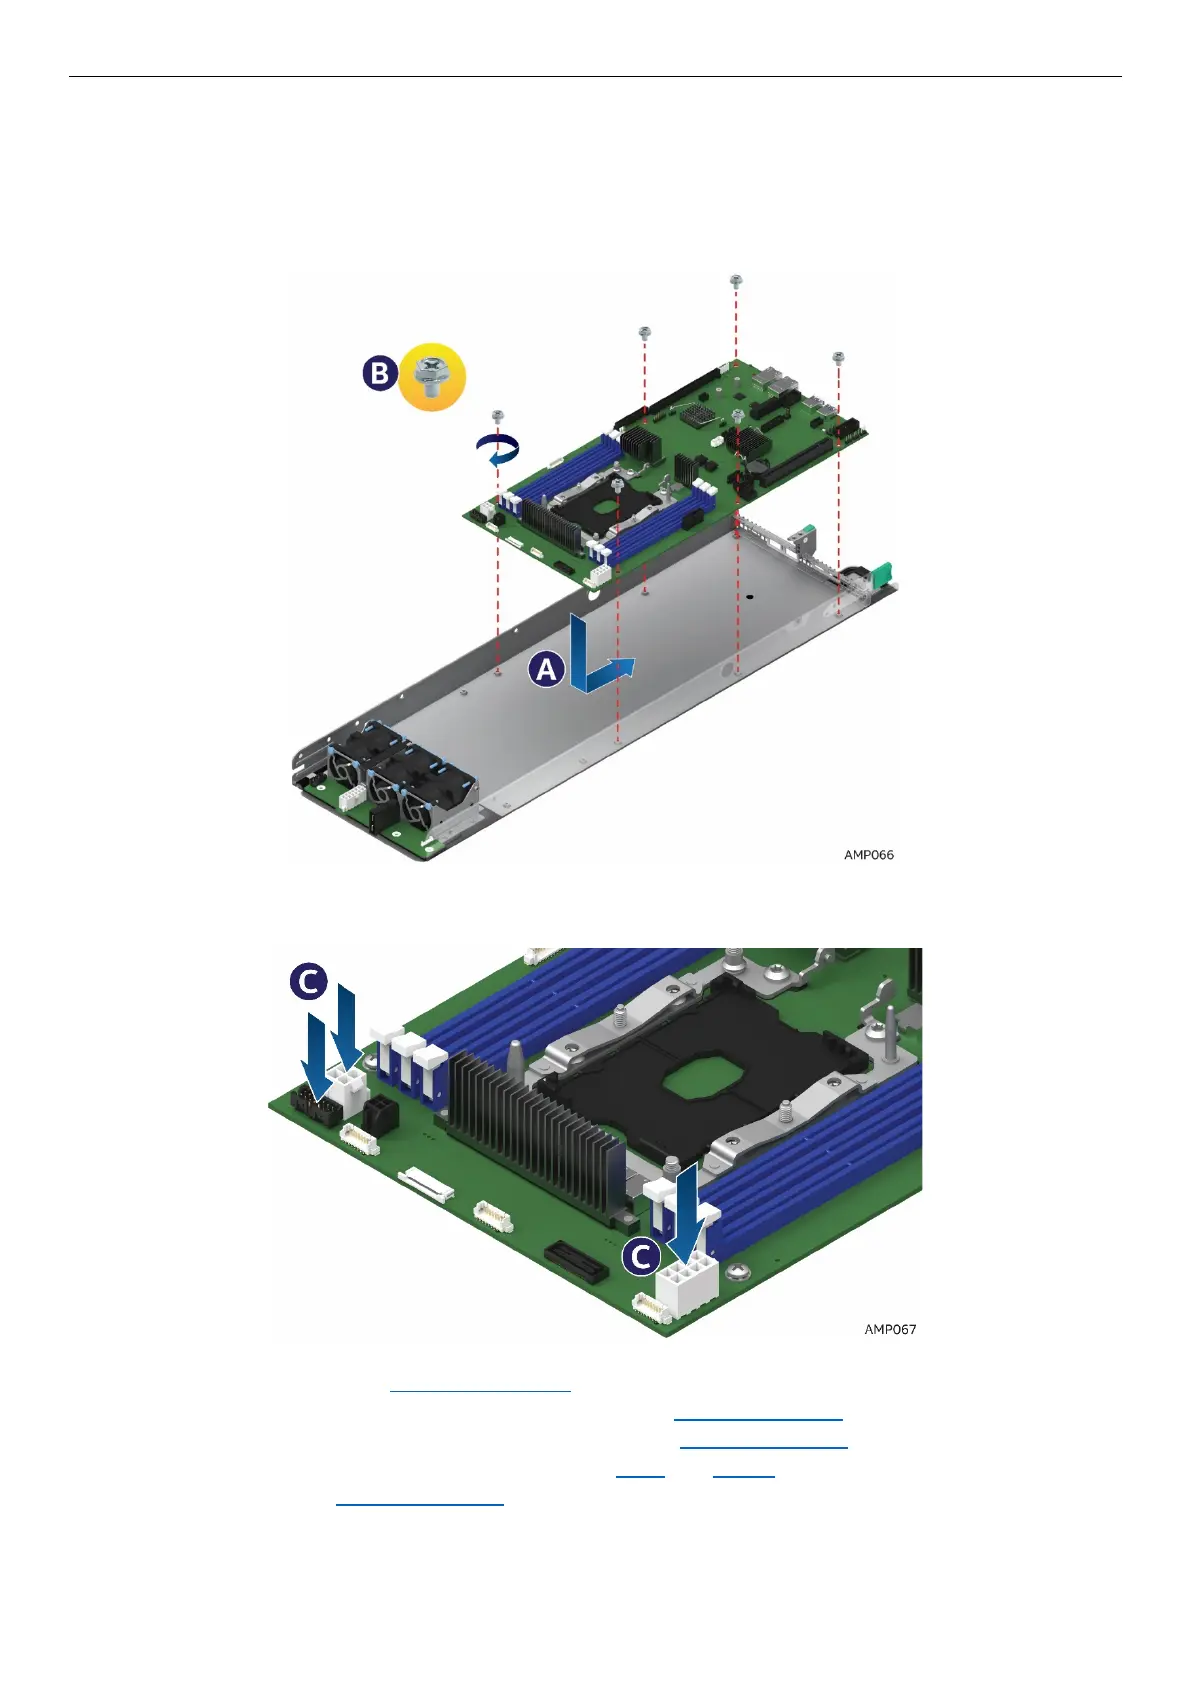
2.14.2 Installing the Server Board
1. Carefully lower the server board into the compute module so that the rear I/O connectors of the server
board align with and are fully seated into the matching holes on the compute module back panel.
2. The server board is accurately placed when the two end screws nearest the front edge of the server
board (See letter A) sit securely onto the compute module enclosure standoffs.
3. Install and tighten the six screws (See letter B).
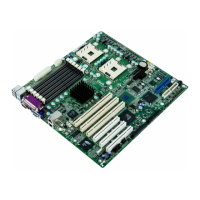
Figure 79. Installing the Server Board
4. Connect all cable connections to the server board.
Figure 80. Connecting all Cables
5. Re-install the bridge board. See section 2.13.1
.
6. Re-install the PCIe* riser and Add-In Card in Riser Slot 1. See section 2.8.1.
7. Re-install the PCIe* riser and Add-In Card in Riser Slot 2. See section 2.9.1
8. Re-install the processors and DIMMs. See sections 2.4.2 and 2.11.1.
9. Re-install the air duct. See section 2.3.2.
10. Install other components as necessary.